Let the smallest detail lead.
Explore jewelry directions with controlled light and quiet surfaces, then inspect the settings, metal and complete piece.
Add your own product. Edit the starting direction. Review the quote before requesting one sample.
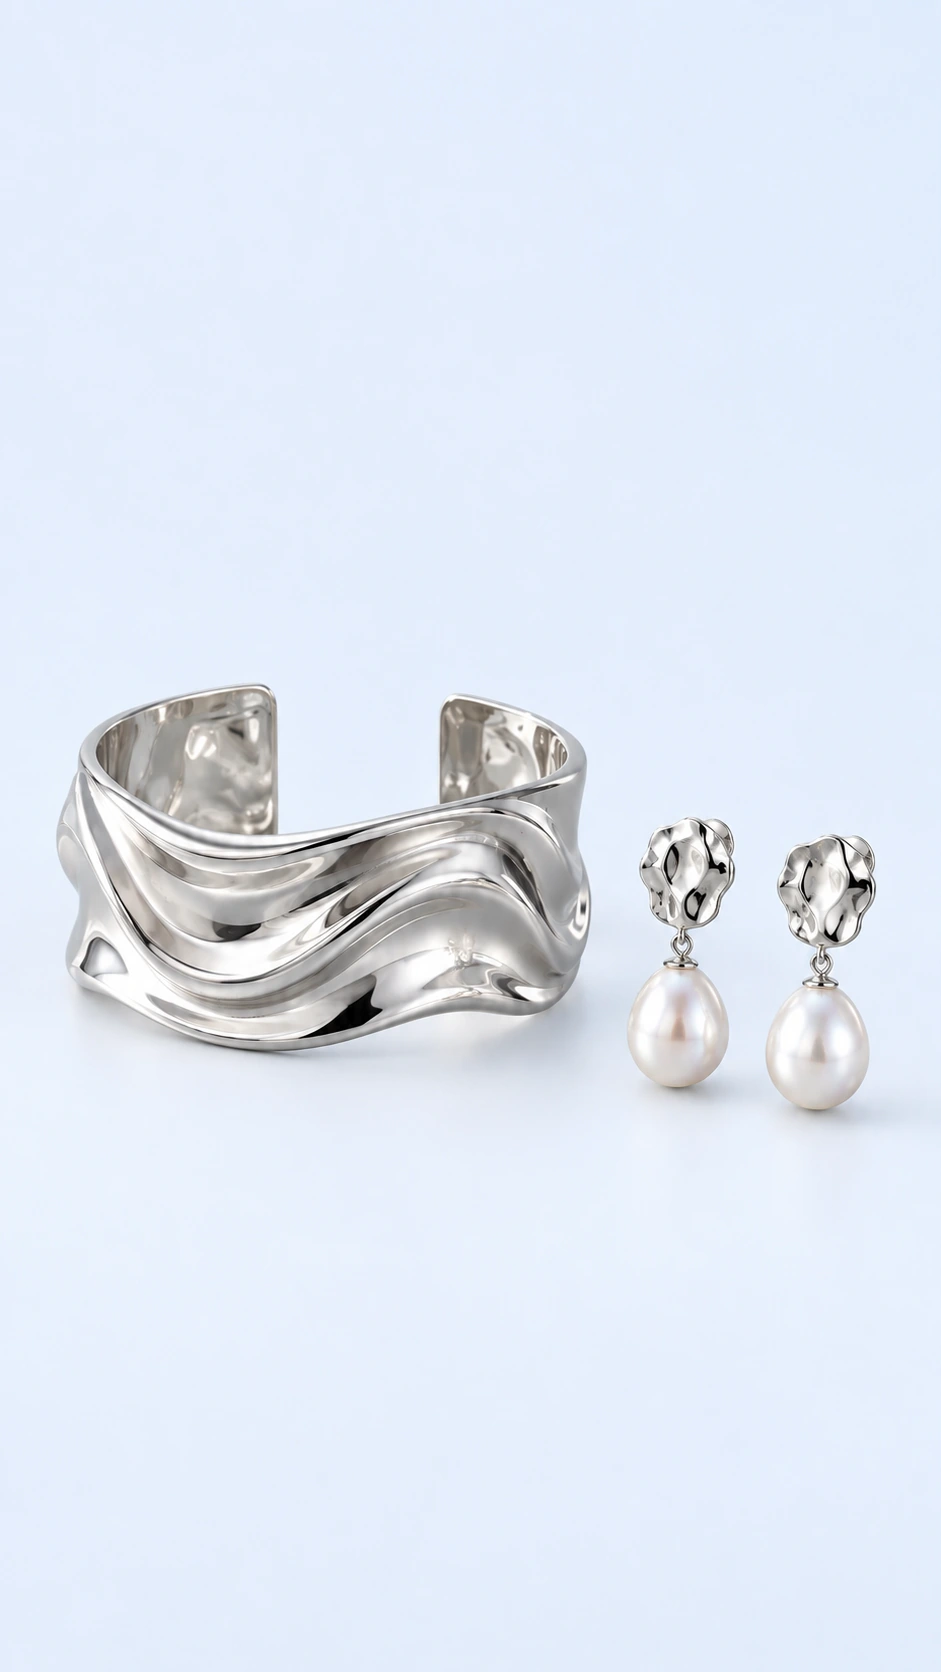
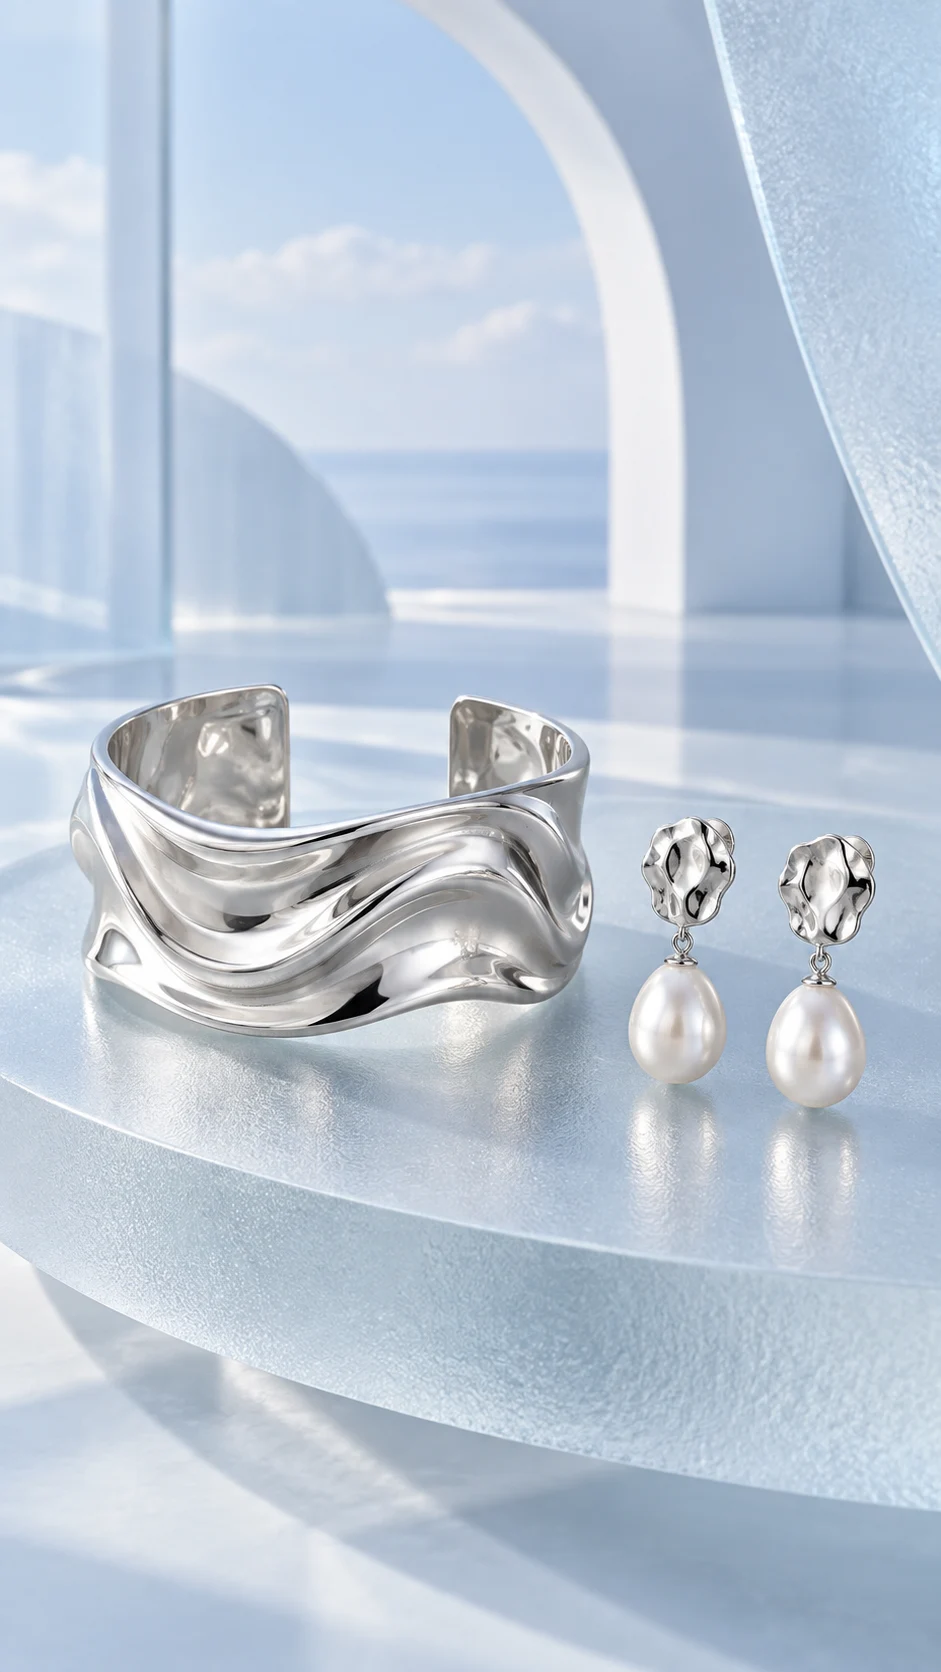
What to keep in the frame.
Use your original as the standard. These details deserve a separate pass before you approve the image.
- 01Stone count, shape and settings
- 02Chain, clasp and complete outline
- 03Metal tone and engraving
The better starting point.
Use a sharp source with the entire piece visible. Avoid relying on a tiny storefront thumbnail when the setting or clasp defines the item.
Have a public shop? Import your product ↗Place the supplied jewelry on a small matte limestone plinth with soft directional light. Keep the entire piece visible and preserve the exact stone count, settings, chain, clasp and metal tone. Avoid invented gemstones or engraving. Review priorities: Stone count, shape and settings; Chain, clasp and complete outline; Metal tone and engraving.Open this direction ↗
Before generating a jewelry image, list what must remain exact: stone count, stone arrangement, setting shape, chain structure, clasp and metal tone. A beautiful new reflection can make a changed detail easy to miss. The inventory gives the review a concrete starting point before you judge the styling.
For a group of pieces, approve a representative sample before reusing the direction. Review each clasp and setting separately. Similar lighting can help the collection feel coherent, but it does not make all the results equally accurate. Keep the pieces fully visible in the final crop, including chain ends and small closures.