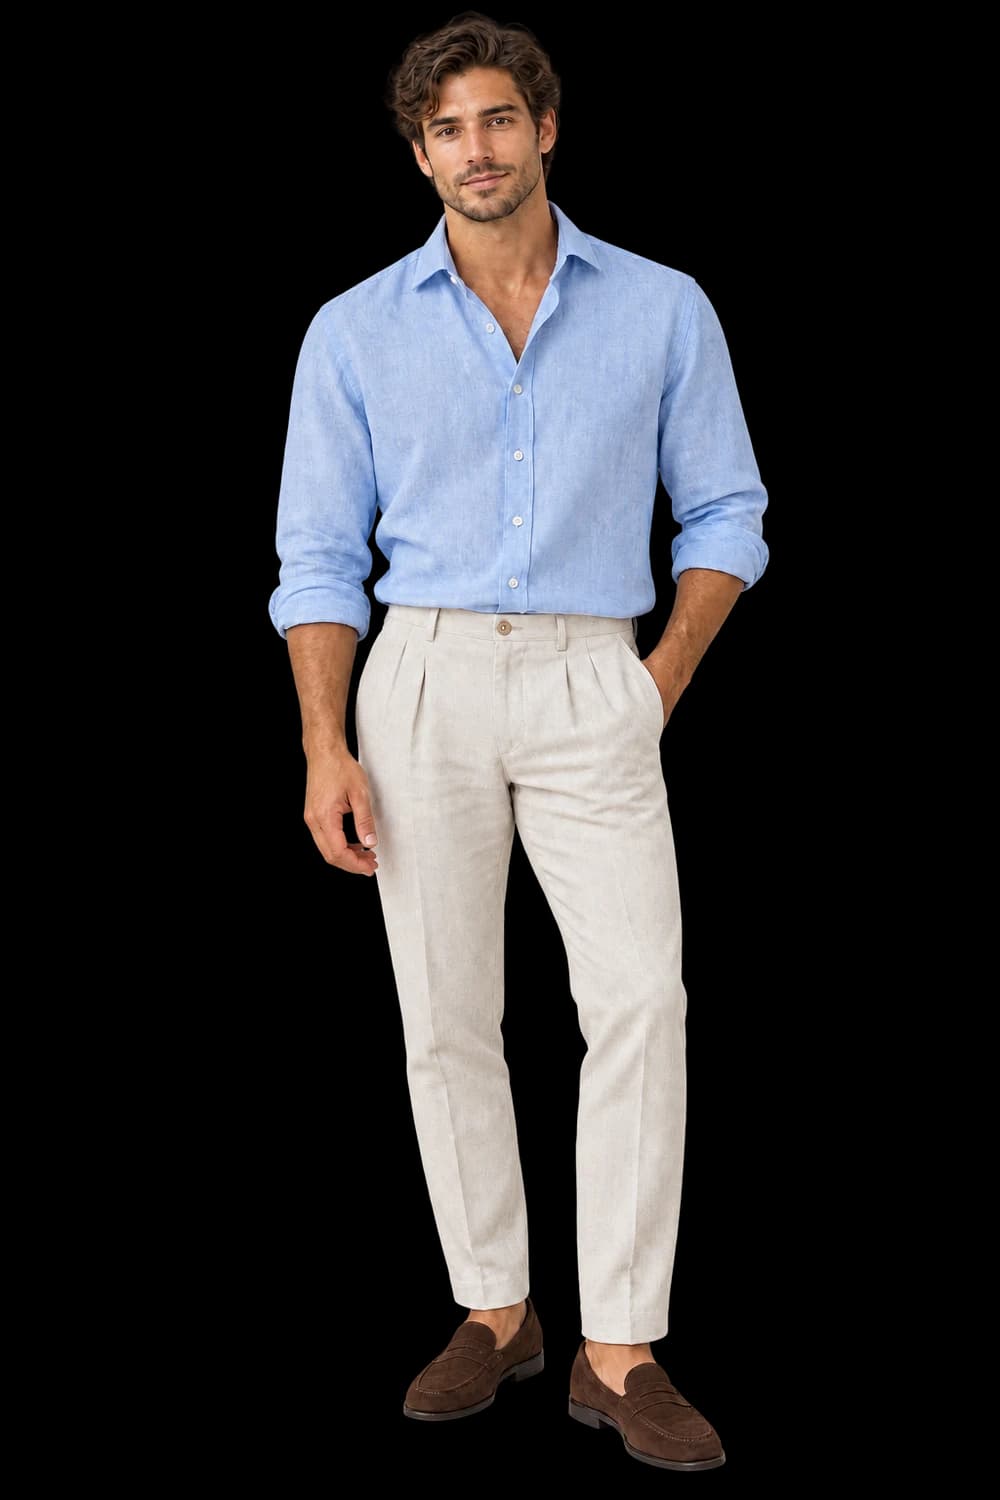
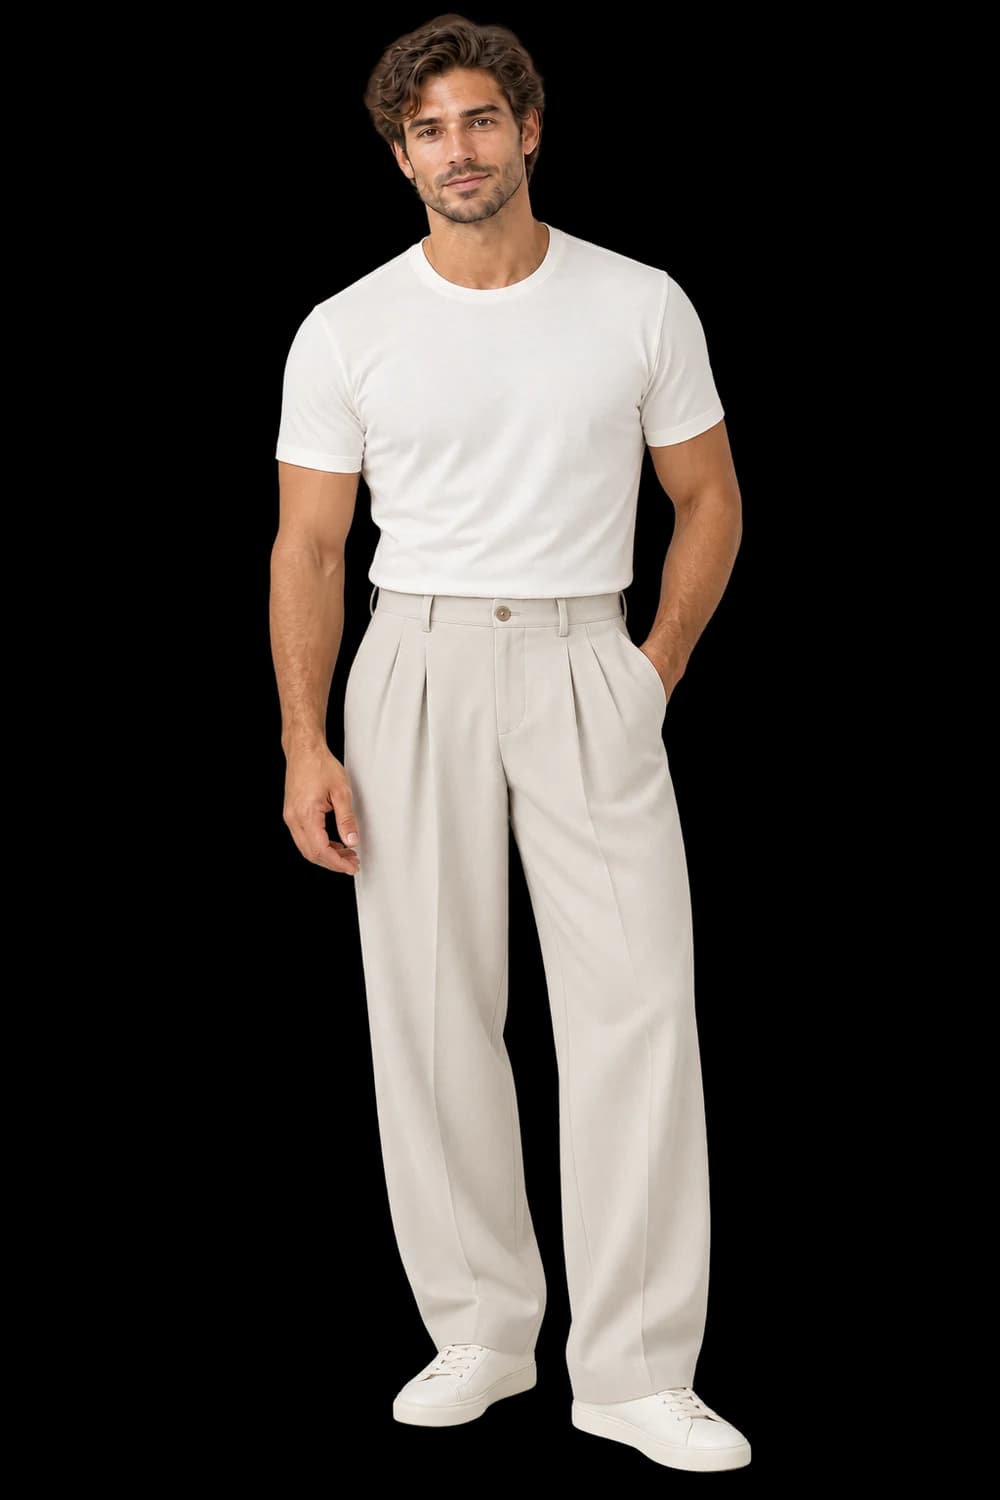
A better angle on every pair.
Make footwear recognizable through its profile, sole and fastening, with product-first directions ready to edit.
Add your own product. Edit the starting direction. Review the quote before requesting one sample.
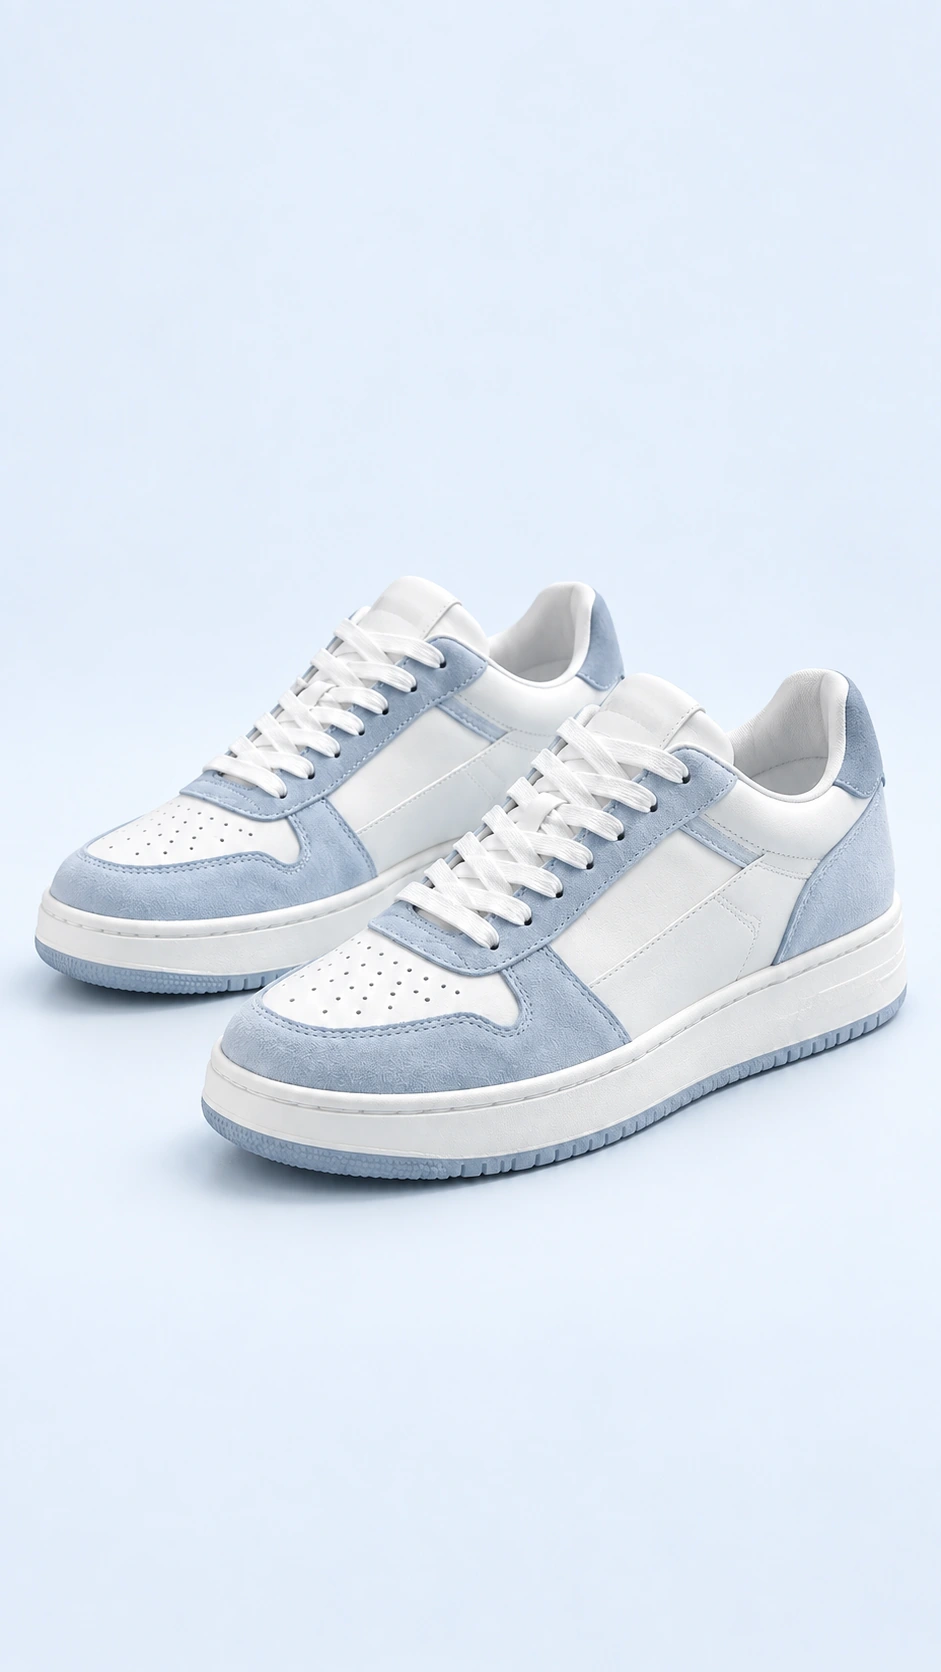
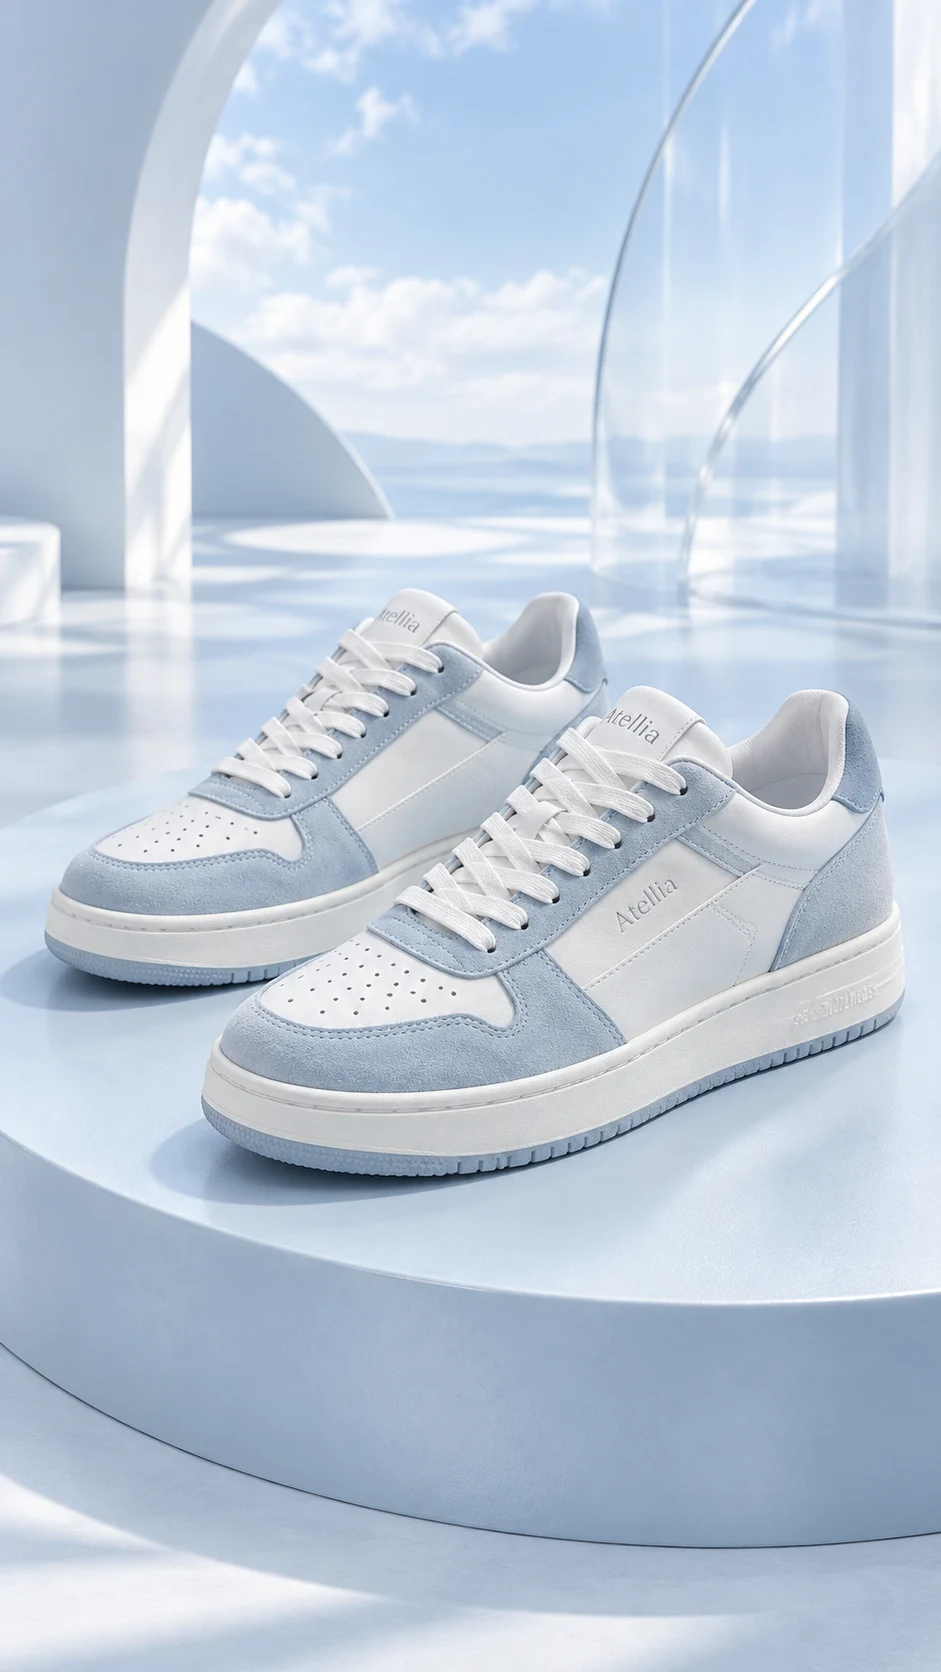
What to keep in the frame.
Use your original as the standard. These details deserve a separate pass before you approve the image.
- 01Toe shape and sole profile
- 02Left/right construction and source count
- 03Laces, fastenings and branding
The better starting point.
Use a sharp three-quarter or side view. Untie or arrange laces only in the original if their current position hides a detail you need customers to see.
Have a public shop? Import your product ↗Photograph the supplied footwear in a clear side profile on a neutral matte surface. Preserve toe shape, sole tread edges, stitching, laces and branding. Show the whole shoe without inventing a matching shoe if only one is supplied. Review priorities: Toe shape and sole profile; Left/right construction and source count; Laces, fastenings and branding.Open this direction ↗
Footwear is easy to identify by a handful of shapes: the toe, the rise of the sole, the heel and the opening. Choose an input that makes those features visible. A dramatic overhead source can hide the sole; a low side view can hide a fastening. Select the source for the information the next image must communicate.
Review the accepted image beside your original before using it in a catalog. For a collection, keep viewpoint and image scale similar across products while inspecting each pair independently. Shared direction is a starting brief, not a substitute for checking the individual shoes.