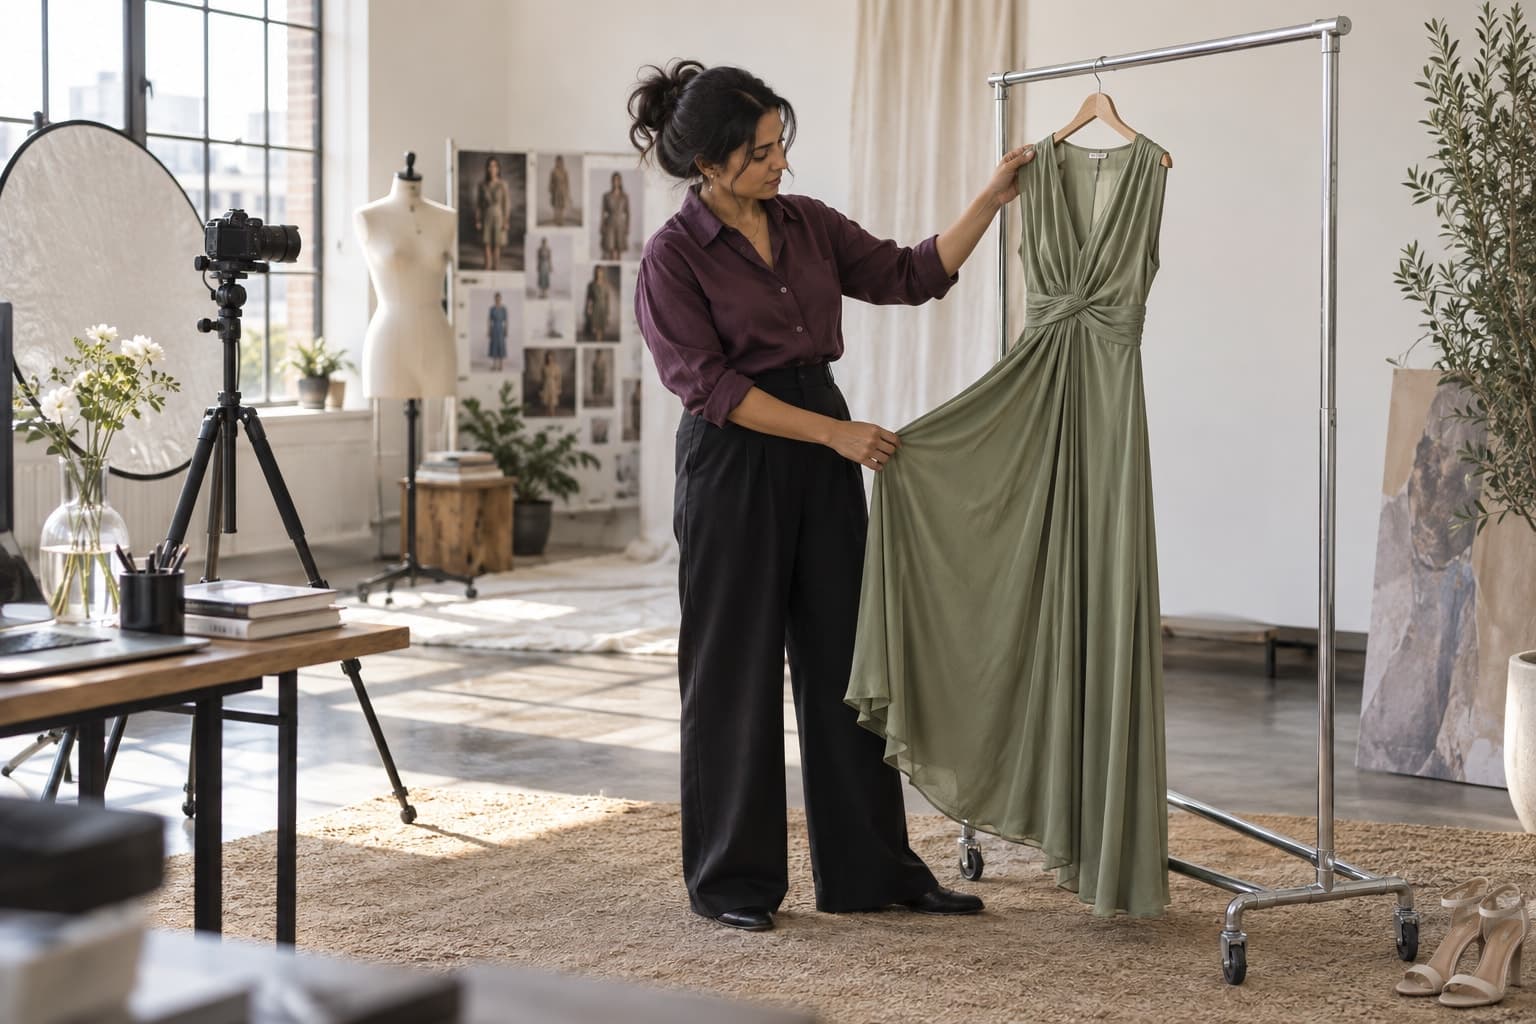
Introduce a bounded image workflow with clear responsibilities, product checks, and an honest assessment of finished-asset cost.
The starting point
The first AI imagery project should answer a production question you already have. Perhaps a small collection lacks styled supporting images, or the team needs more campaign concepts before a shoot. A focused pilot makes it possible to evaluate the work without simultaneously redesigning the whole creative operation.
Choose a manageable product group and name one owner. Define the intended use, the approval standard, and the decision the pilot will inform. A four-week structure can provide useful rhythm, but adjust the pace to your actual team and product complexity. The schedule below is a planning example, not a promised delivery time.
Week one: establish the baseline
Select representative garments, including at least one difficult item. Gather source photographs, product facts, and existing approved assets. Record how the team currently produces the deliverable: preparation time, review effort, corrections, and external costs. Without a baseline, it is easy to confuse novelty with improvement.
Agree on rejection criteria before seeing the first results. Changed construction, incorrect color, and invented product features should have a clear escalation path. Assign responsibility for rights and usage review as well as visual approval. These responsibilities should not disappear because the images are generated quickly.
Week two: create and record
Produce a limited set of candidates using the same brief. Keep source files, instructions, settings where available, and every result together. Record unsuccessful attempts rather than deleting them from the evaluation. They are part of the time and cost required to reach an approved image.
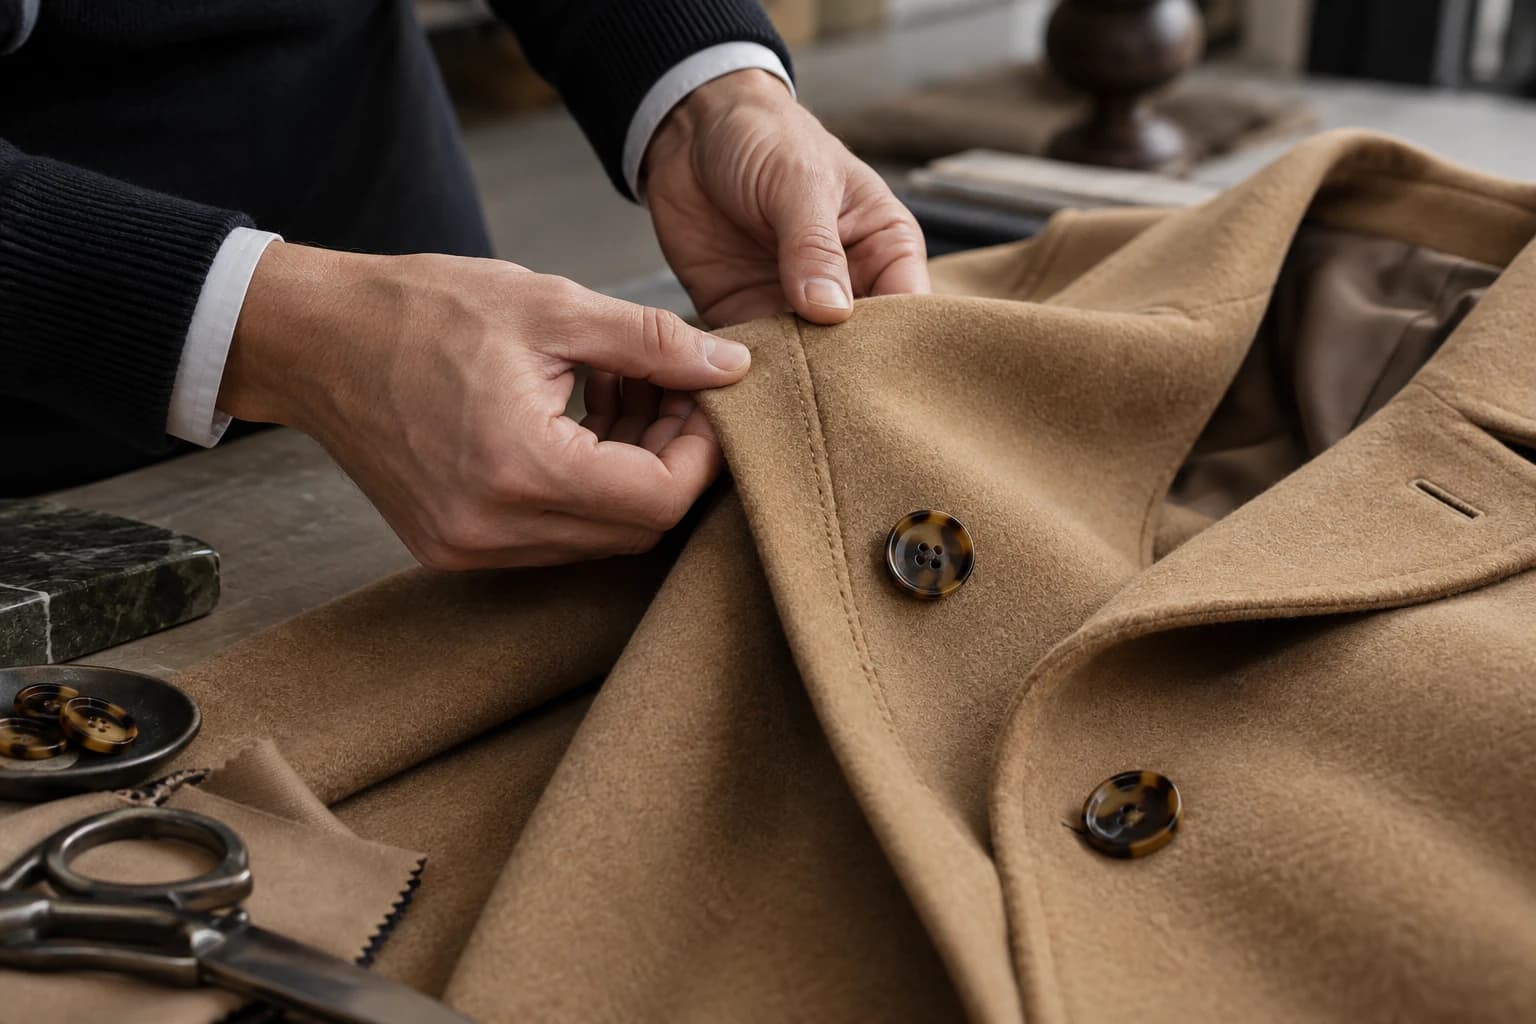
Change one meaningful variable at a time when troubleshooting. If a collar fails, improve the reference or simplify the pose before changing the entire visual direction. The objective is to learn which intervention helped, not merely to eventually find a lucky frame.
Week three: review in the real placement
Compare promising candidates with physical products or verified references. Then place approved assets in the intended page or campaign layout for review. Check small-screen crops, garment visibility, text placement, and consistency with surrounding images. Keep the pilot unpublished until the relevant owners have approved that use.
In a hypothetical accessories pilot, the team discovers that a dramatic image works well as an editorial opener but conceals the bag closure. It retains the image for that limited role and uses a real detail photograph in the product gallery. A useful outcome can be a mixed workflow rather than wholesale replacement.
Week four: make a specific decision
- Count approved assets and the uses for which they were approved.
- Add preparation, generation, correction, and review costs.
- List repeated failures and the products affected.
- Document which steps another teammate can reproduce.
- Decide whether to expand, revise, or stop this particular workflow.
Divide total pilot cost by the number of approved assets for a practical comparison. Keep the learning cost visible, and avoid presenting a small pilot as proof of a permanent savings rate. The next collection may contain different materials or production requirements.
Finish with a short operating note that includes the brief, acceptance criteria, handoffs, and unresolved limits. A successful pilot leaves the team with a repeatable decision process. The images are valuable, but the ability to explain when the workflow helps is what makes the next project easier.