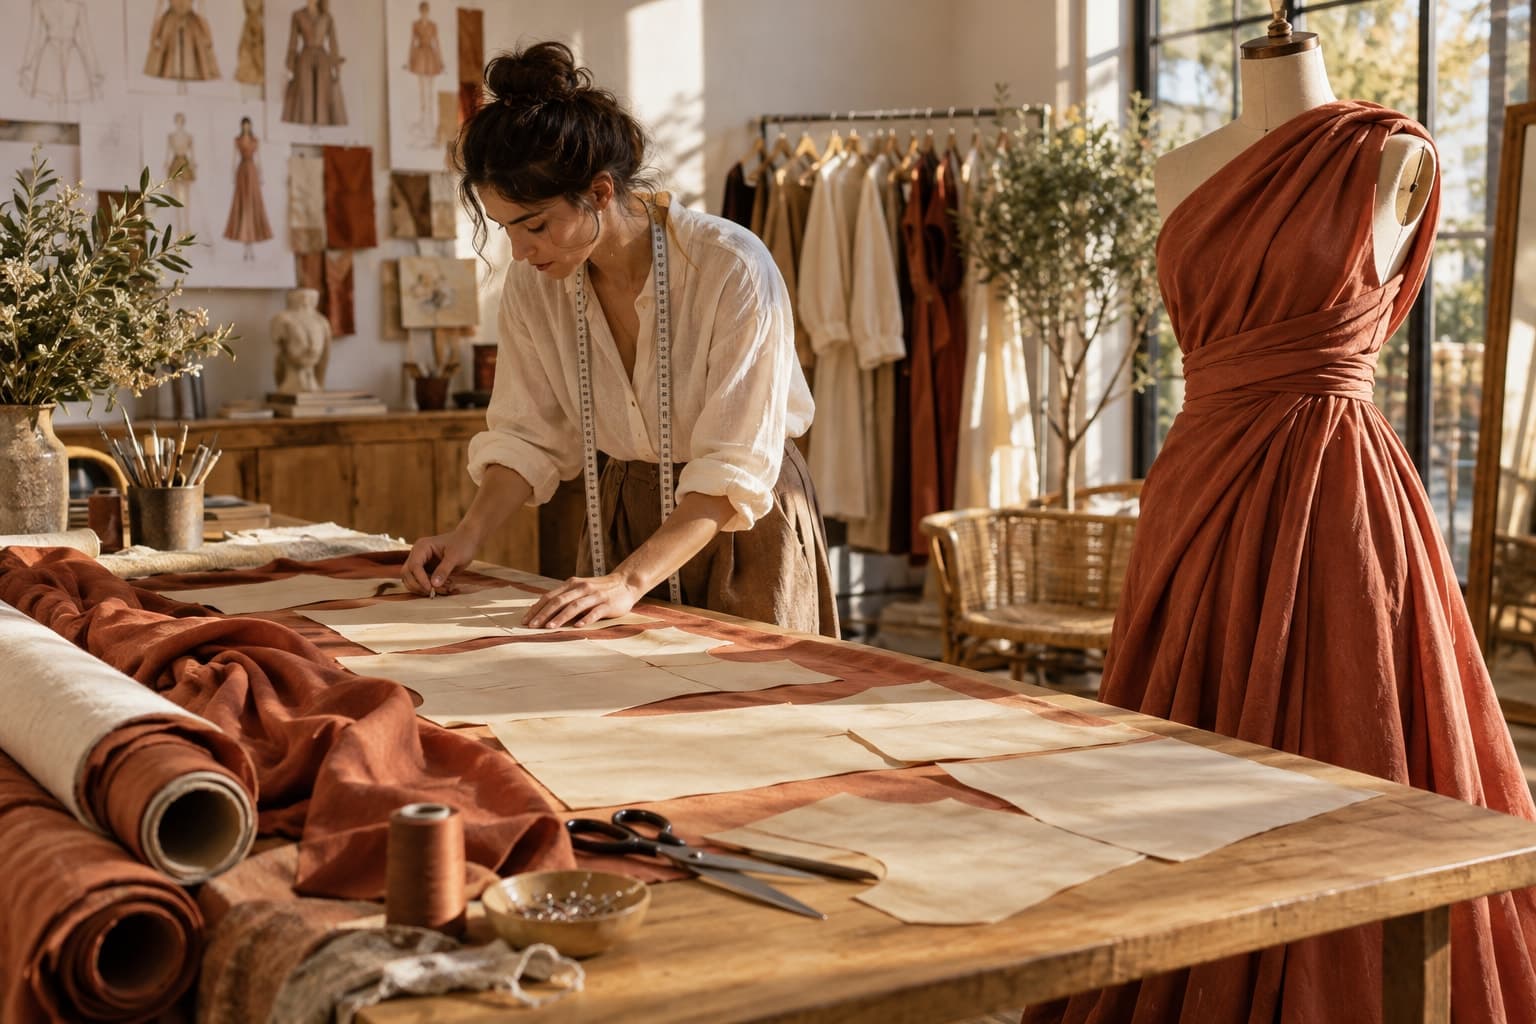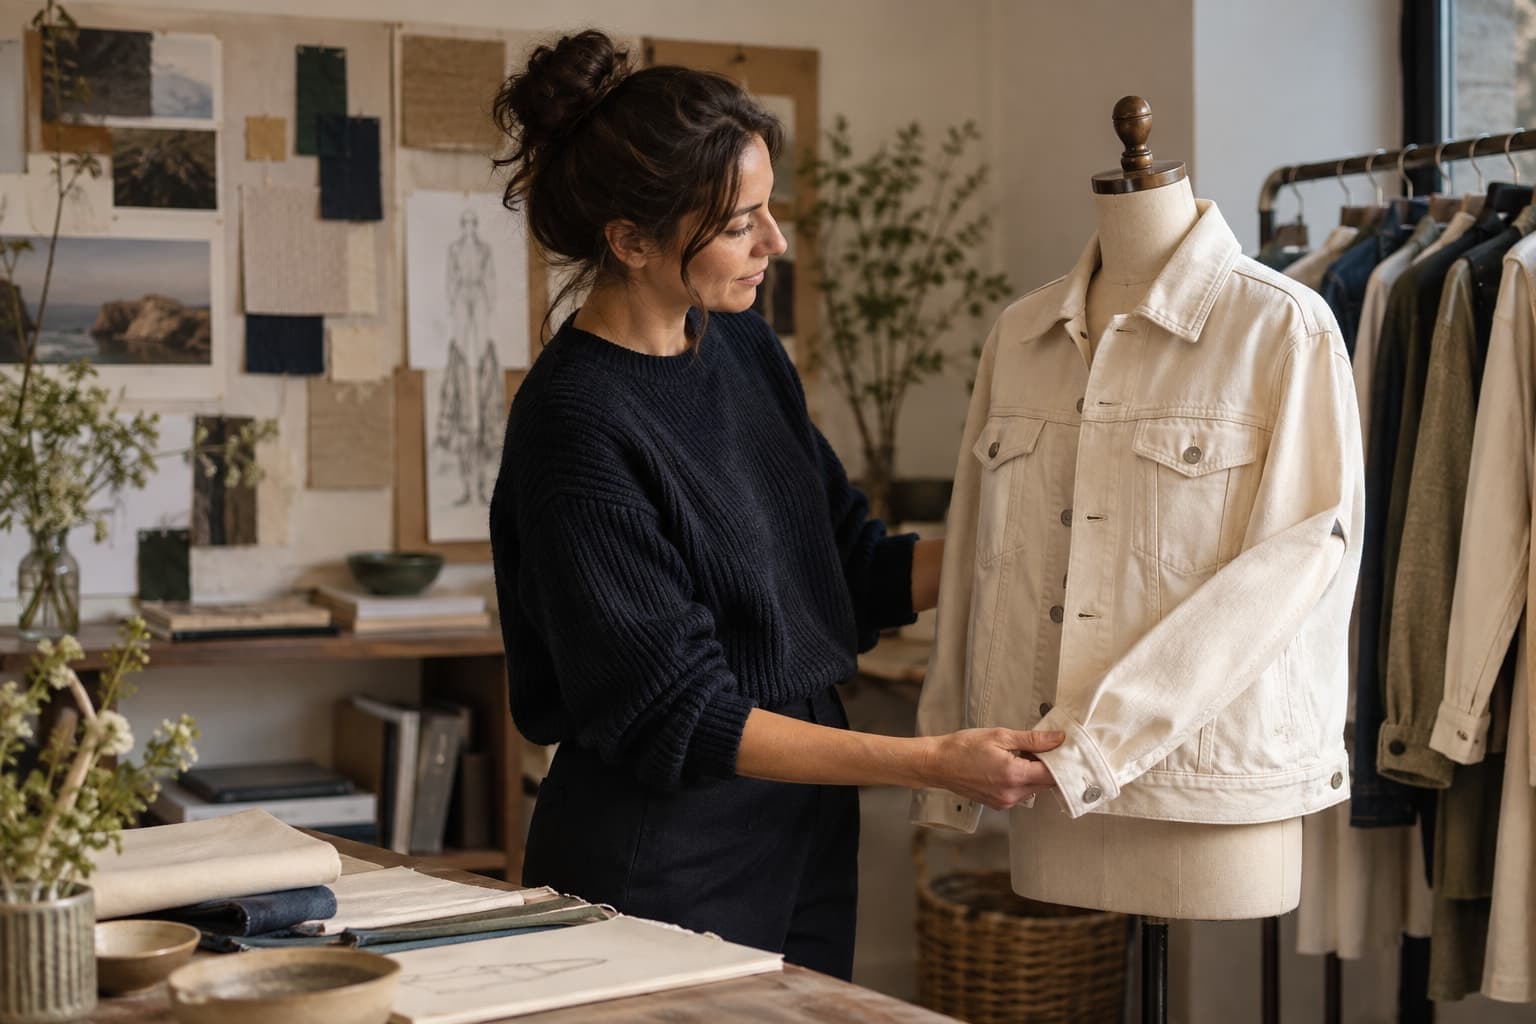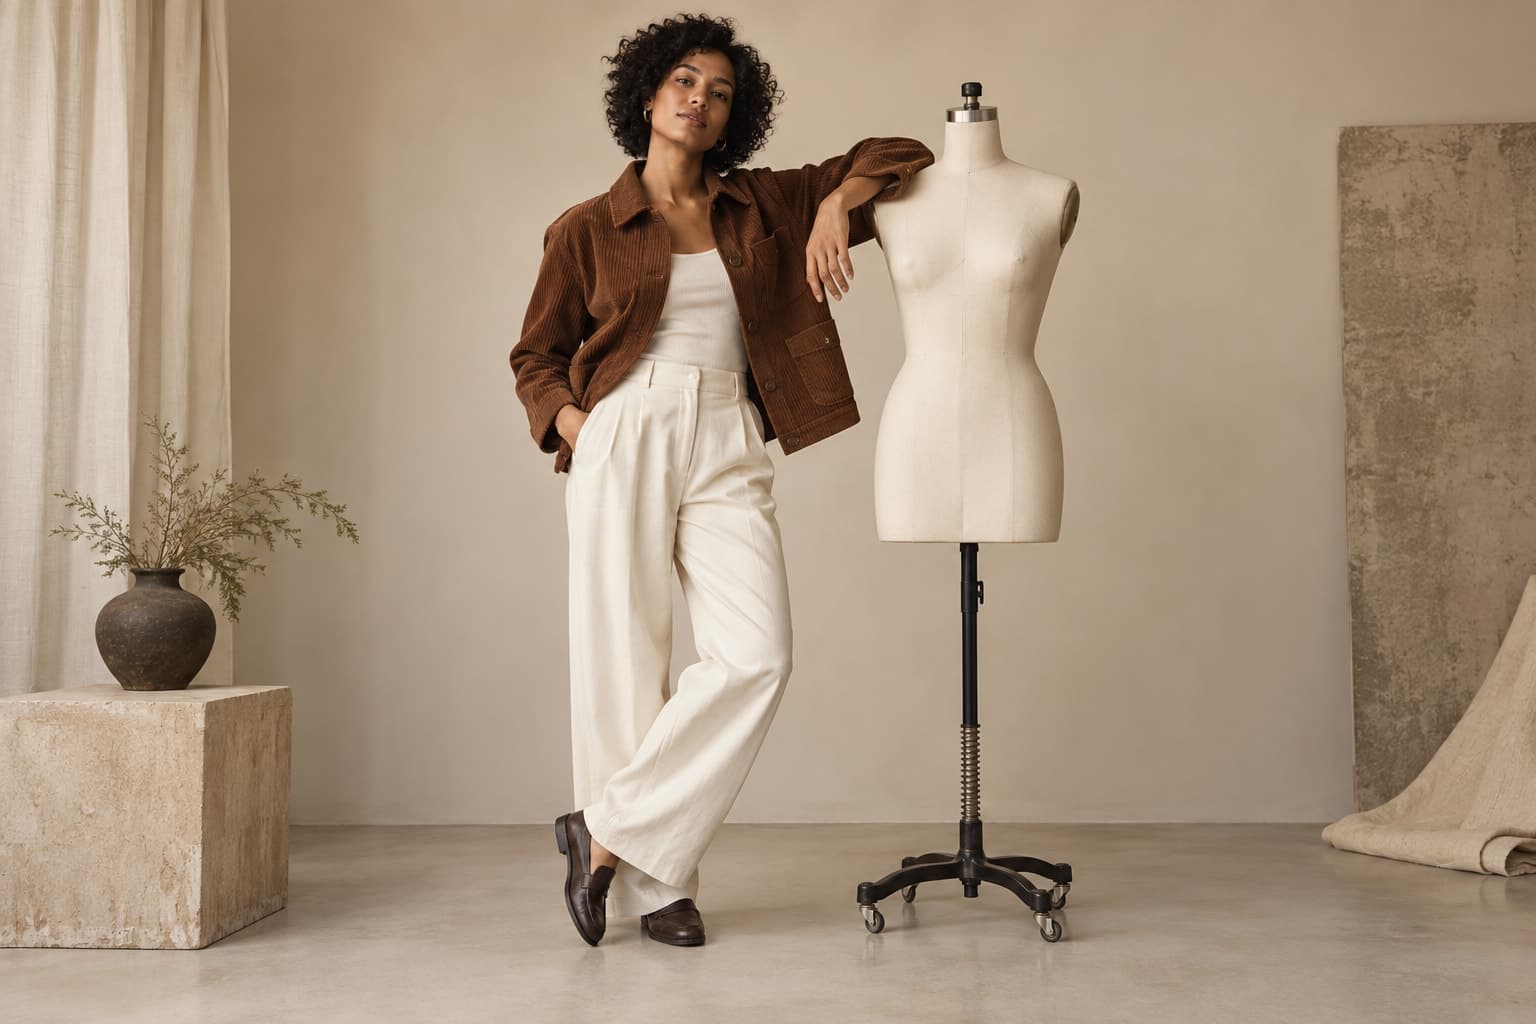
Use existing mannequin photography as one reference in a carefully reviewed styling workflow.
The starting point
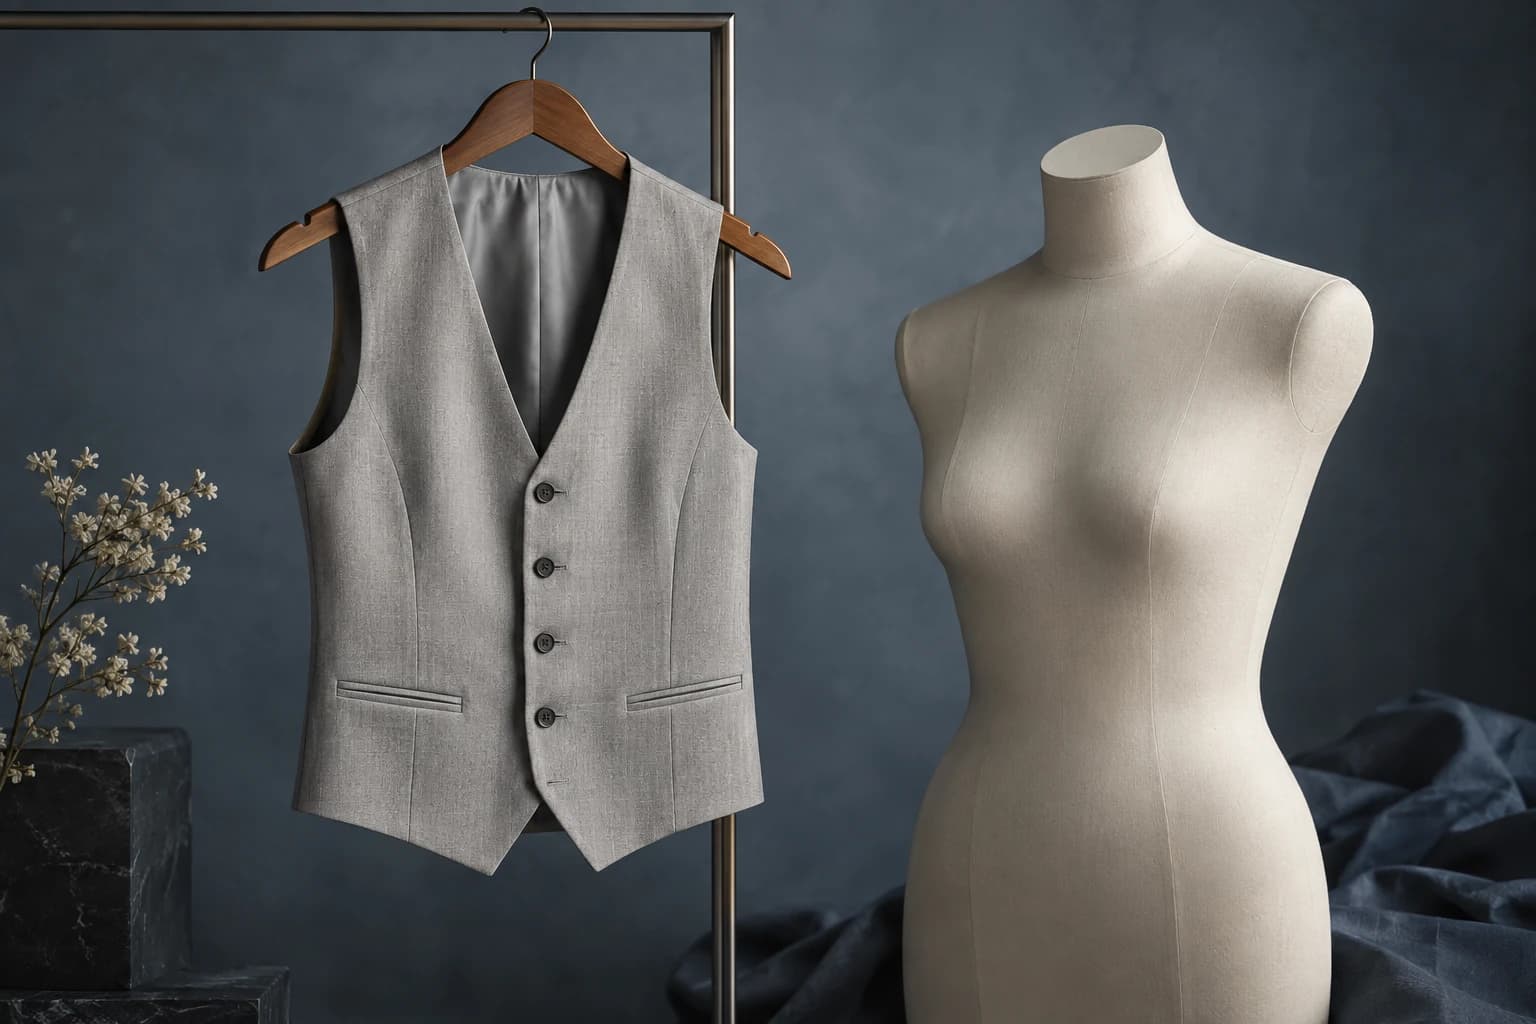
An existing mannequin photograph can contain valuable information about a garment's shape and construction. Adding an on-body image should build on that information, not make the original archive obsolete. The two kinds of image can answer different questions and belong together in a thoughtful product gallery.
Start by assessing the archive you actually have. Some files may be clear, complete, and accurately mapped to current products. Others may show discontinued colorways, edited shapes, or insufficient detail. The quality of the archive determines the scope of the experiment more than its total number of files.
Audit before converting
Check the SKU, color, sample size, image resolution, and approval status for each reference. Flag any retouching that substantially changed the garment. Where possible, compare the image with the current physical item or verified product specifications. A polished old photograph may no longer represent a revised product.
Add supporting views for details that the mannequin frame does not reveal. If the target image would show the back, side, or an interior area, provide evidence for those areas. Avoid allowing the new composition to turn gaps in the archive into invented product features.
Choose the purpose of the new view
An on-body image might help communicate styling, proportion in a particular composition, or the mood of a collection. Be precise about which role you need. It should not be presented as a measurement or a substitute for verified fit information merely because the person looks realistic.
Begin with a pose that leaves important construction visible. A complex gesture or an additional layer may conceal whether the garment has been preserved. Once a simple result passes review, consider whether the creative brief genuinely benefits from a more expressive variation.
Compare the garment across formats
Review the old and new images together. Check the neckline, sleeves, hems, seams, pockets, and closures. Pay attention to details that were easy to see on the mannequin but are partially obscured by the new subject. A hidden error is still an error if the image implies a different product.
In a hypothetical coat project, the archive clearly shows a two-button closure and a broad lapel. The generated candidate introduces an additional fastening. The team rejects it and supplies a close reference for the front. It keeps the original mannequin photograph as a supporting product view throughout the experiment.
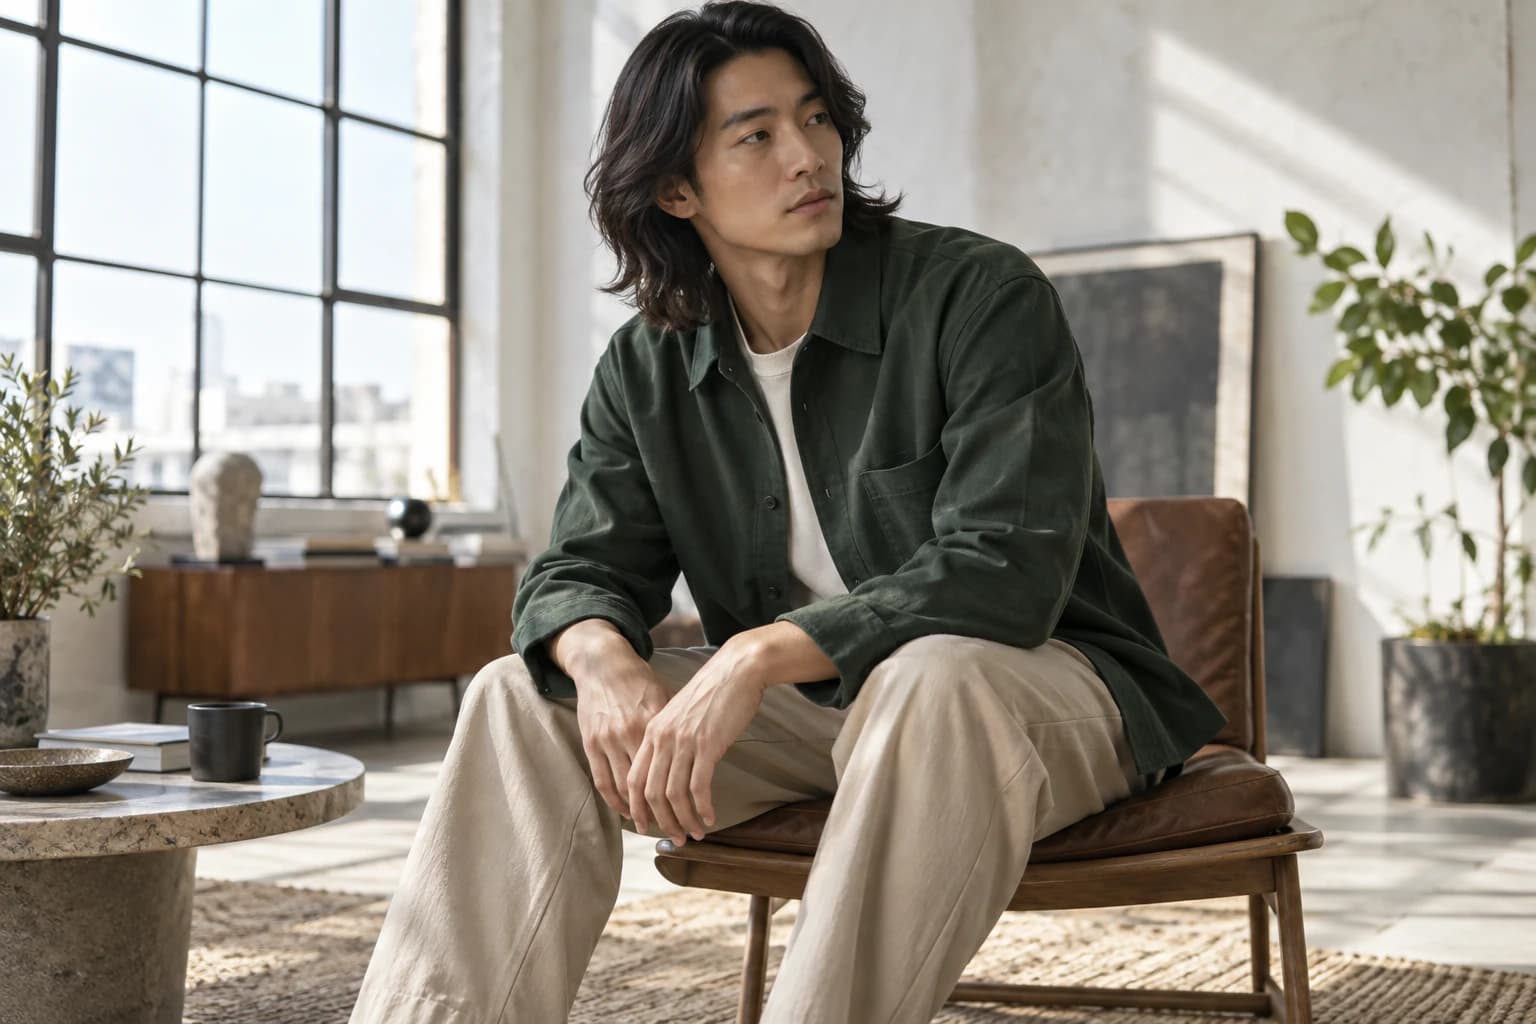
Build a gallery with complementary roles
Use the strongest approved image for each question. A styled frame may introduce the outfit. The mannequin image may clarify silhouette. A real close-up may best show fabric or hardware. The written page should provide accurate material, sizing, and care information that the photographs cannot establish alone.
- Keep original assets until replacements are approved and mapped.
- Avoid publishing a new view for an unverified color variant.
- Document where a generated image may be used.
- Check the gallery order and crops on a small screen.
- Preserve source links so the next update can be reviewed efficiently.
Measure the project by useful gaps filled, not by the percentage of the archive replaced. Some products may benefit from an additional on-body view; others may already have the information customers need. A selective approach protects the value of the existing work while giving the team room to improve the presentation.