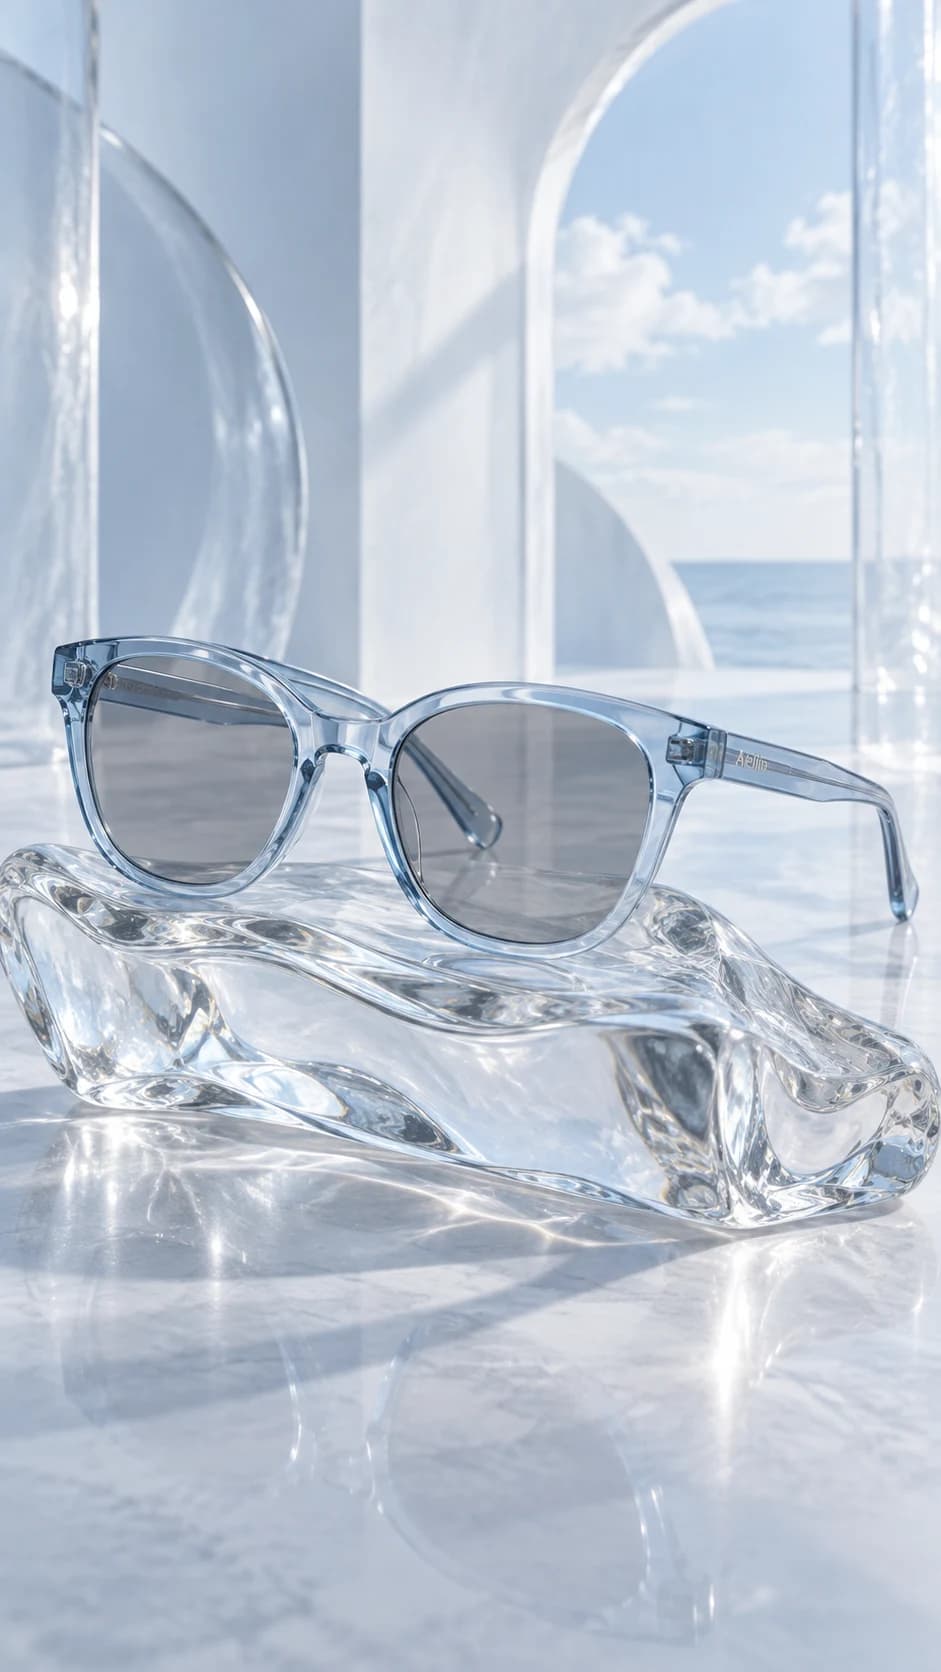
Frame geometry and bridge width. Temples, hinges and alignment. Optical transparency or source tint.
State what the lenses actually are
Eyewear imagery can look convincing while changing the product from optical glasses into sunglasses. Make source lens transparency or tint an explicit priority. In this studio, eyewear directions use the existing Sunglasses accessory setting, so the scene also specifies that clear optical lenses must remain clear when that is what the reference shows.
Use a source with enough contrast to reveal the lens boundary without obscuring it in glare. Keep both lenses and the bridge inside the frame. If reflections make the original hard to understand, choose a clearer source before trying to compensate with a more elaborate prompt.
Inspect the frame as a connected structure
Compare the lens shapes, bridge width, rim thickness and temple attachment points. Look at left and right alignment rather than accepting a general impression of symmetry. A three-quarter composition should still have a plausible relationship between the front frame and the visible temple.
Check hinge details, ends of the temples and any small marks. Do not approve added lettering or a changed logo because it is subtle. If the selected scene keeps hiding the temple, simplify the angle and make a separate editorial image later.
Use setting without losing the product
A sunlit ledge can provide atmosphere, while a warm white view can support a product page. Both need controlled reflections and complete framing. Strong highlights should reveal the material rather than erase the bridge or change the apparent lens color. Keep original photography for the precise product reference.
Review the result at full resolution and in the final placement. The image does not validate prescription compatibility, lens protection or fit. Those remain product information questions. Once a sample is acceptable, reuse the direction carefully and inspect every frame shape independently across the collection.