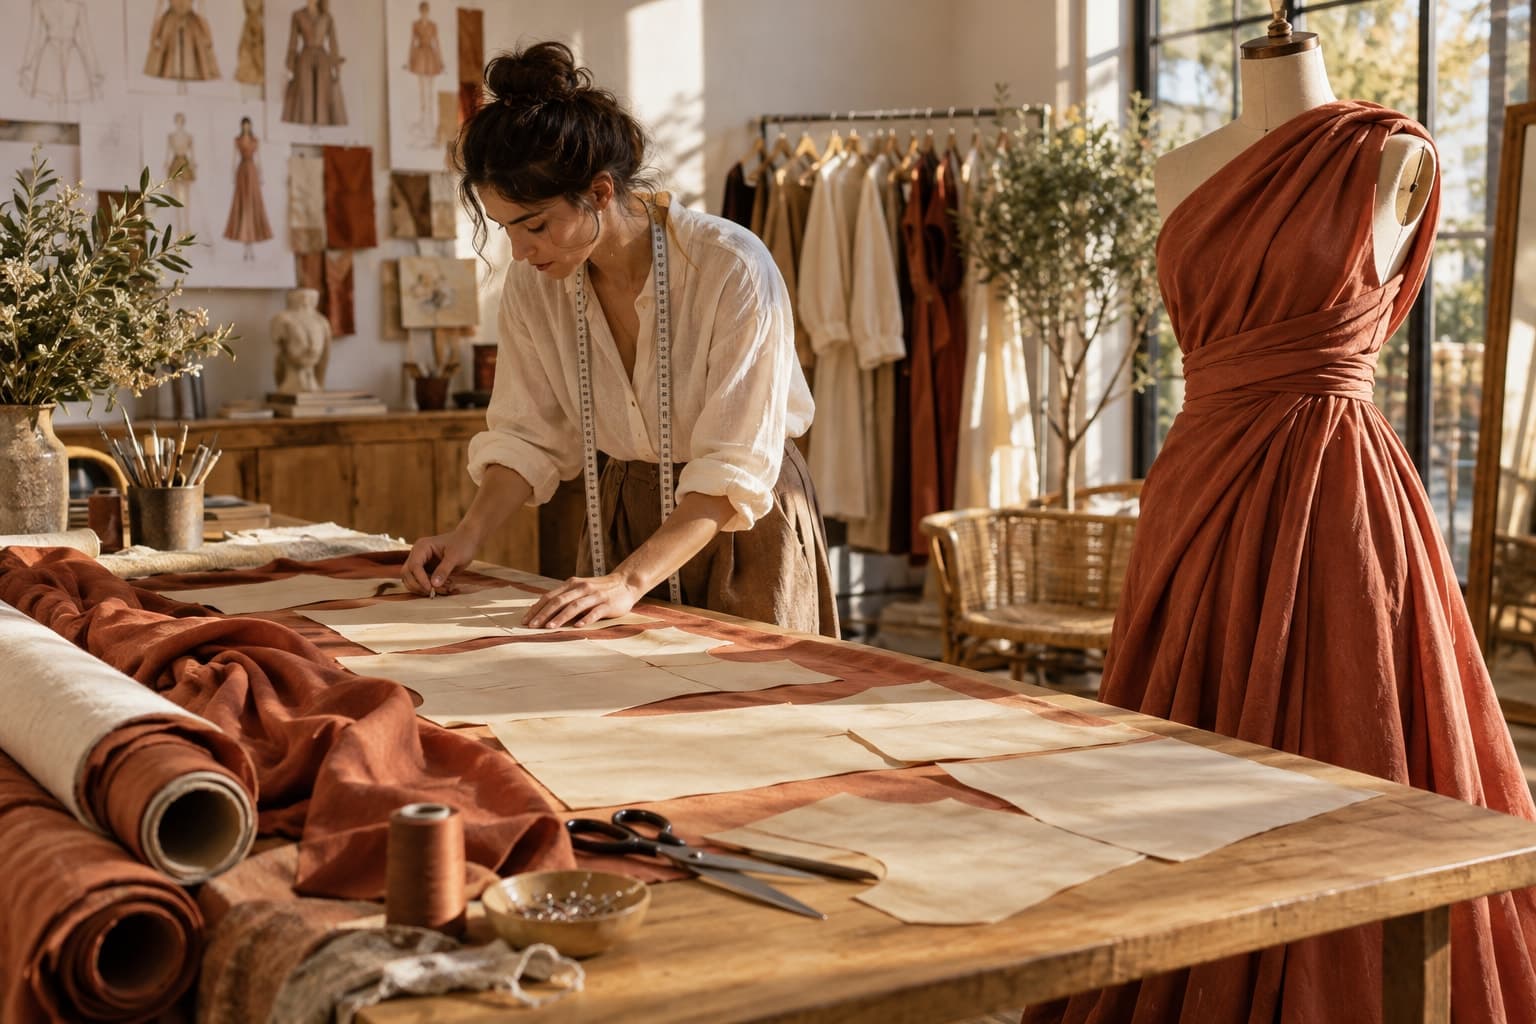
Prepare flat-lay references for on-body image experiments while keeping construction, fit, and uncertainty visible.
The starting point
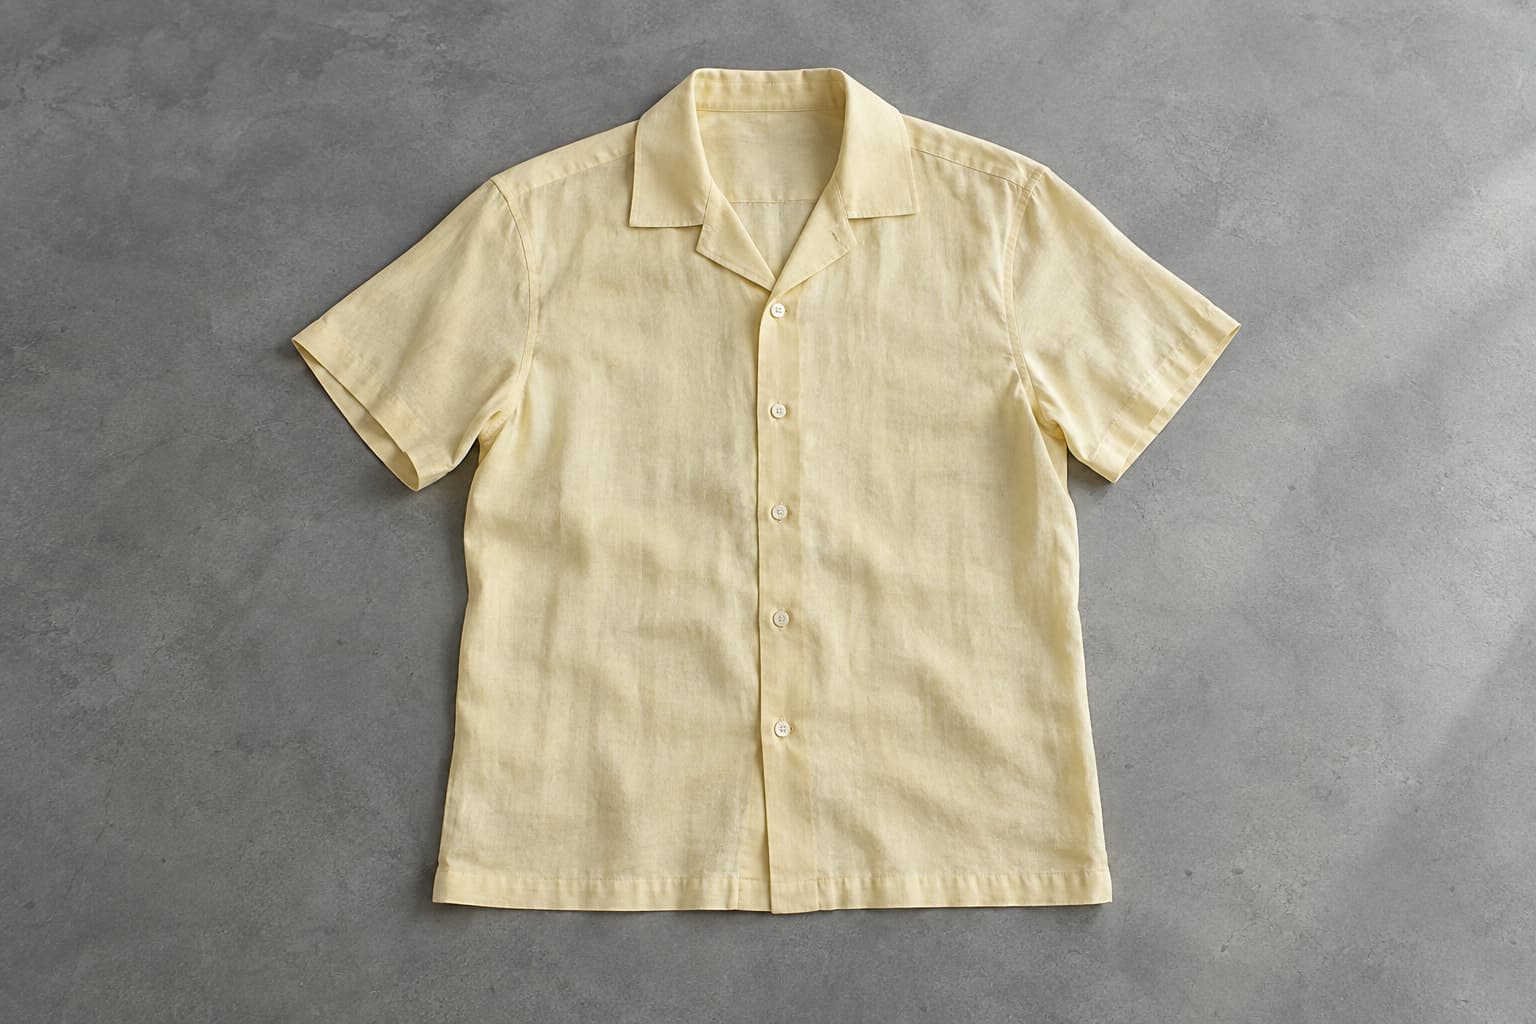
A flat lay is a useful record of color, print, and basic shape. It is also a garment arranged on a surface, without the body and movement that influence how clothing appears when worn. When using it as a reference for an on-body image, recognize both its strengths and its missing information.
The goal is a controlled representation of an existing item. That means preserving visible product facts and refusing to treat invented details as evidence. Begin with a garment you can inspect and a use case you can review, rather than assuming that every flat lay can produce every pose accurately.
Prepare the garment deliberately
Arrange the item so its edges and construction are readable. Smooth distracting folds without stretching it into a misleading shape. Keep sleeves, straps, and ties separated where possible. Check that the full garment is visible and that important details are not concealed underneath another part.
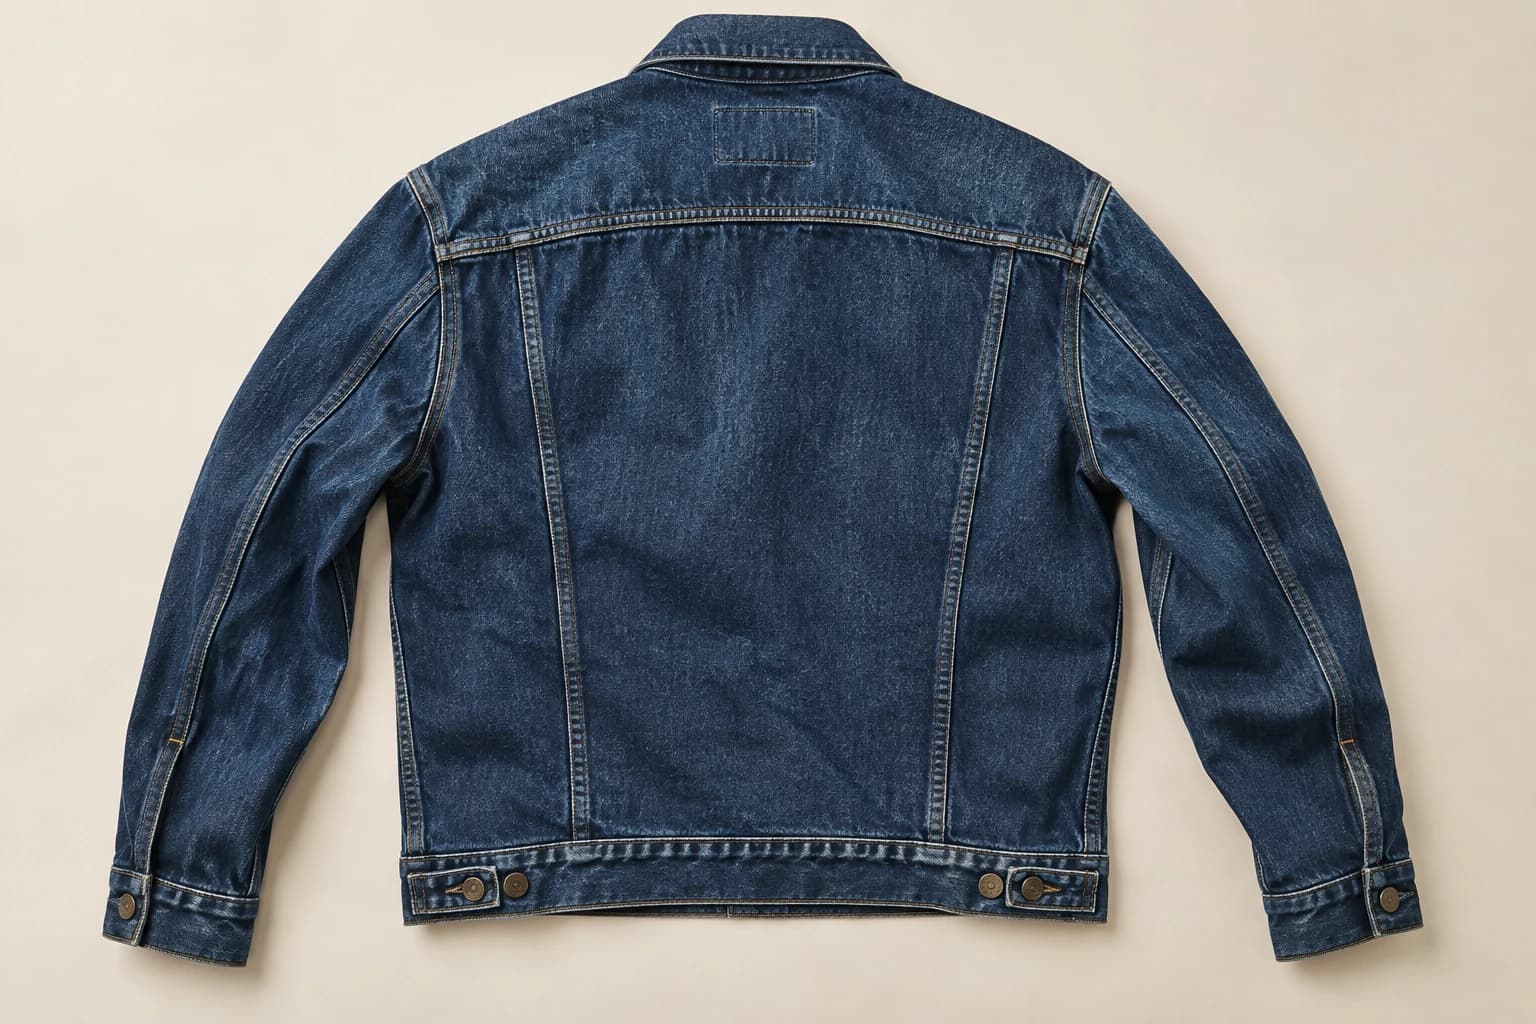
Photograph against a simple surface with manageable light. Avoid strong shadows crossing the garment and backgrounds that compete with the edges. Capture additional references for the back, closures, fabric texture, and any detail that the main image does not explain. Associate every file with the correct SKU and color.
Write down the unknowns
A flat lay may not establish how fabric drapes on a body, where a hem falls on a particular person, or how a neckline sits when worn. Record those uncertainties. If they matter to the intended commercial use, supply verified on-body references or other appropriate product evidence.
Do not turn a generated image into a size recommendation merely because it looks plausible. The result can be a visual candidate for styling or presentation, but it does not replace physical measurements or a fit assessment. This distinction should remain clear to everyone approving and using the asset.
Start with a readable pose
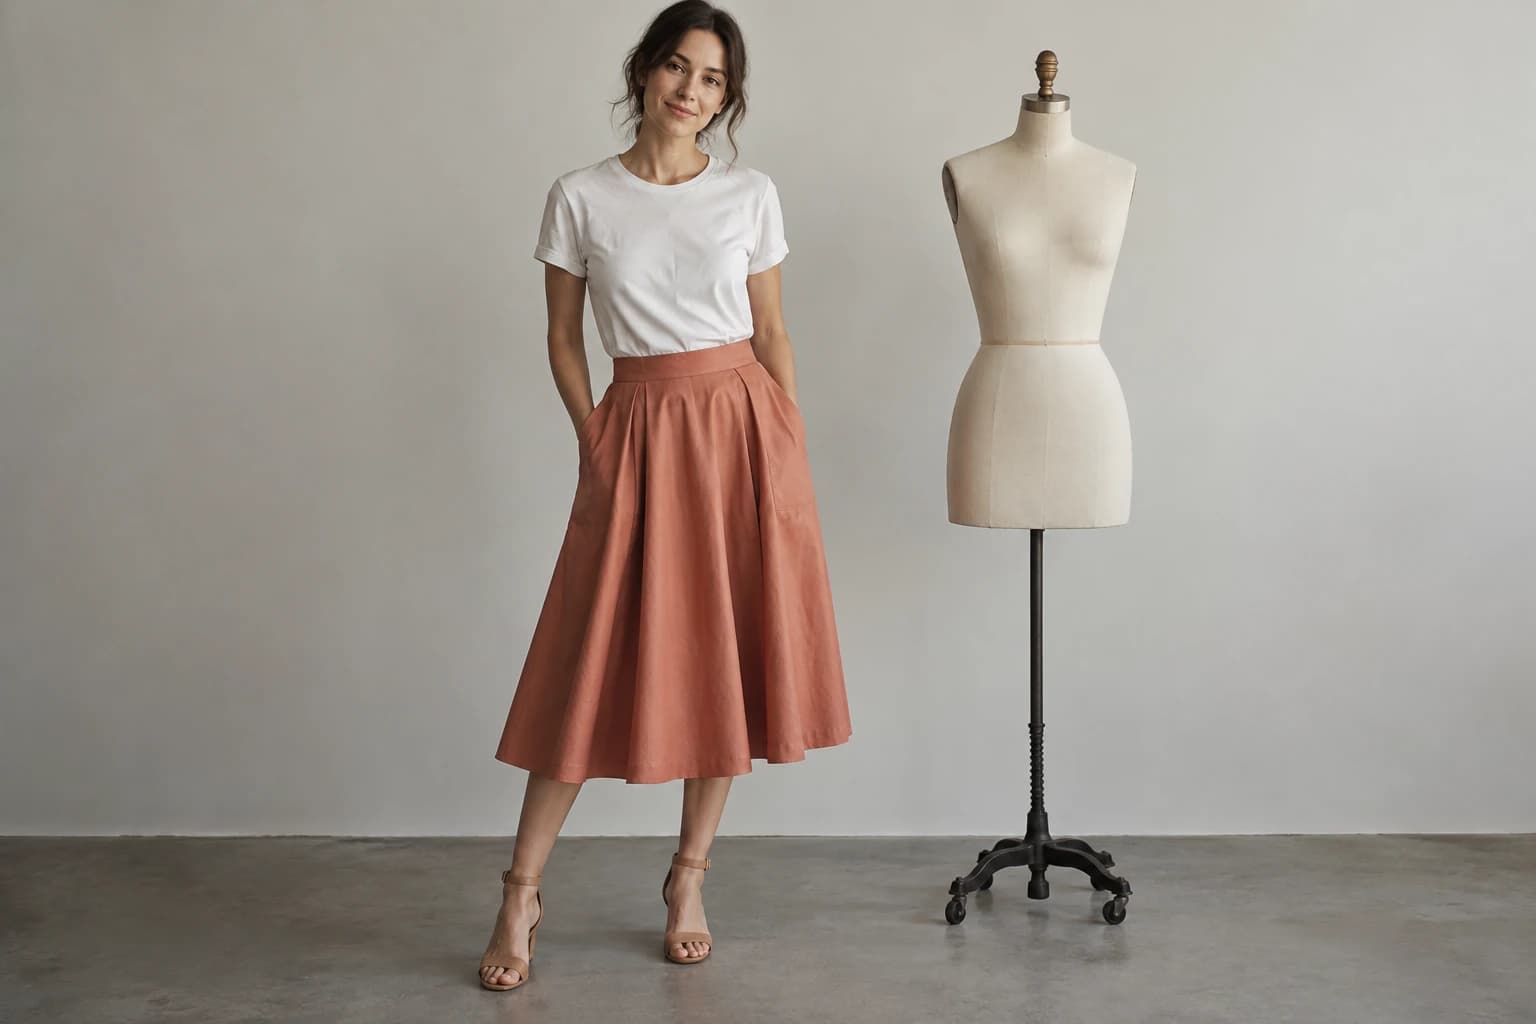
Choose a pose that keeps the garment's defining areas visible. Complex crossed arms, deep twists, and heavy layering can make it harder to review what happened to the product. Build a simple baseline first, then decide whether more expressive images are necessary for the brief.
In a hypothetical cardigan test, the team uses a straight-on relaxed pose to inspect the button band, pockets, and hem. It rejects a candidate with an extra pocket even though the face and lighting are strong. A second attempt uses clearer detail references rather than hiding the error with a tighter crop.
Keep the source in the final information set
The flat lay can remain useful after an on-body image is approved. It may show a print or basic construction more clearly than the styled view. A product gallery can combine both, along with close details, provided that each image accurately matches the selected item.
- Compare outline, closures, and distinctive trim with the source.
- Check that the intended color has not shifted.
- Review the image at the actual display crop and at full size.
- Escalate uncertainties about drape or length instead of guessing.
- Preserve the original references and approval notes.
Treat this workflow as an experiment that can succeed for some garments and fail for others. Its value comes from producing usable, reviewed assets from available references. Keeping the limits visible makes the result more useful to the creative team and more trustworthy in a shopping experience.