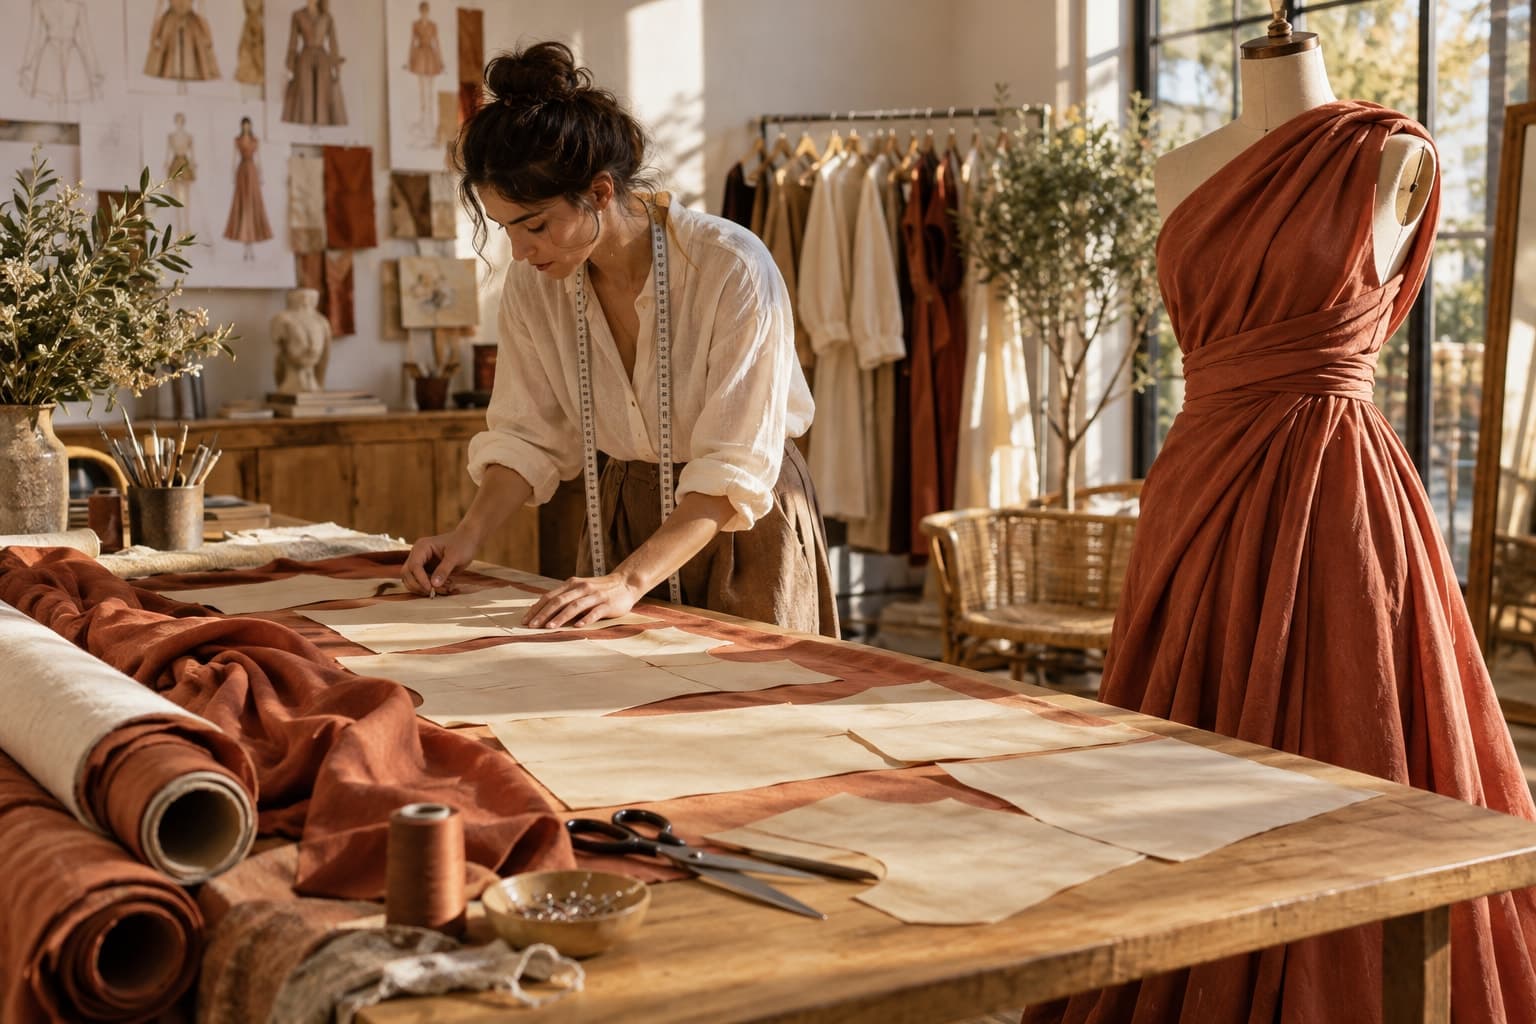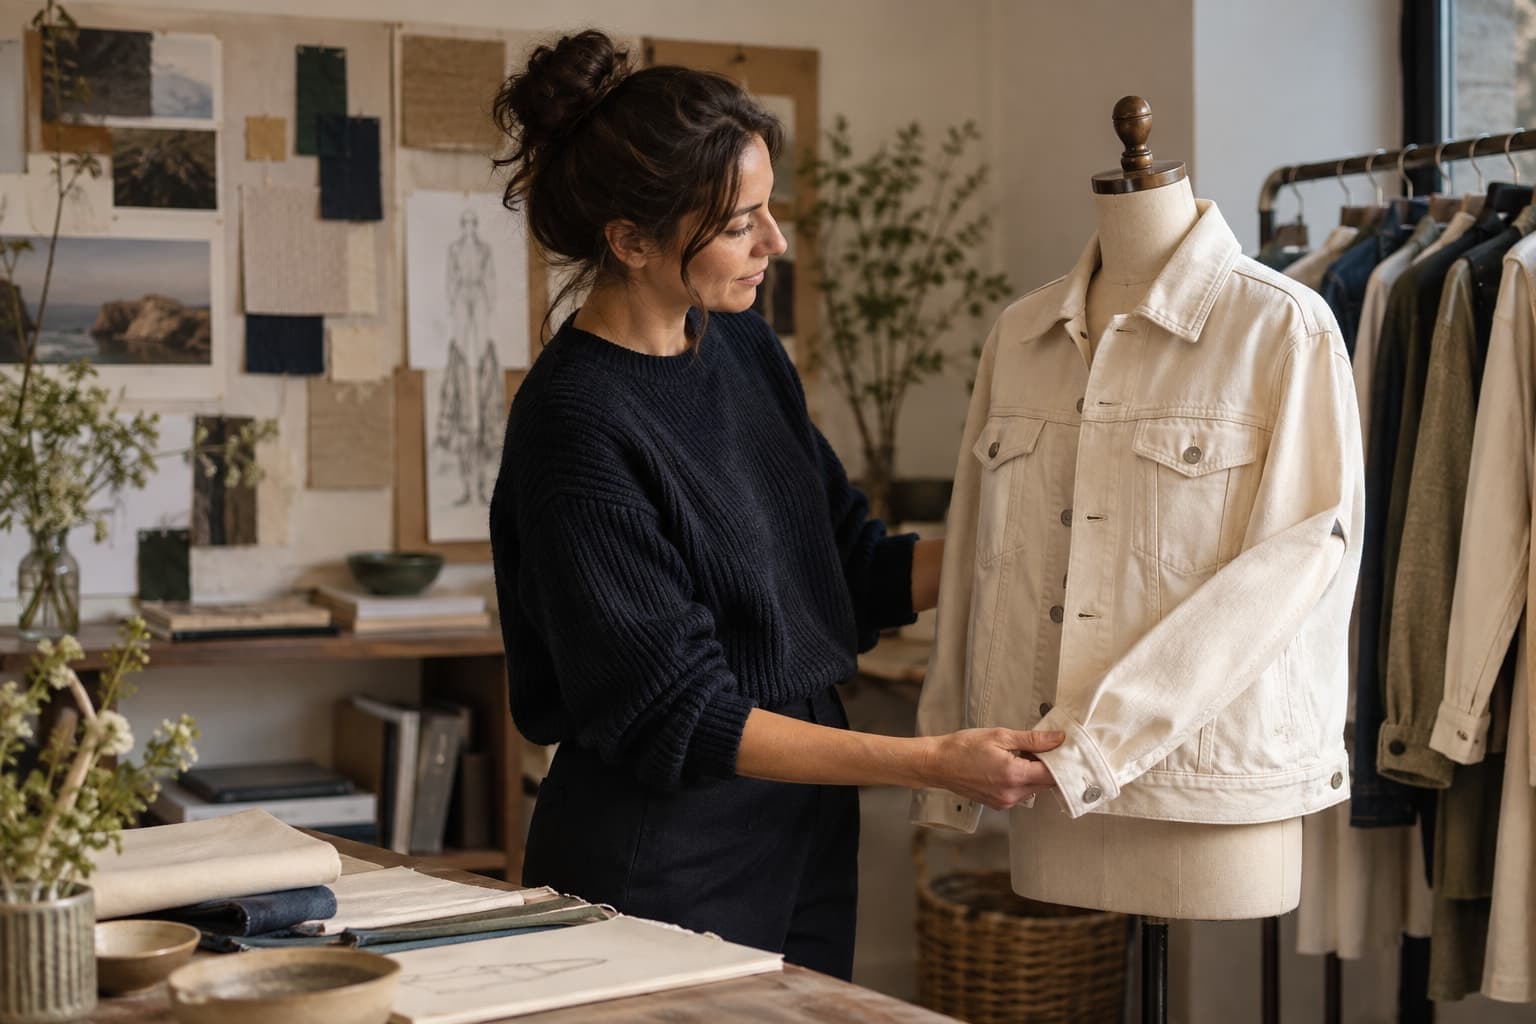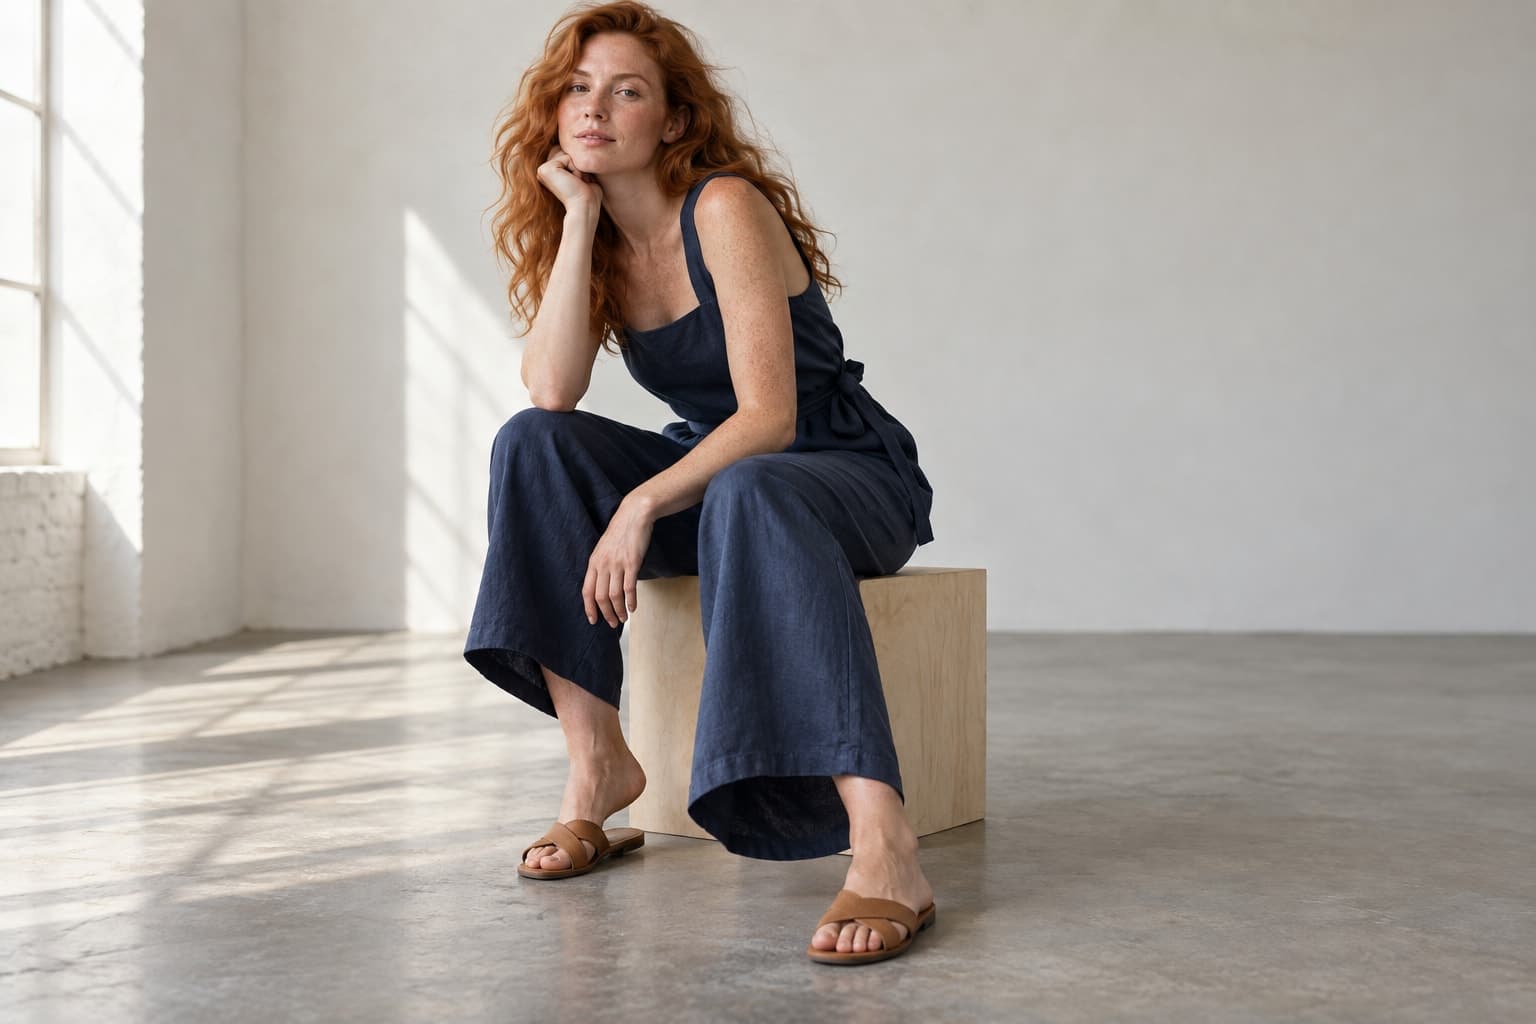
Start an image experiment with a clear source, a simple creative goal, and a practical review checklist.
The starting point
The first useful step in an AI fashion workflow happens before generation. Choose what you want to communicate and what must remain true about the product. A clear brief gives the resulting image something to succeed at. Without one, every preview becomes a vague question of whether it looks impressive.
Begin with one garment and one intended use. A supporting editorial image is a different assignment from a verified product detail. Keep the experiment small enough that you can inspect the item and understand the result. This guide describes a general workflow, rather than a claim about a particular tool's current interface or features.
Gather the essentials
Prepare clear source photographs and accurate product information. Include the front, back, and distinctive details when they are relevant to the desired view. Identify the correct color variant and remove unrelated files from the working folder. A confusing input set makes it harder to determine which reference the final image represents.
Write a short description of the garment in ordinary language. Focus on facts: shape, material appearance, closures, length, and details that must not change. Keep subjective styling wishes in a separate sentence. This helps reviewers distinguish the product from the creative treatment around it.
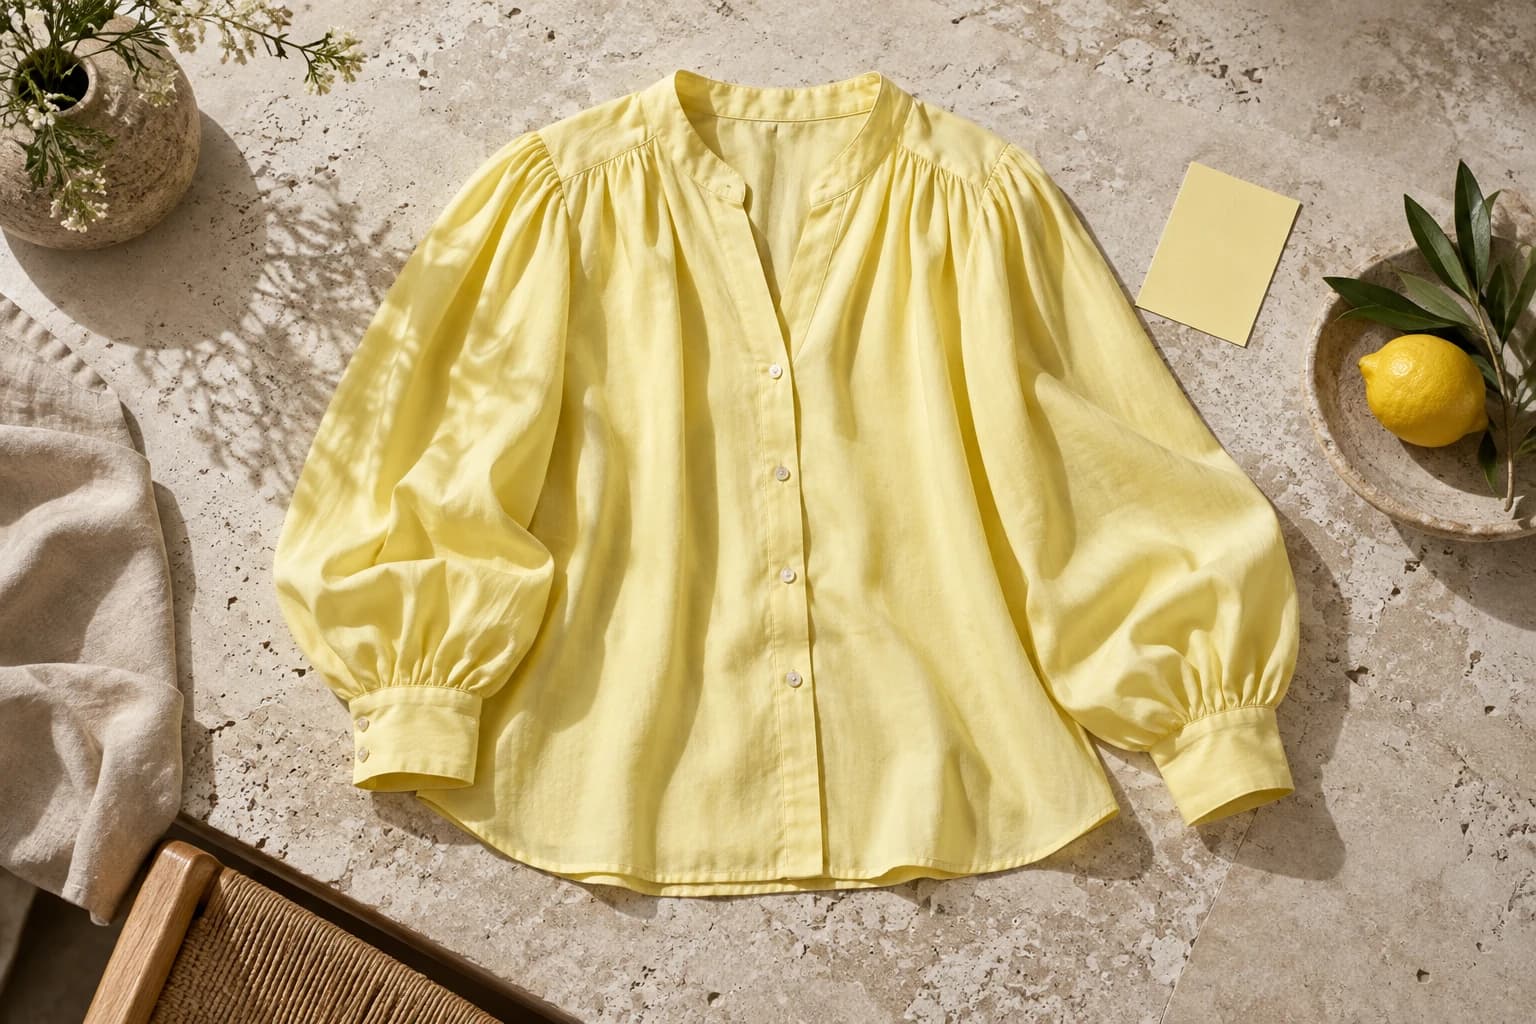
Choose a simple visual direction
Describe the subject, pose, background, light, and crop. Use a small number of compatible instructions. An understated studio scene with a readable pose is often easier to assess than a complex environment with several layers and props. The first goal is to establish a reviewable baseline.
For a hypothetical cotton shirt, the brief might request a relaxed standing pose, soft side light, a pale background, and a clear view of the front. The fixed requirements include the actual collar shape, pocket count, and fastening. Those product requirements should survive every creative variation.
Review before refining
Compare the result with the source at full size. Inspect the silhouette and important details, then review the image in its intended crop. If the garment has changed, describe the difference precisely. An extra pocket is a clearer note than the image feels wrong.
Decide whether the issue calls for a better reference, a simpler composition, a different workflow, or rejection. Repeating the same attempt without a diagnosis can consume time while teaching the team little. Keep notes beside the result so the next person can understand the decision.
Save an approved version with context
Keep the approved image, source references, brief, and usage decision together. Export a separate file for each required placement and verify that the crop still shows the intended product information. Confirm current channel rules and the relevant commercial usage terms before publication.
- Is this the correct garment and variant?
- Are distinctive details preserved rather than invented?
- Does the image suit the intended audience and placement?
- Is conceptual or synthetic context clear where it matters?
- Can the team reproduce or revise this result later?
Your first experiment does not need to produce an entire campaign. It should show whether the workflow can make one useful asset and whether you can explain how it was approved. Once that process is clear, expanding to more garments becomes a practical production decision rather than a leap of faith.