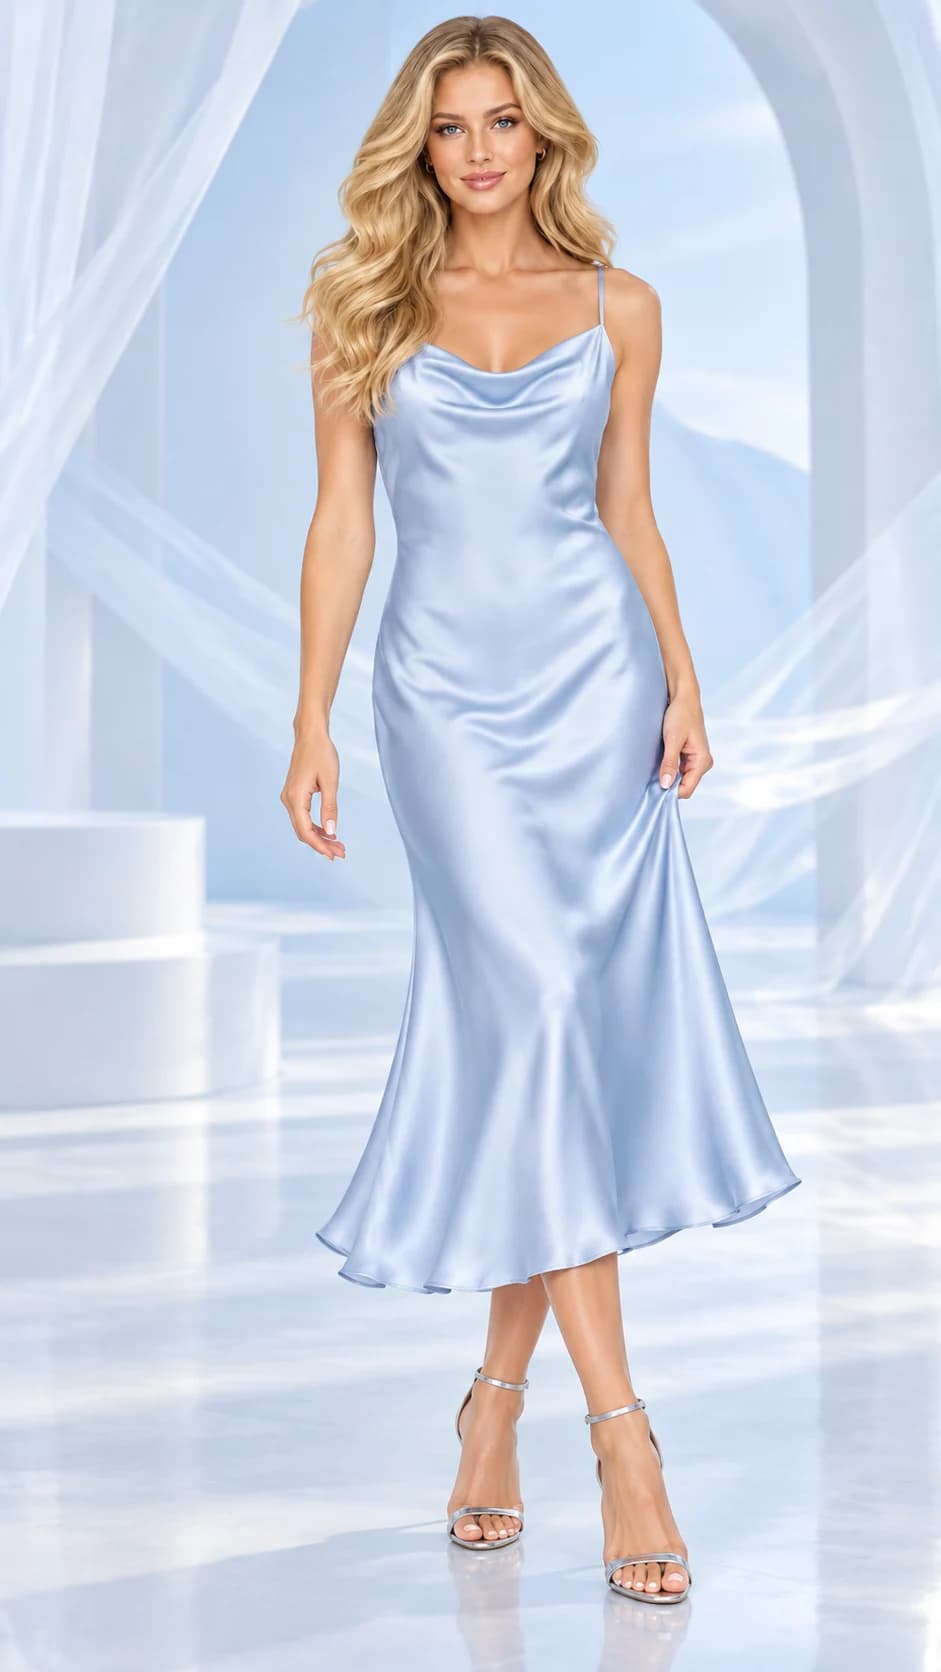
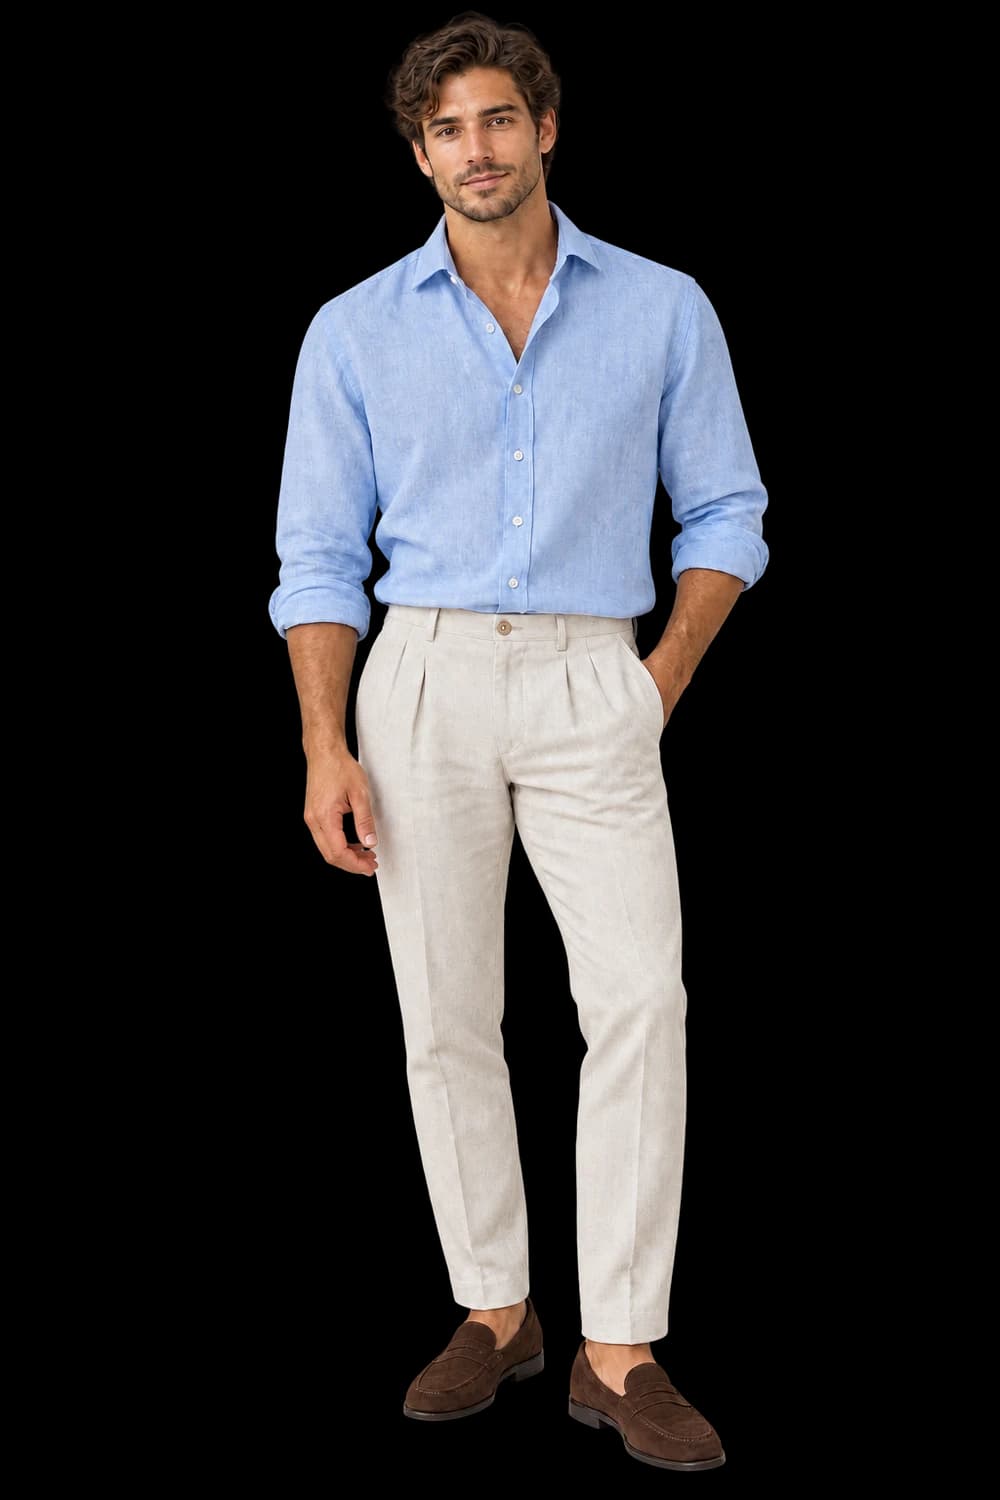
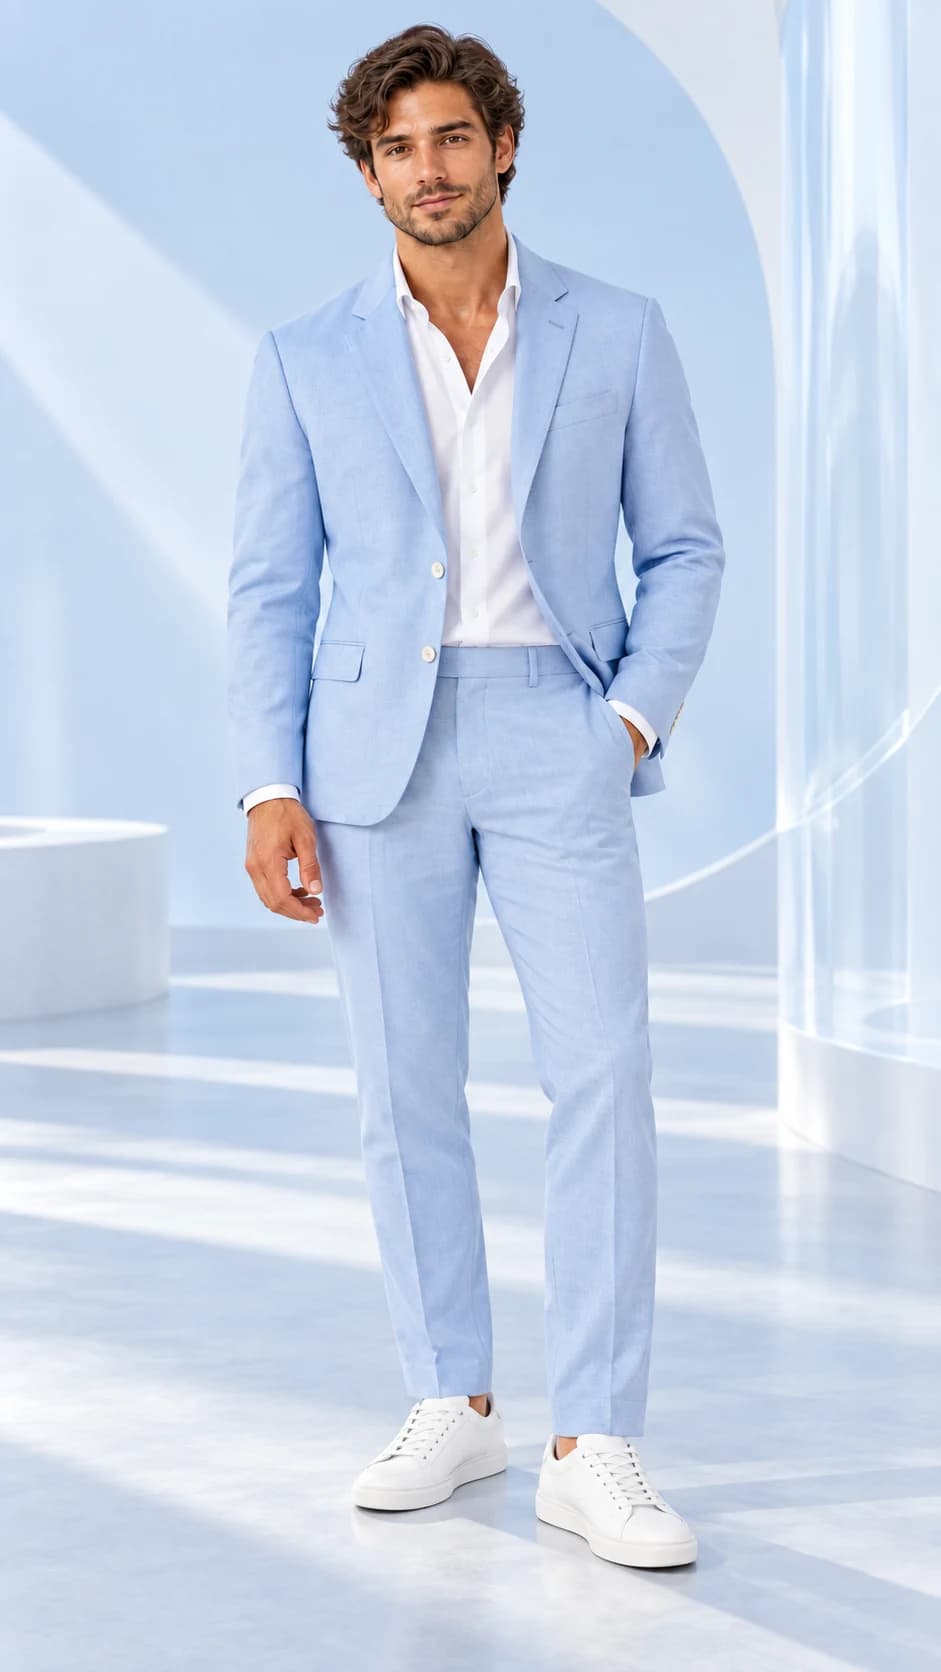
Show the line from waist to ankle.
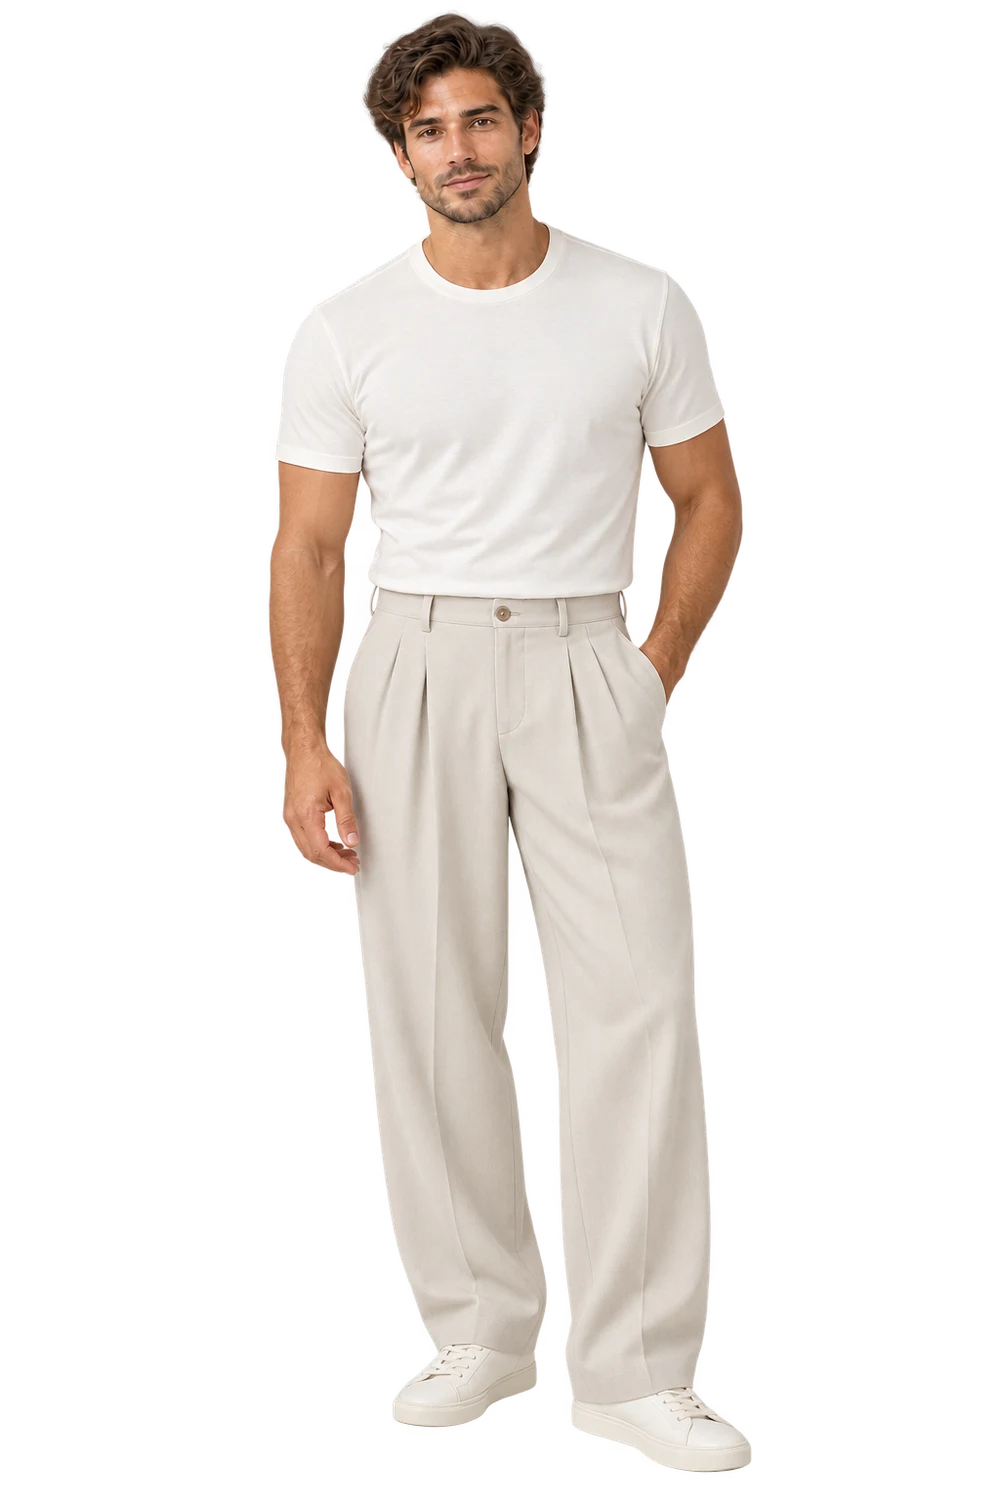
Build trouser imagery around rise, leg shape, pockets and hem, with a full-length product view as the starting point.
Add your own product. Edit the starting direction. Review the quote before requesting one sample.
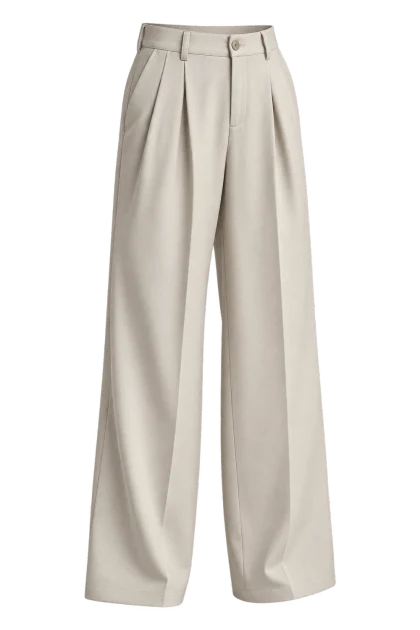
What to keep in the frame.
Use your original as the standard. These details deserve a separate pass before you approve the image.
- 01Waistband, rise and fastening
- 02Leg width and seam direction
- 03Hem length and both leg openings
The better starting point.
Lay both legs clearly in view, with the waistband and hems inside the image. Avoid a fold that makes a straight leg resemble a tapered cut.
Have a public shop? Import your product ↗Photograph the supplied trousers on an adult model in a clean neutral studio. Frame the full garment from waistband to both hems with shoes and head completely inside frame. Use a simple uncrossed standing stance. Preserve rise, pleats, pocket placement, leg width and original length; no top hiding the waistband.Open this direction ↗
Trousers are defined by relationships: waistband to rise, thigh to knee, and knee to hem. A source that cuts off the lower leg removes information the next image needs. Start with both hems and the waistband visible, and use a product view that makes the intended leg shape understandable without relying on styling.
For a trouser collection, hold the image scale and camera height reasonably consistent so different cuts remain comparable. Inspect every sample against its own reference before approving the set. When length or construction remains uncertain, use the original product photograph for that information and keep the generated scene in a supporting editorial role.