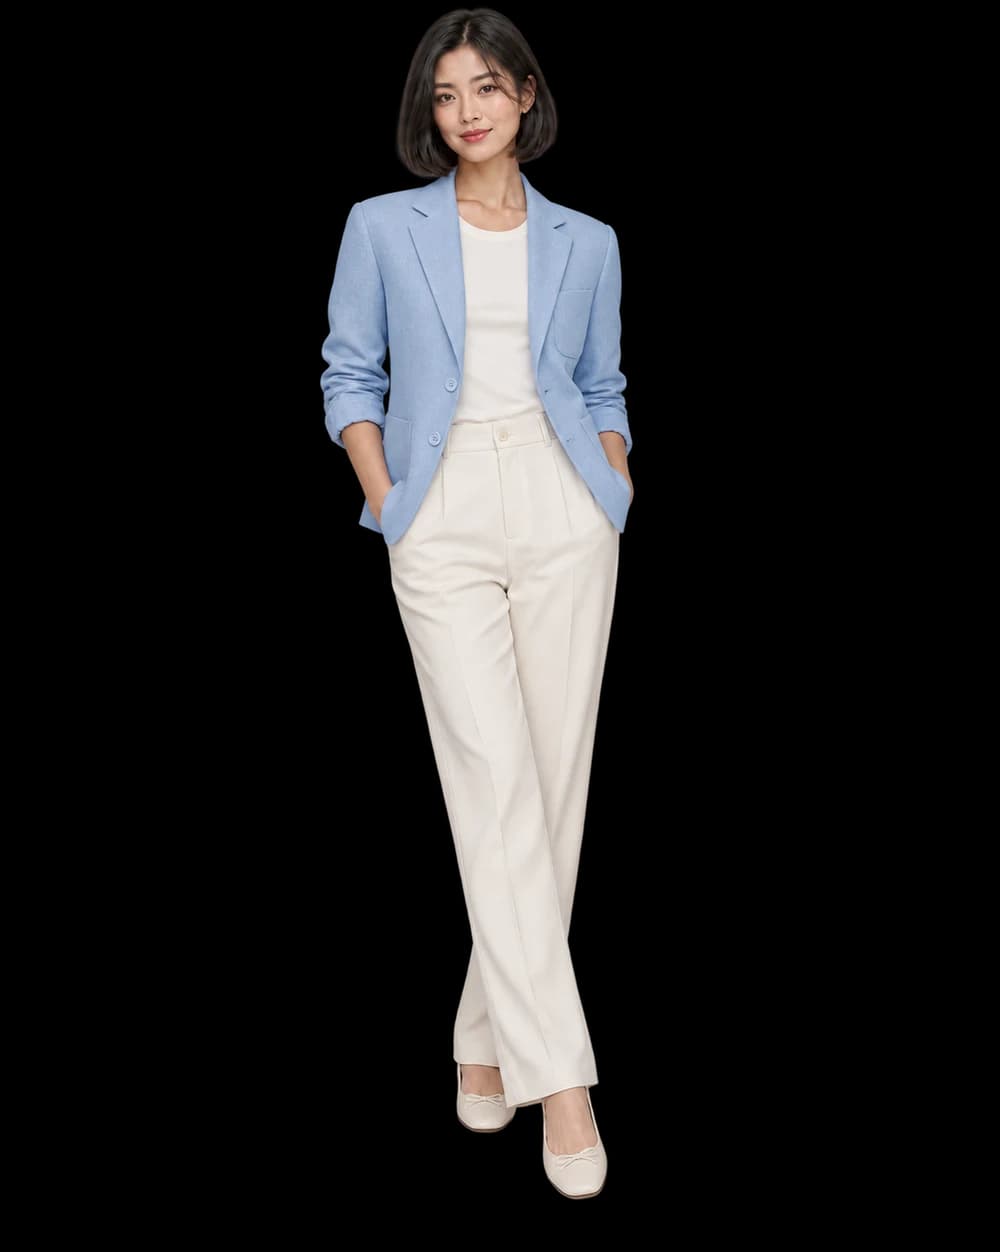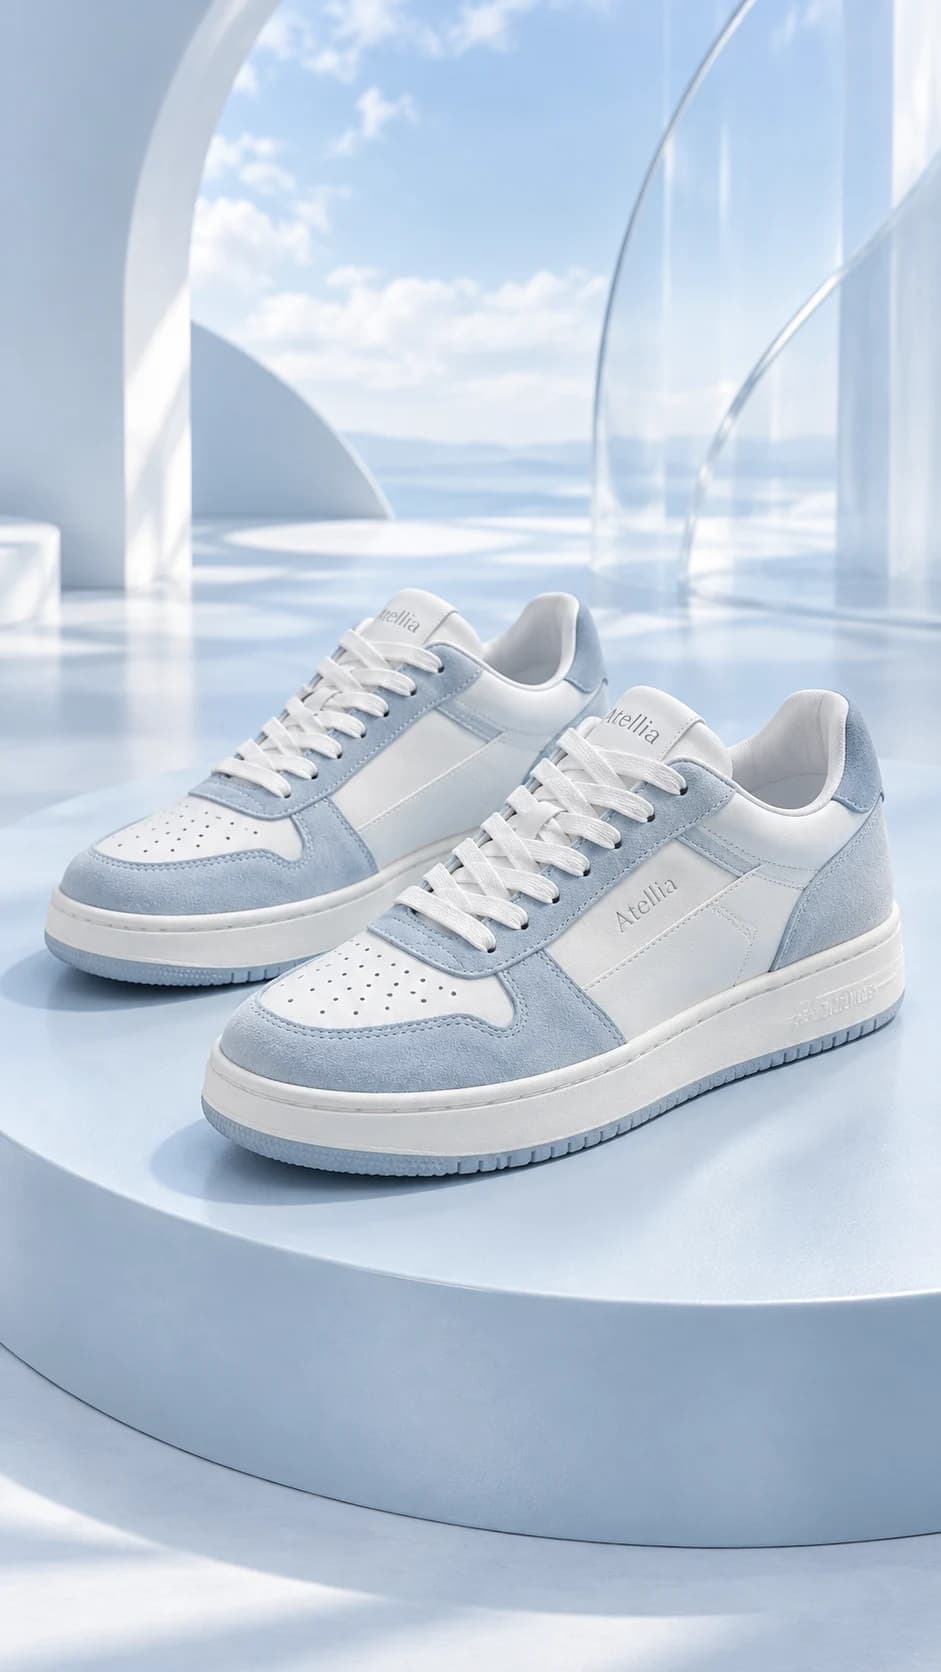
Toe shape and sole profile. Left/right construction and source count. Laces, fastenings and branding.
Start with a profile you can recognize
Footwear is easy to identify by a handful of shapes: the toe, the rise of the sole, the heel and the opening. Choose an input that makes those features visible. A dramatic overhead source can hide the sole; a low side view can hide a fastening. Select the source for the information the next image must communicate.
Write the intended viewpoint into the brief. A clean profile is useful for construction, while a modest three-quarter angle can explain both the upper and sole. Keep the complete shoe in frame. A stylish crop through the toe removes a detail a shopper may be using to decide.
Check the pair rather than the general impression
If your source contains two shoes, compare their left and right construction in the output. Inspect the inside and outside panels, fastenings and any side-specific branding. If the source contains one shoe, do not assume a generated partner will reconstruct the missing side accurately. A single product image is still a useful image.
Follow laces from eyelet to eyelet, and look at buckles, straps and heel tabs. These small components can change even when the overall color stays convincing. Compare the sole thickness and tread edge without treating a generated angle as a technical drawing.
Keep the surface in a supporting role
A stone step or a neutral studio floor can give footwear context, but the product should sit on it plausibly. Check contact shadows and whether the shoe appears to float or sink into the surface. Strong directional light can also hide stitching or make a matte material look glossy.
Review the accepted image beside your original before using it in a catalog. For a collection, keep viewpoint and image scale similar across products while inspecting each pair independently. Shared direction is a starting brief, not a substitute for checking the individual shoes.