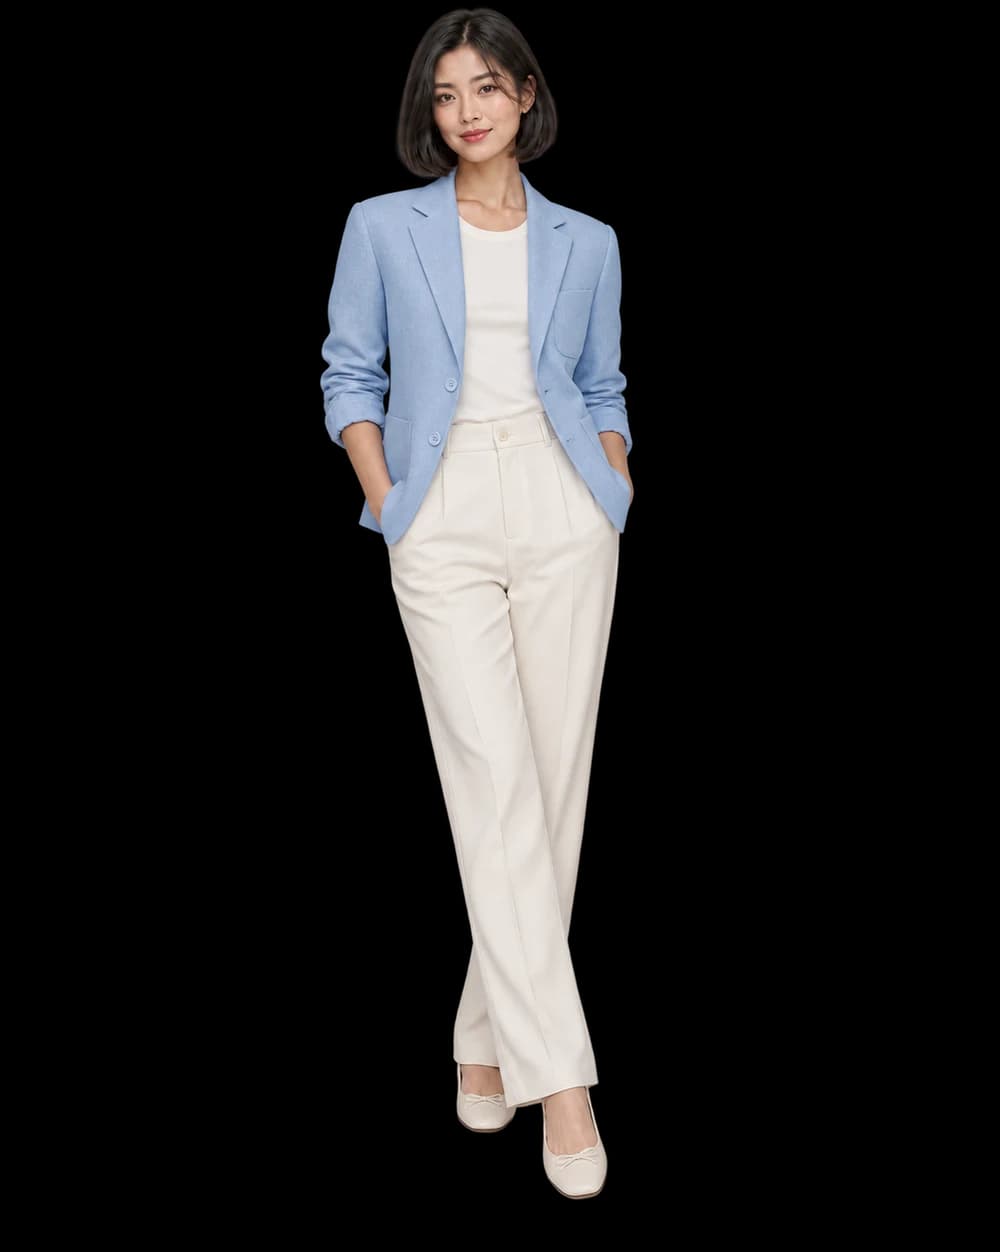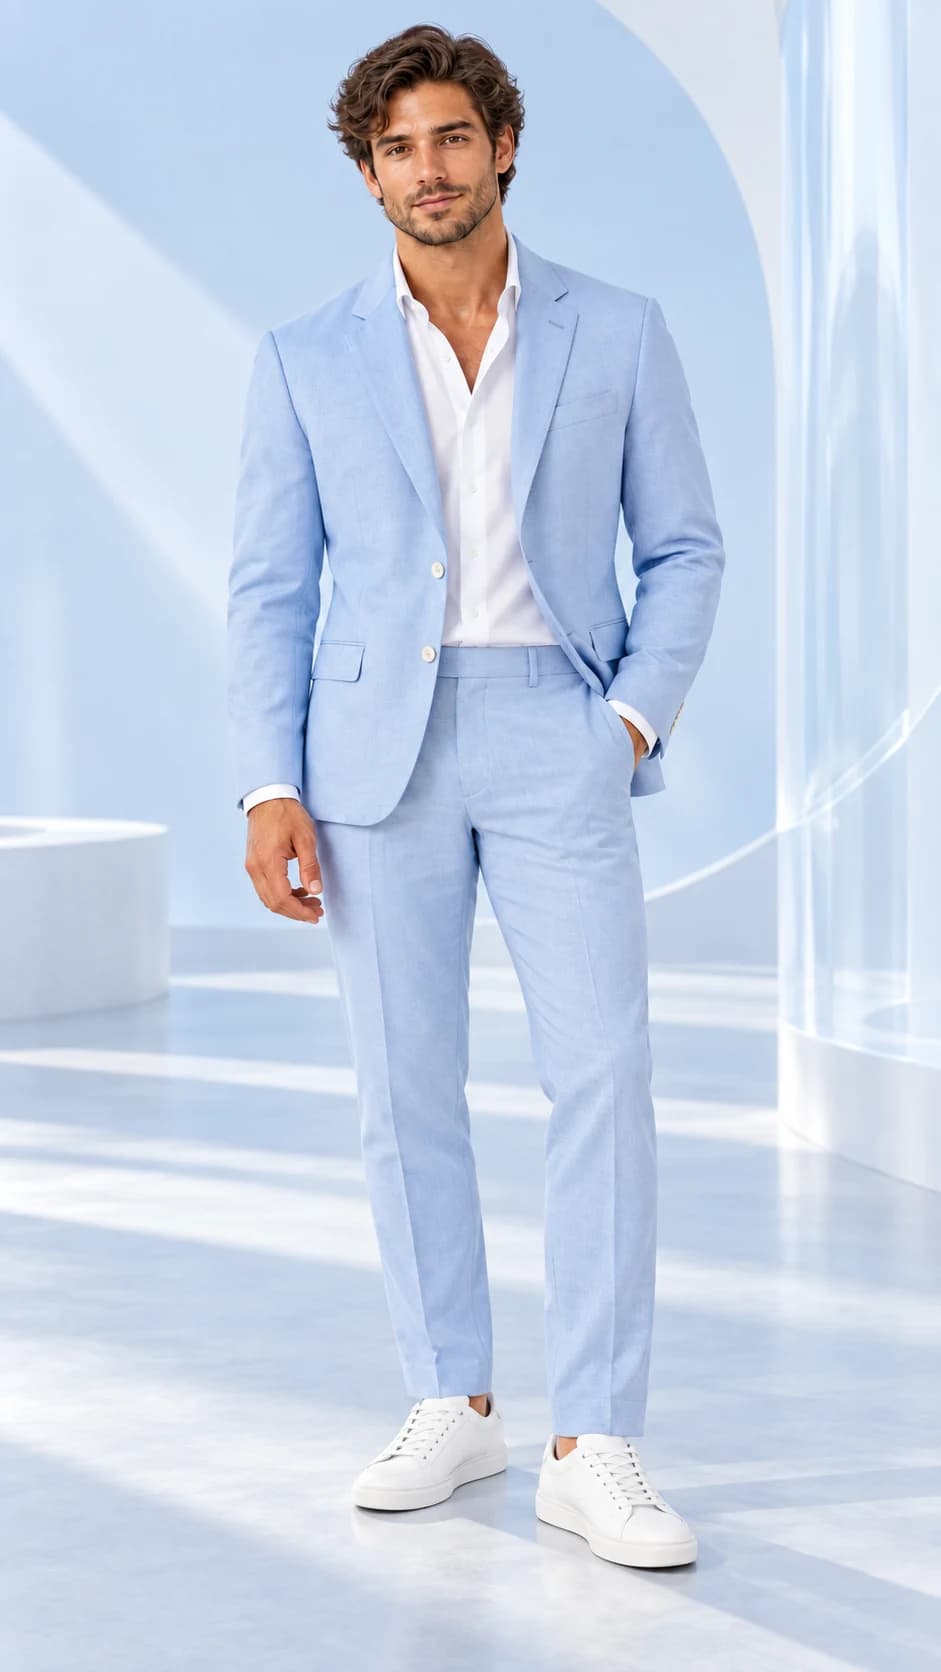
Lapel, button stance and pocket shape. Jacket length relative to trousers. Fabric consistency across both pieces.
Read the jacket as a constructed object
A suit photograph can feel polished while changing the jacket you sell. Start by identifying lapel width and shape, button stance, pocket style, shoulder line and jacket length. These details should remain recognizable when the setting changes. A dark suit against a dark wall may be atmospheric, but it is a poor first test if the lapels disappear.
Choose a source that shows the front clearly. Keep a separate original available for the back vent or lining if those details matter to the listing. A single input cannot establish features it never shows, and a convincing generated reverse view is not proof of their construction.
Check the relationship between the pieces
When jacket and trousers appear together, compare their apparent material and color. Lighting can make one piece look warmer or more reflective than the other. Look at trouser rise, leg shape and length alongside the jacket, rather than accepting each half of the image in isolation.
For separate item references, the outfit builder provides a place to combine the pieces deliberately. Use authorized model references if you bring your own cast. After generation, inspect every garment: a consistent-looking outfit may still have altered the jacket closure or replaced the trouser silhouette.
Let the first pose stay simple
A relaxed standing pose with visible lapels and a clear front makes the first review easier. Hands in pockets can hide both trouser details and part of the jacket; a crossed arm can conceal the button line. Choose expressive styling after you have a sample that establishes the actual garments.
Review the complete image from head to footwear, with room around the subject. Do not infer tailoring measurements, comfort or fit from the result. Keep original product evidence alongside the campaign assets and approve the visual only for the story it can tell accurately.