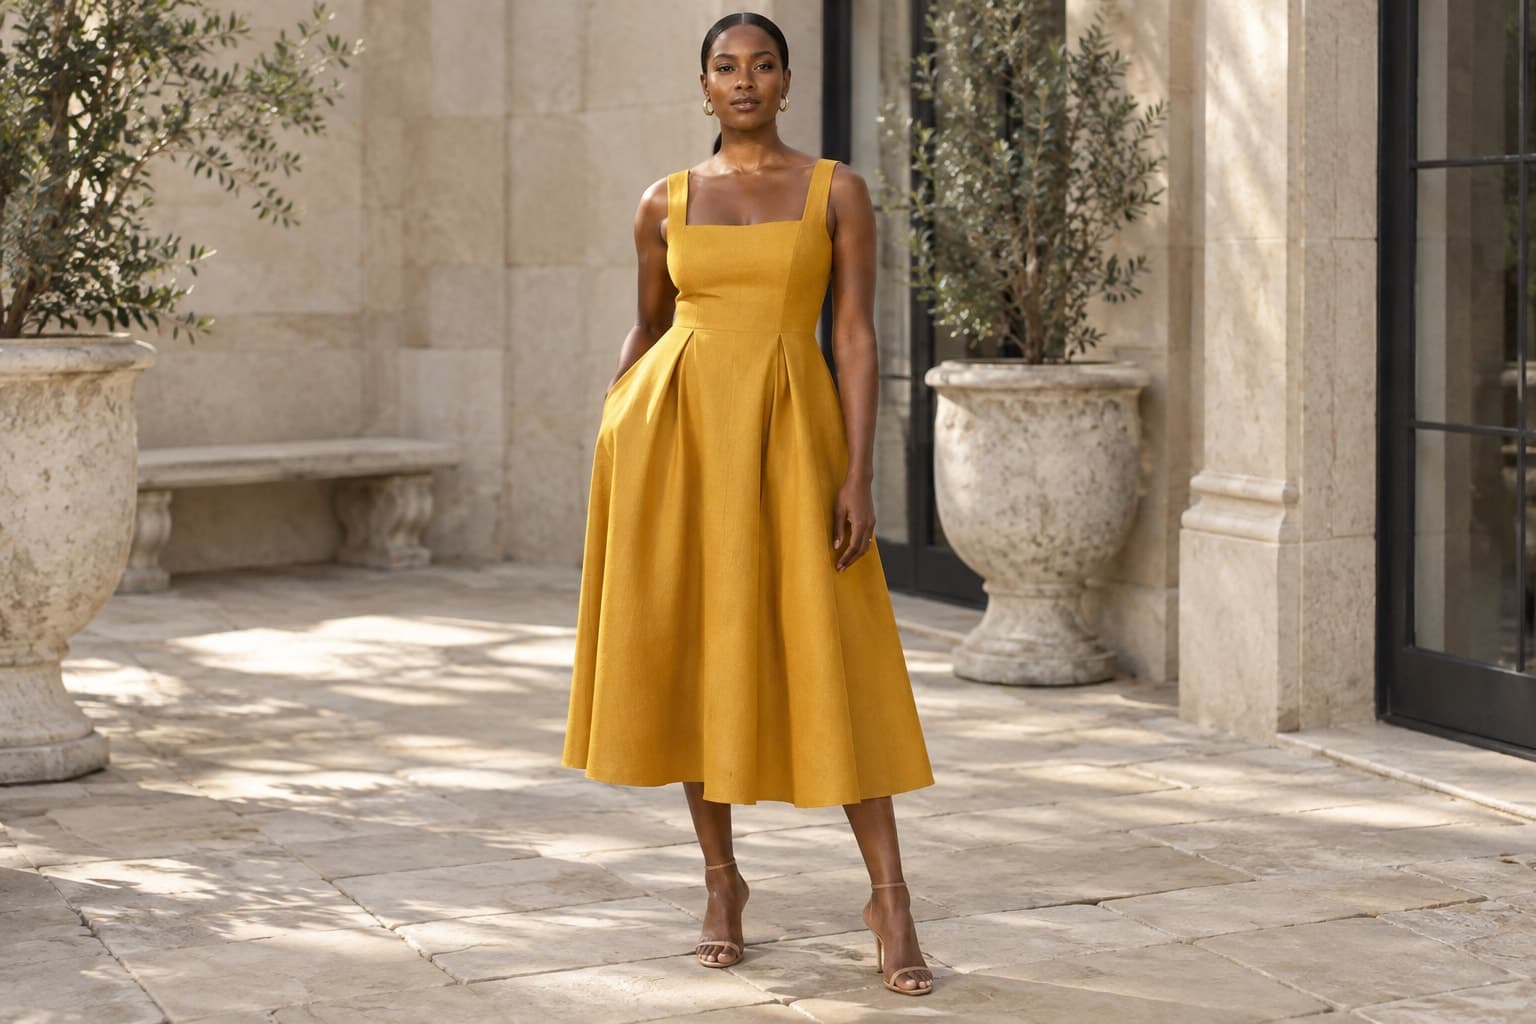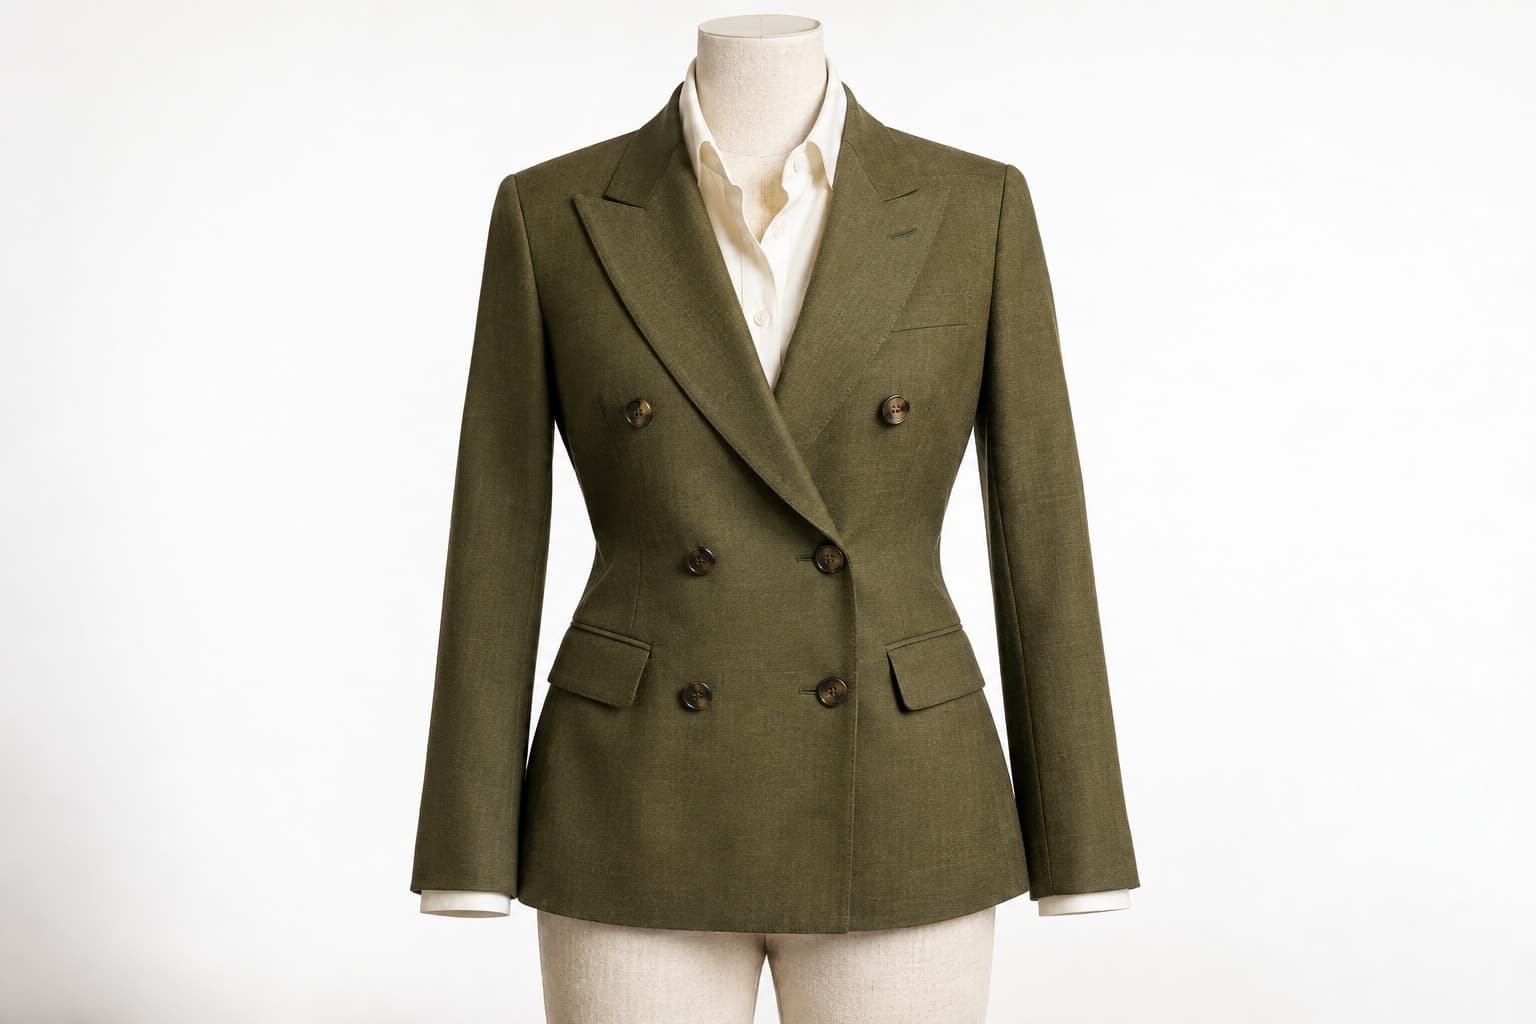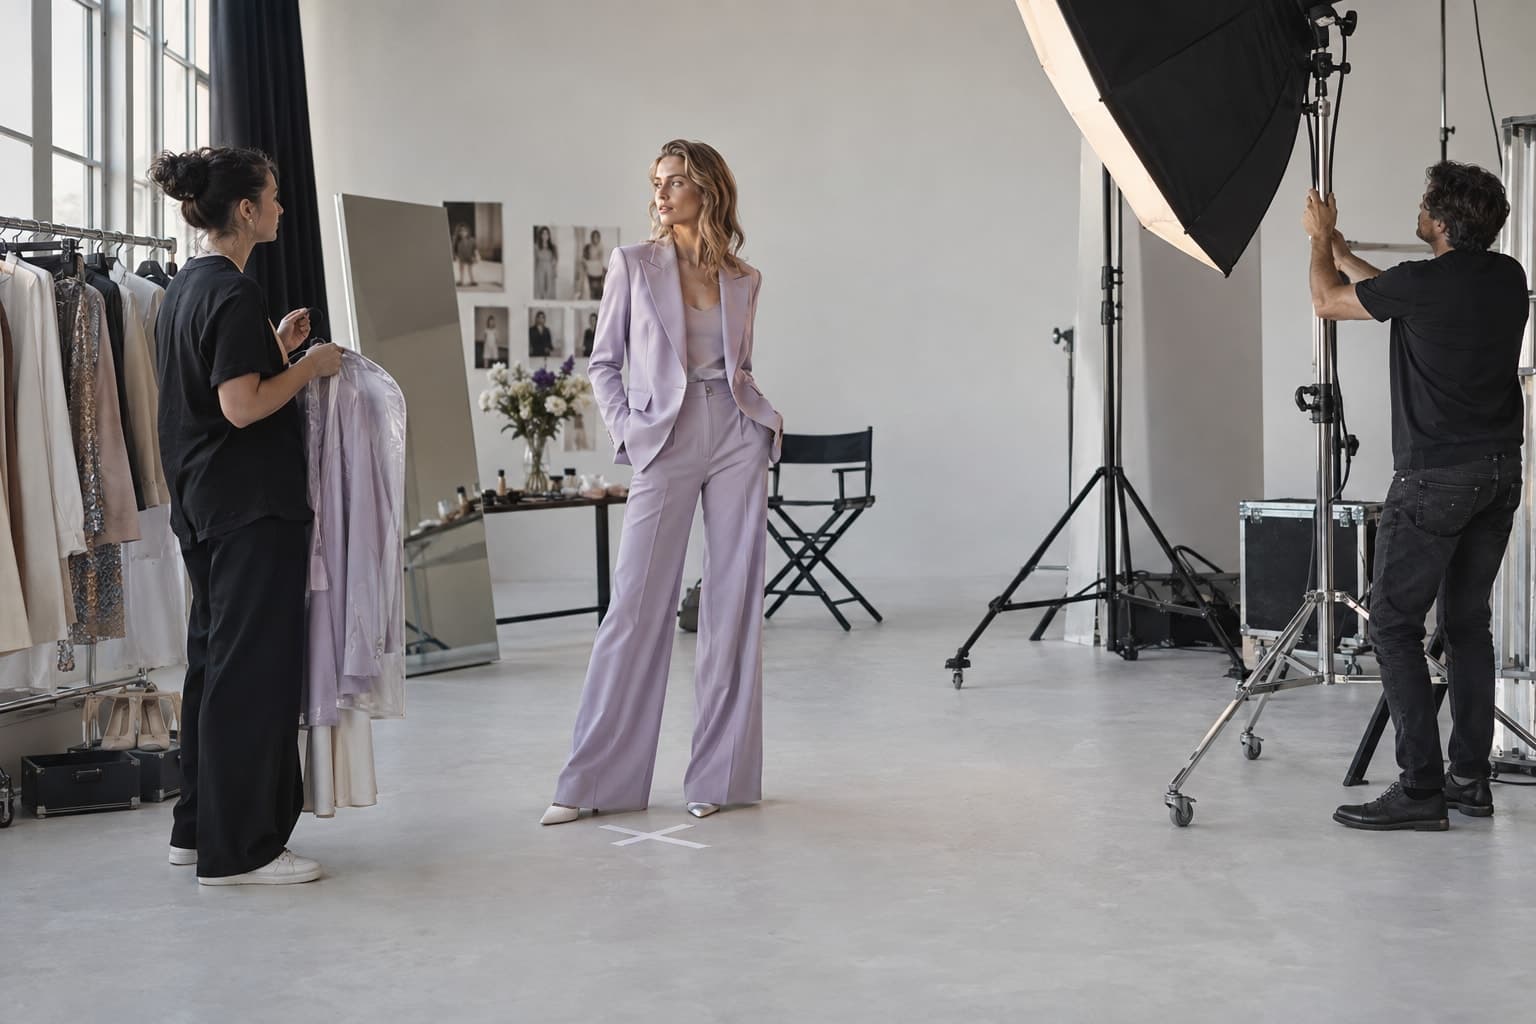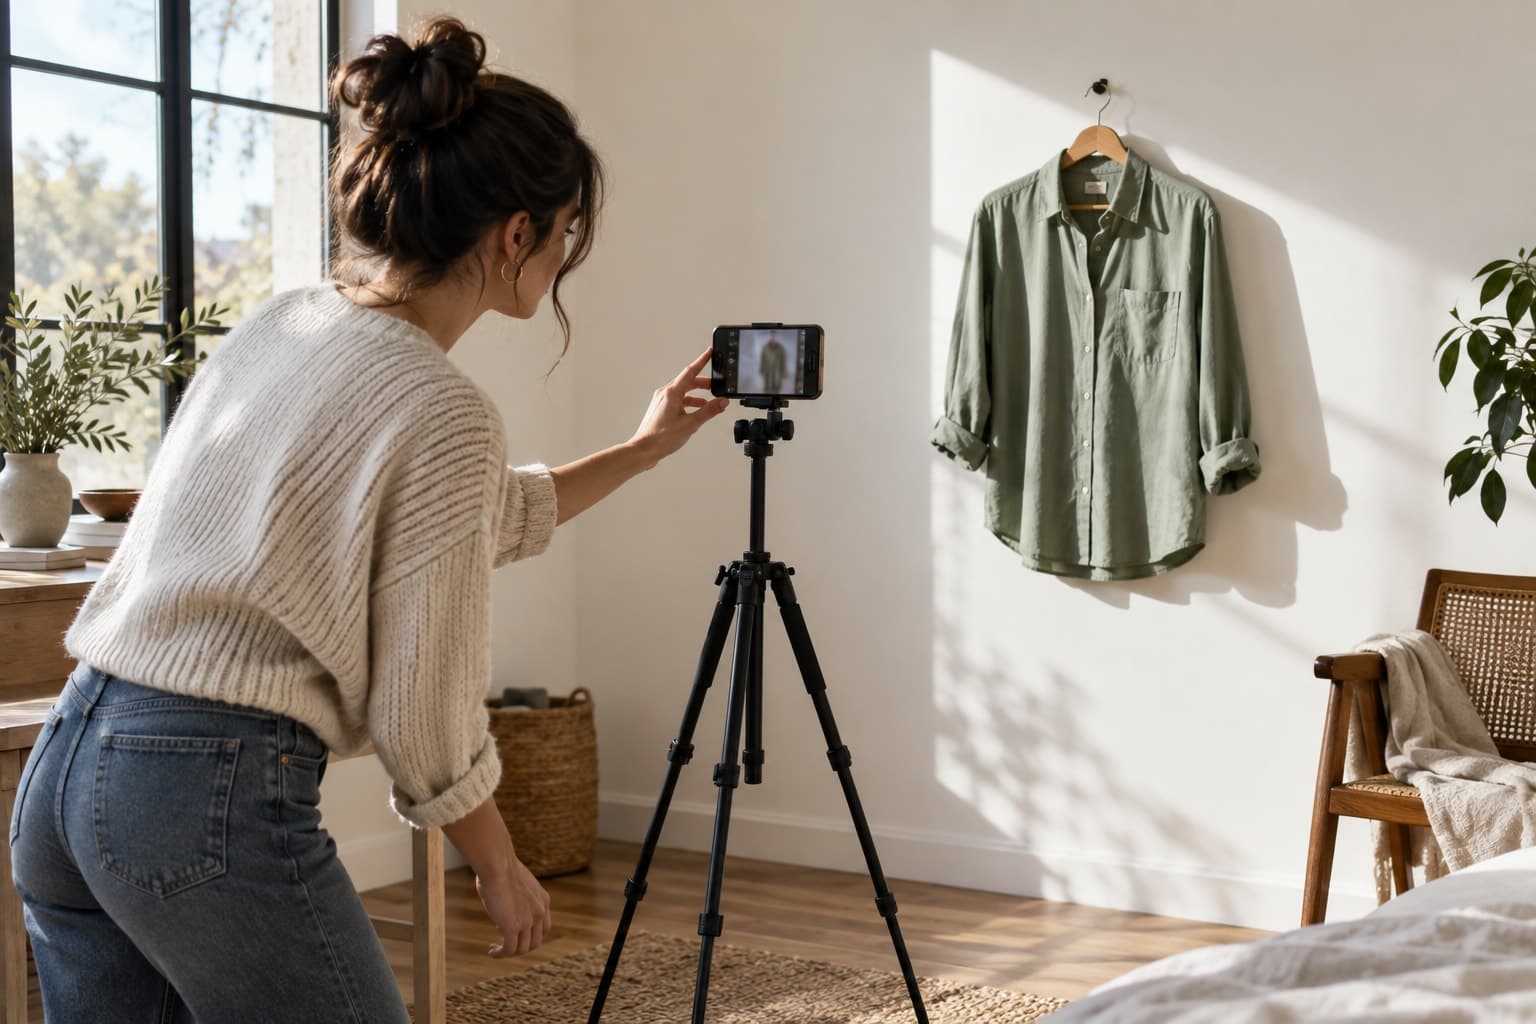
Create a repeatable phone photography corner for clothing, with simple framing, lighting, and product checks.
The starting point
The most useful phone photography setup is one you can reproduce. A beautiful accidental frame is encouraging, but a store needs the next color and the next delivery to look related. Before buying accessories, make a small space where the garment, camera, and light can return to the same positions.
Choose an uncluttered background and enough room to move away from the garment. Clean the lens, prepare the item, and remove distracting labels or loose threads that are not part of the product presentation. These ordinary steps are often more useful than adding another editing effect after capture.
Find manageable light
Start with a large window that gives the garment relatively even illumination. Avoid mixing several visibly different light sources if they create confusing color. Observe the setup at the time you expect to shoot, because daylight changes. If the light becomes patchy or the garment falls into deep shadow, adjust the position before continuing.
Use a plain light-colored board to return some light into a shadow when needed. Keep it outside the frame and assess the result rather than assuming more brightness is always better. Dark texture and reflective materials may need different handling, so give them a separate test.
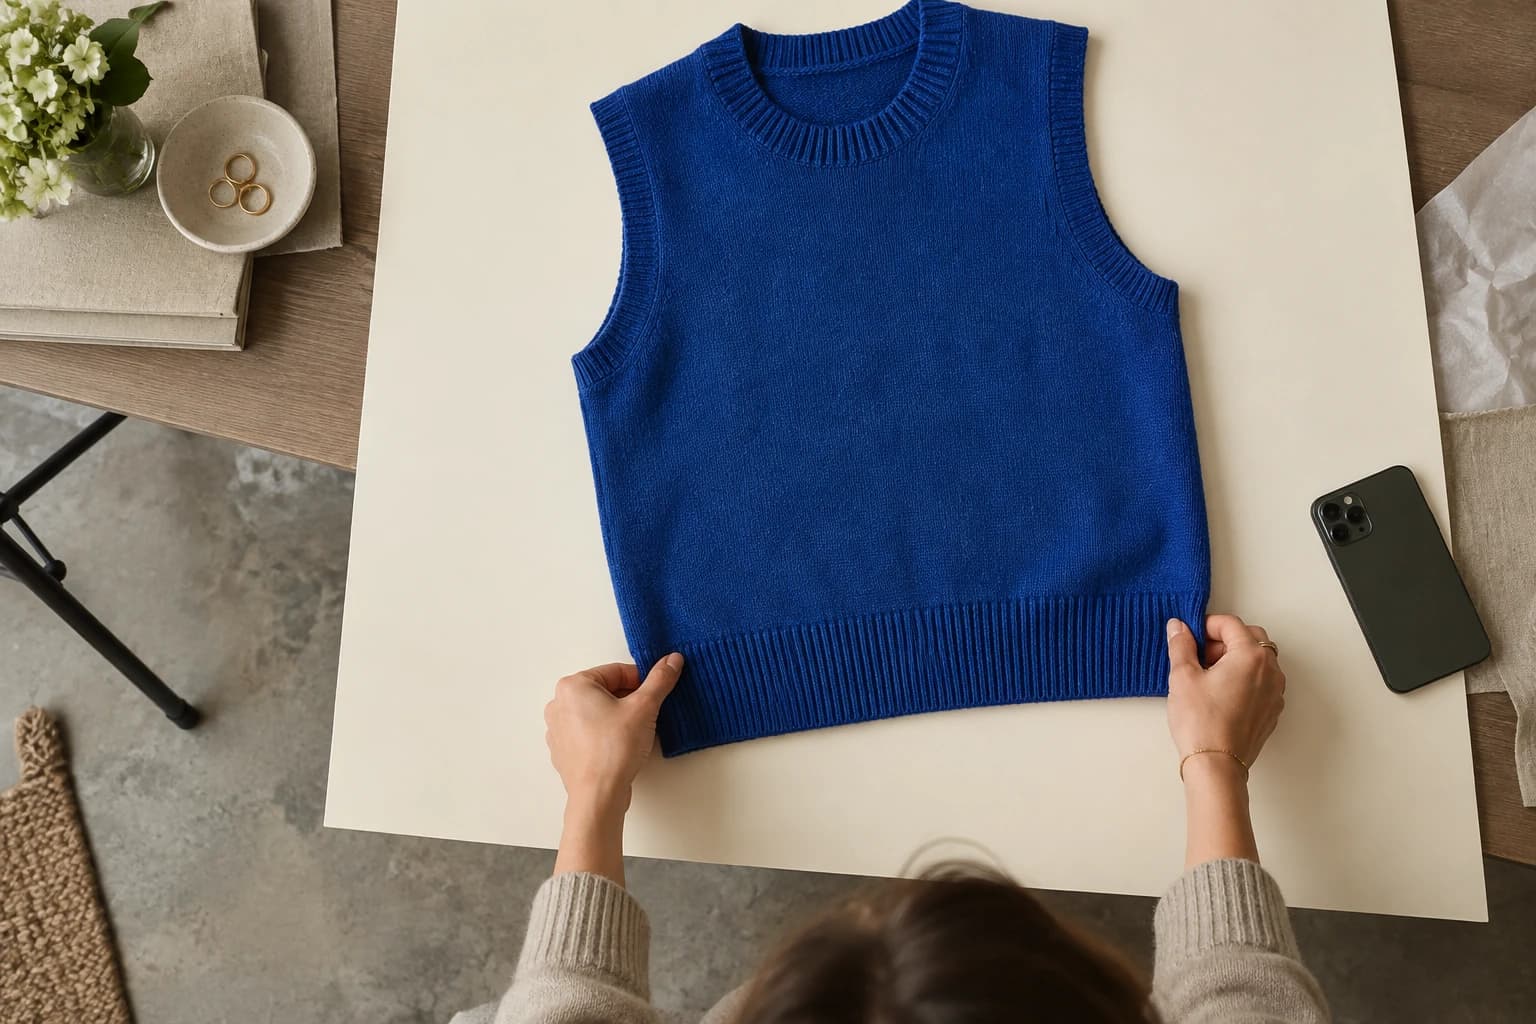
Stabilize the framing
Rest the phone securely or use a support. Mark a repeatable position on the floor and note the height. Keep the camera facing the part of the garment you want to represent without exaggerated tilt. Step back and inspect proportions before settling on the crop; avoid making close-up perspective part of a supposedly neutral product view.
Use the phone's available focus and exposure controls deliberately. Their names and behavior vary by device, so learn what your own camera app allows. Take a test frame, review it at a larger size, and confirm that important details remain clear. A sharp preview on a small screen can hide problems.
Photograph a complete answer
Create a short shot list for the item. Front and back establish shape. A close view explains fabric or construction. An additional frame can show a closure, pocket, or lining. Choose images because they answer different customer questions, rather than taking five almost identical front views.
In a hypothetical knitwear session, the first frame shows the full sweater, the second its back, the third the neckline, and the fourth the knit texture. An on-body reference may add useful context for length, but it should not be treated as a size guarantee for every shopper.
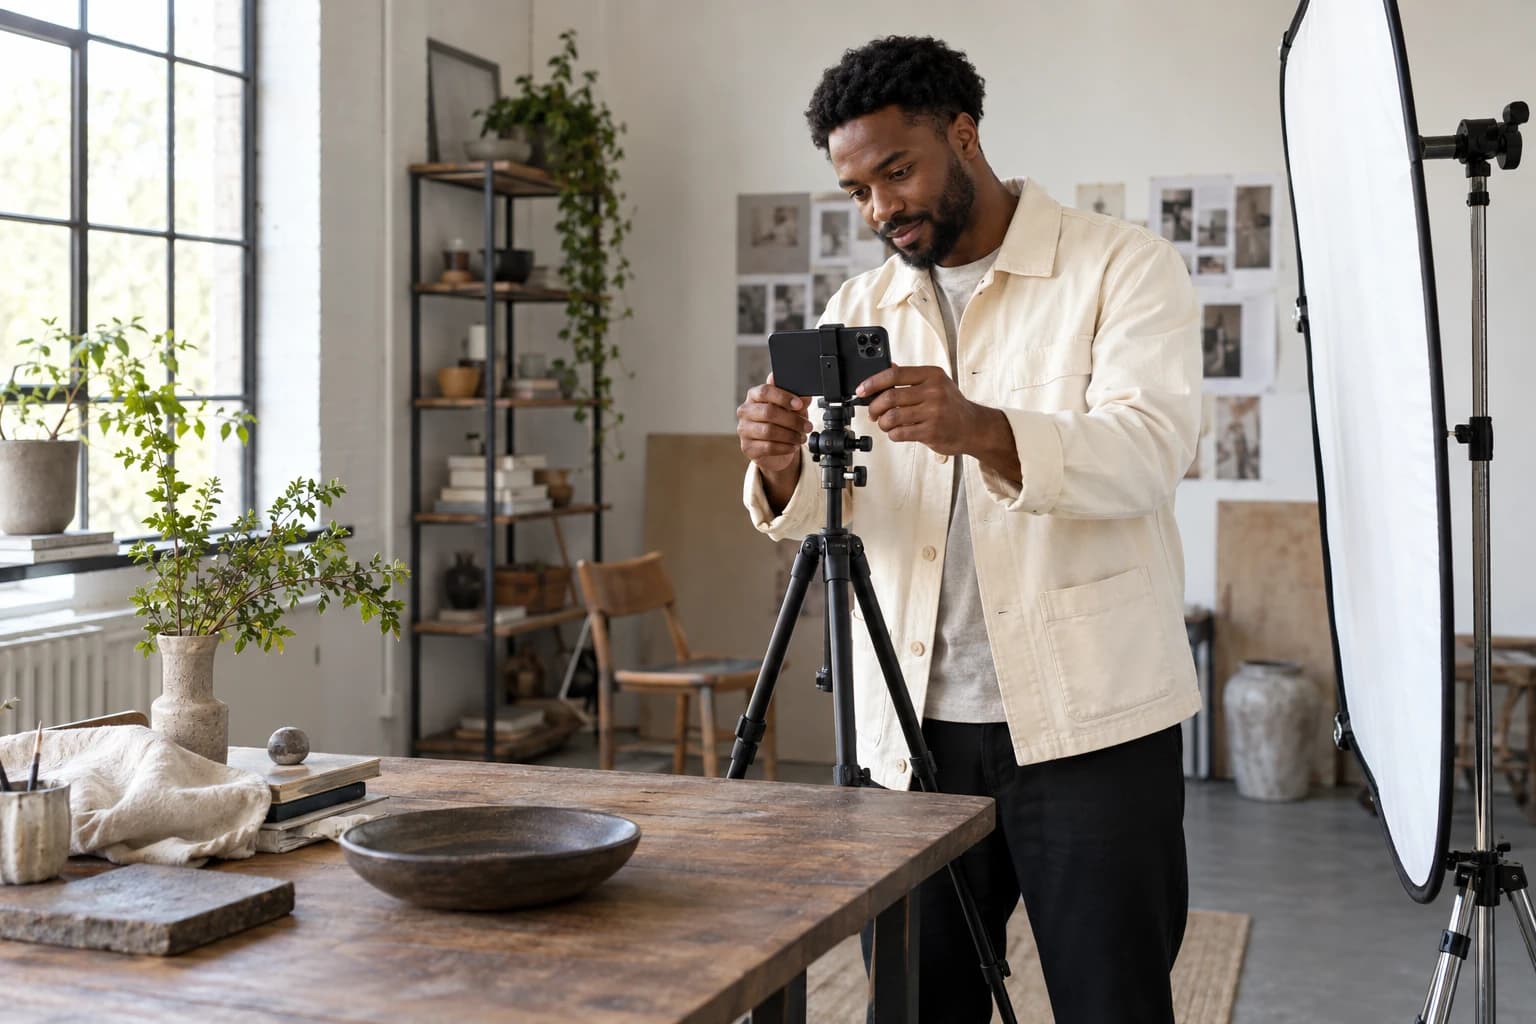
Edit for clarity and consistency
Apply modest, repeatable adjustments and compare the result with the physical sample. Check that white balance has not turned a cream garment white or made a muted color unnaturally saturated. Keep the unedited originals so you can revisit decisions later. Avoid filters that change the product's character.
- Confirm the correct color variant before naming the files.
- Review the garment edges and background at the intended crop.
- Check important details at full size before exporting.
- Keep a note of the setup, time, and adjustments that worked.
- Recheck a new fabric rather than blindly reusing every setting.
Your first repeatable setup can be small. What matters is that it produces an honest, useful image and leaves a clear recipe for the next session. Improve one part at a time, using actual product questions to guide the changes.