A dress-specific guide to neckline, seams, hems, lining, and movement when preparing generated product imagery.
The starting point
Dresses ask a lot of a product image. A single frame may need to explain the neckline, waist placement, skirt volume, sleeve shape, and length. Some of those features are obvious on a hanger; others depend on how the garment rests on a body. When working with generated imagery, make those distinctions part of the brief from the beginning.
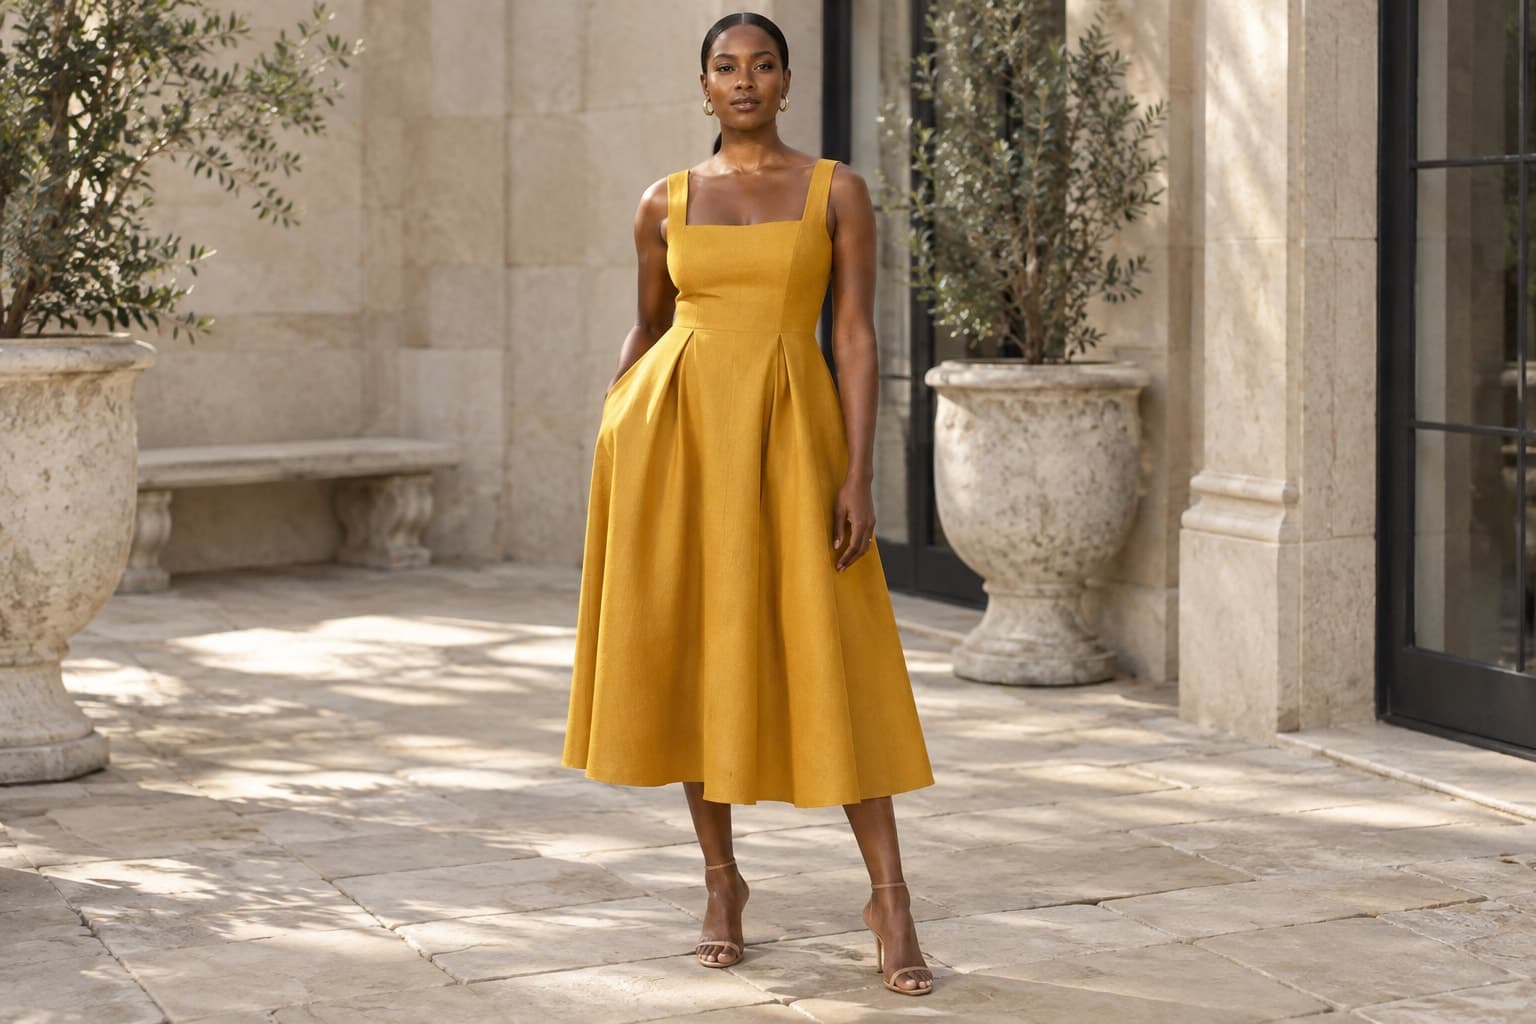
Choose one dress and write down its defining construction before choosing a location or a model. A square neckline, gathered skirt, side slit, and concealed back zip each create a different review task. This list gives the team a shared reference when a beautiful image starts to drift away from the actual design.
Capture the structure before the story
Photograph the front and back with the dress fully visible. Add detail references for gathers, pleats, straps, closures, or embroidery. If a layered skirt has both a lining and a sheer outer fabric, make that relationship visible. A dark photograph that merges every layer into one shape leaves too much room for interpretation.
Record garment measurements in the product information rather than trying to communicate precise sizing through a synthetic body. Where length matters, show the full hem in at least one approved view. A crop that ends just above the bottom of the skirt can make a midi dress look like a different product.
Choose a pose that explains the dress
Start with a relatively neutral pose. Keep arms away from important waist or sleeve details, and avoid crossing legs if the movement hides a slit or changes the apparent skirt shape. Once the basic view is approved, explore a second pose that adds character without obscuring the construction.
For a hypothetical wrap dress, review the direction of the overlap, the tie position, and the neckline together. A generated fold can look plausible while reversing the wrap. For a pleated dress, inspect whether the pleats remain coherent through the waist and skirt. Judge these features against the source, not against what a dress might usually look like.
Treat motion as an interpretation
A windblown skirt or a walking pose can make an image feel alive, but it also introduces more opportunities for invented volume and fabric behaviour. Use movement conservatively when the image is intended to describe a specific product. A dramatic sweep should not suggest a fuller skirt than the garment actually has.
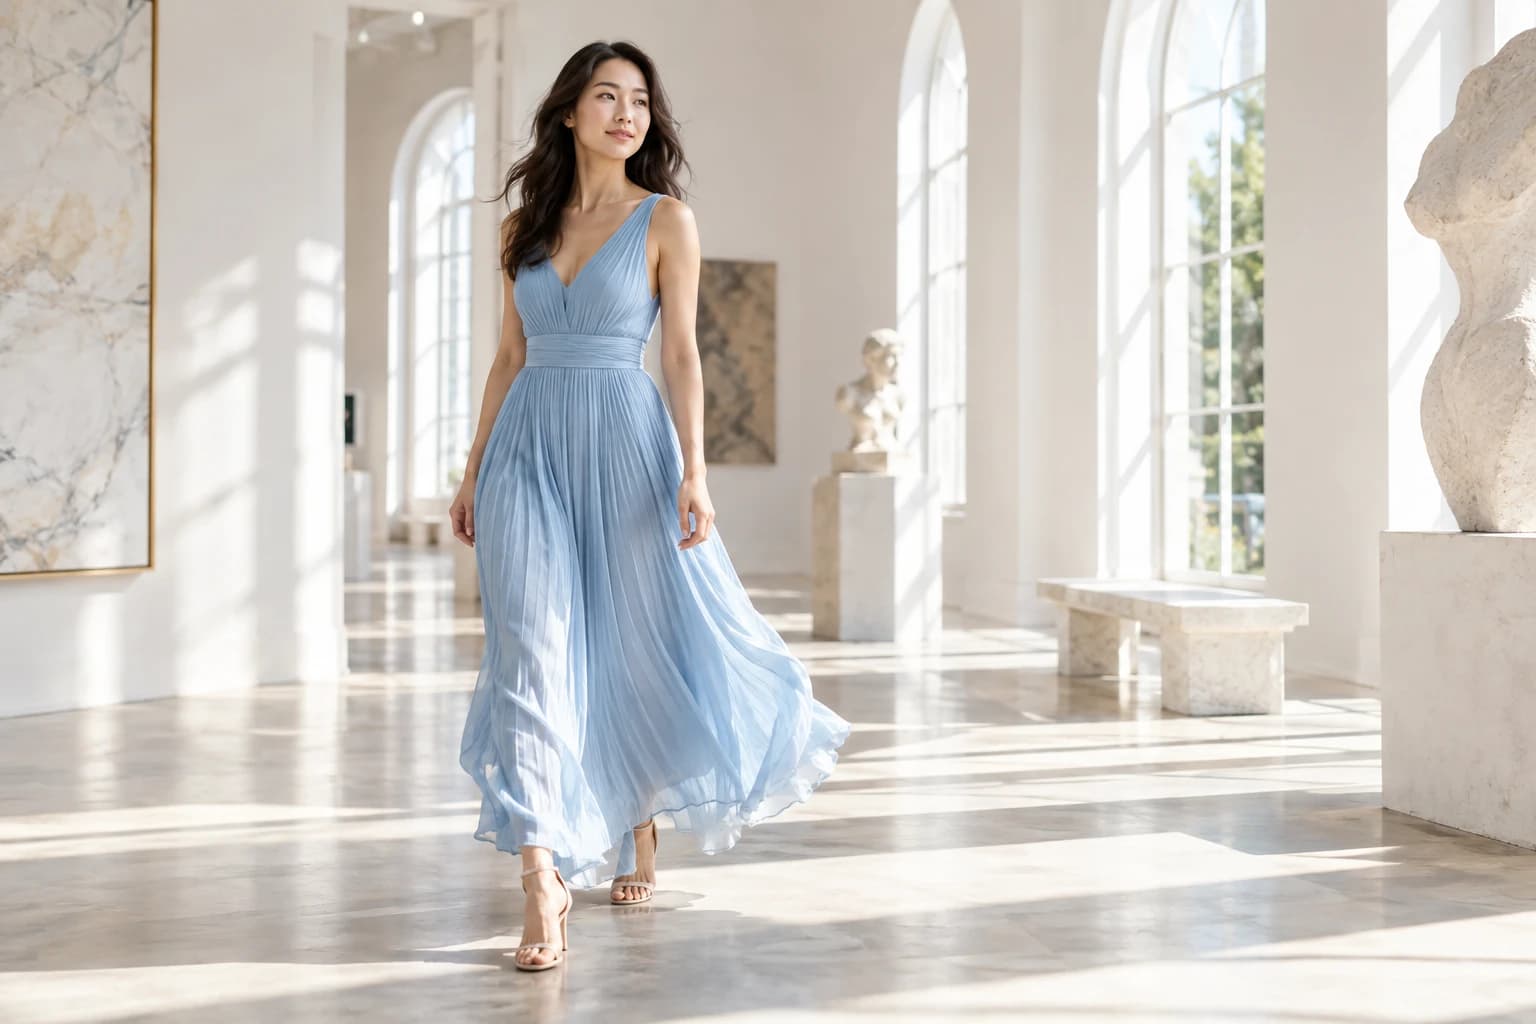
Consider a two-image sequence: first a clear, grounded view, then an expressive image that supports the collection's mood. This gives the creative frame a useful role without asking it to carry every factual detail. Keep the same colour and construction checks for both images; atmosphere does not excuse a changed neckline.
Review dark, pale, and patterned fabrics differently
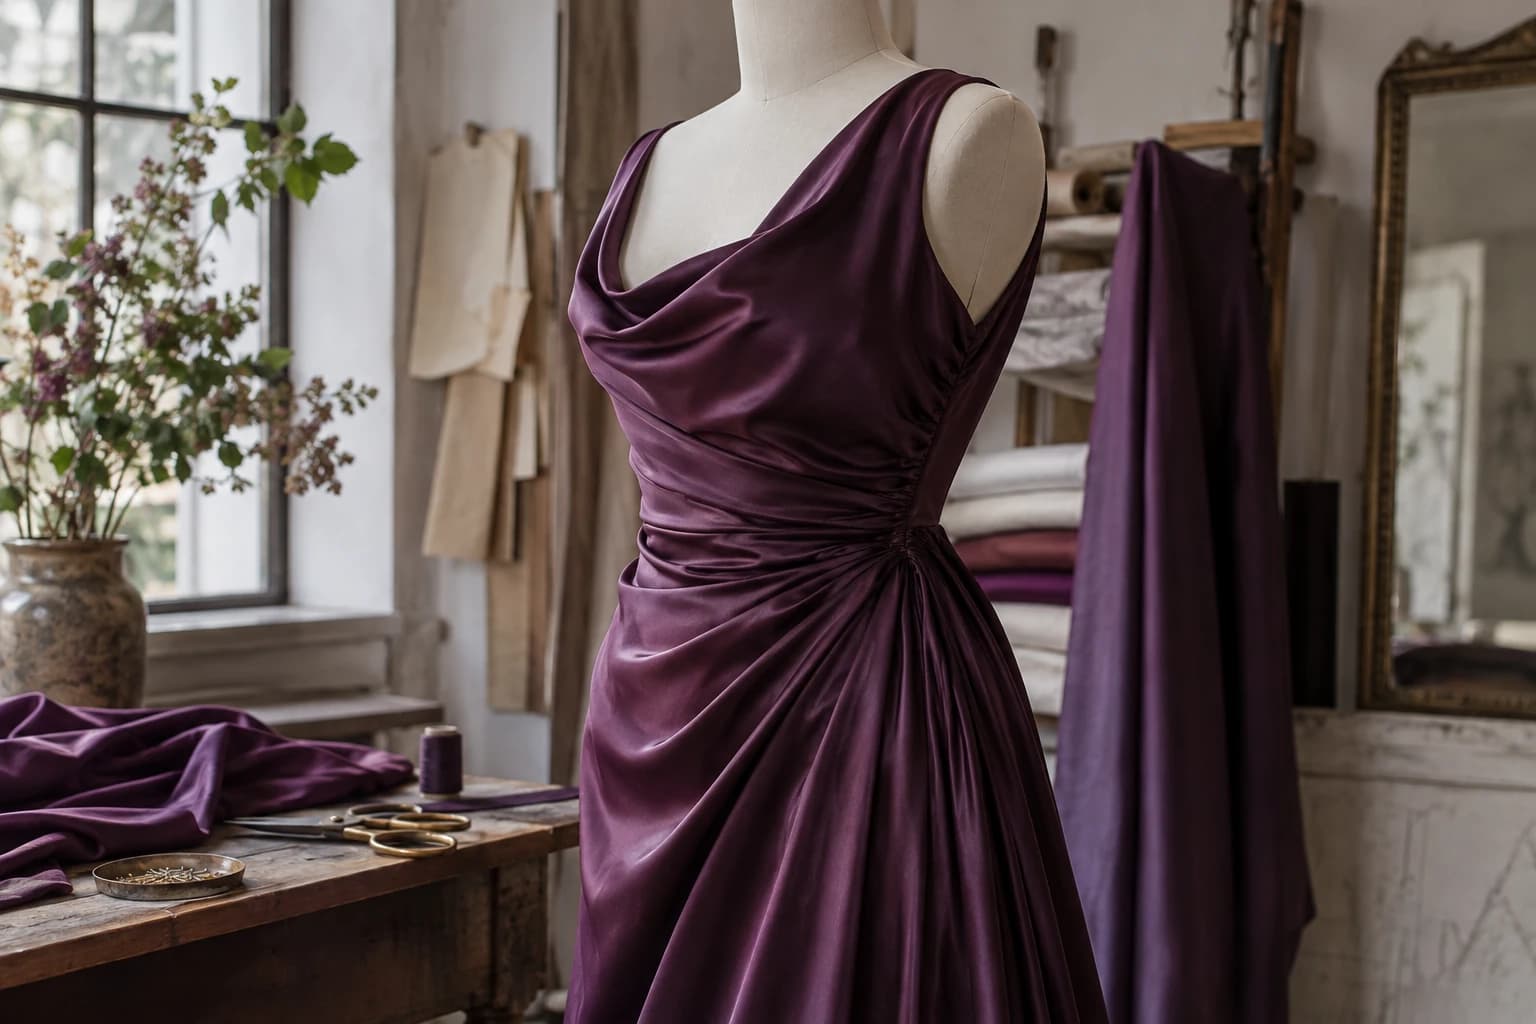
Dark dresses need enough tonal separation to reveal seams and shape. Pale dresses need highlights that preserve texture rather than disappearing into the background. Patterned dresses need inspection at seams, folds, and overlaps, where a print may unexpectedly restart or distort. Choose the review zoom level that makes those errors visible.
Ask someone who has handled the physical sample to complete the final garment check whenever possible. They may recognise a missing lining, incorrect fastening, or implausible stiffness that an image-only reviewer would miss. Record any uncertain feature and resolve it before using the picture to support a purchase.
A successful dress image balances romance with useful information. The scene can invite someone into a collection, while the garment remains recognisable in its proportions and details. Start with that responsibility, and the creative choices become easier to make.