Prepare mannequin photographs that explain the garment and make generated transformations easier to review.
The starting point
A mannequin photograph contains decisions about the garment before any later editing begins. The way the shoulders are placed, the amount of pinning, and the position of the hem all influence how the item appears. If that image becomes a reference for generated imagery, those decisions deserve an explicit check.
Look at the source as a product record. Does it show the item as sold? Can the viewer distinguish the garment from the form underneath it? Are important edges and openings visible? A technically sharp image may still be an uncertain reference if the styling hides the construction.
Prepare the form and the garment together
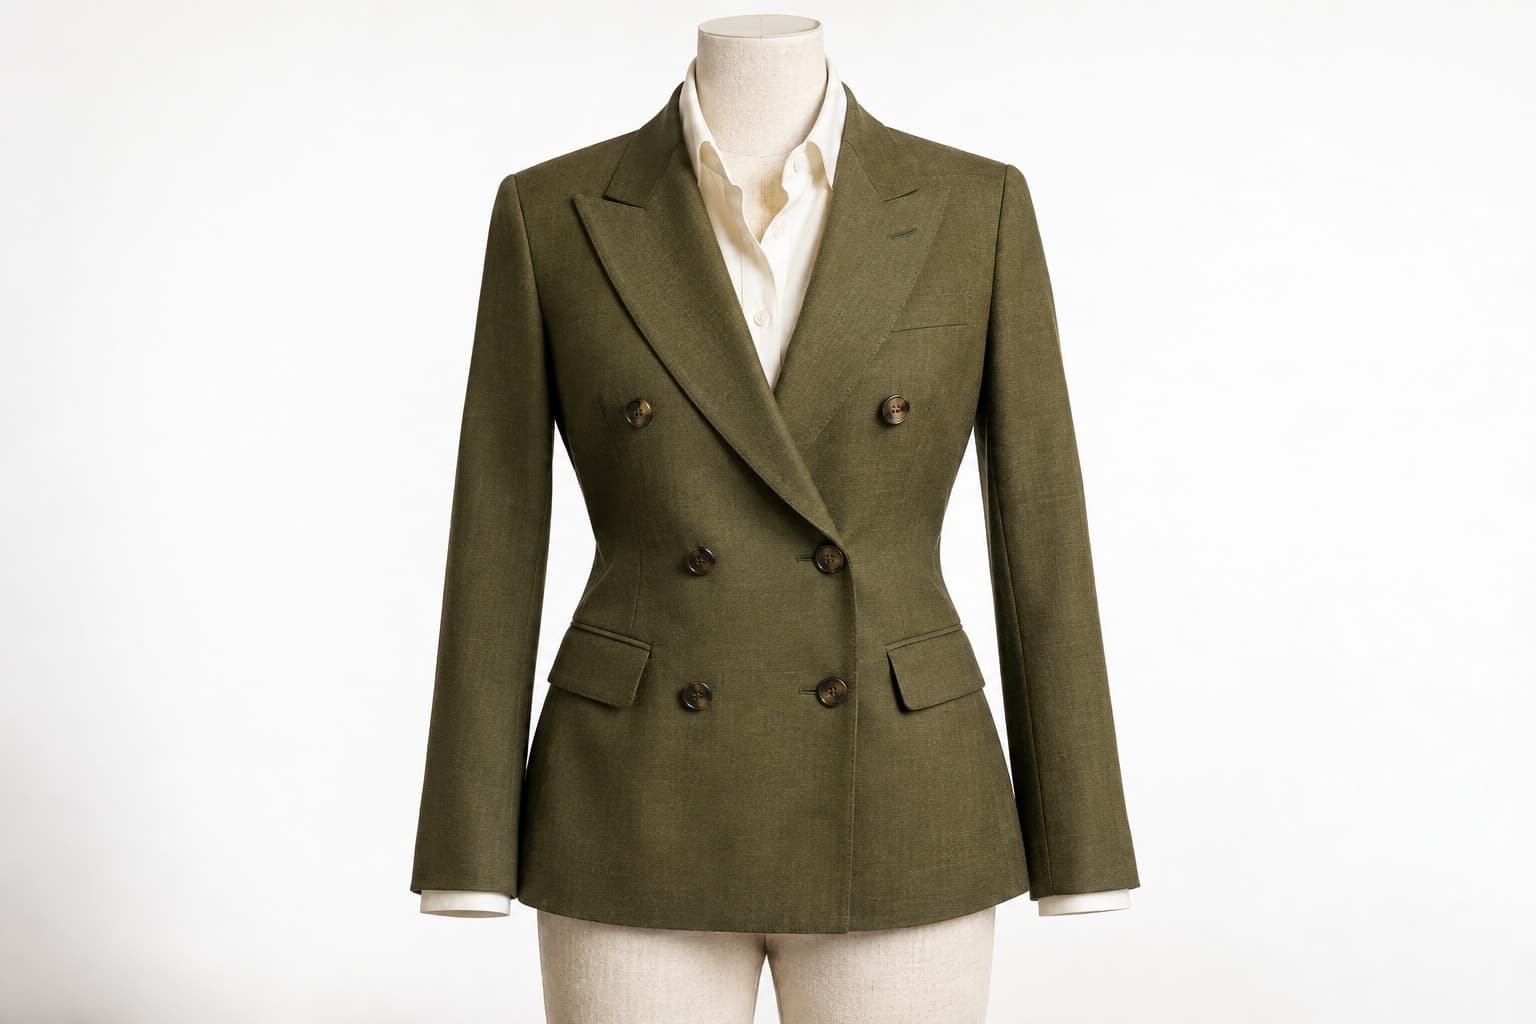
Choose a form that supports the garment without stretching or distorting it. Arrange collars, sleeves, and hems carefully, and record any clips or padding used out of view. Those adjustments may be appropriate for a photograph, but they should not create a misleading impression of the item's shape.
For a hypothetical overshirt, button it according to the intended product view and make sure the front hangs evenly. Check the shoulder placement and sleeve length on both sides. Capture any detail that the front photograph cannot explain, such as a back pleat or a concealed fastening.
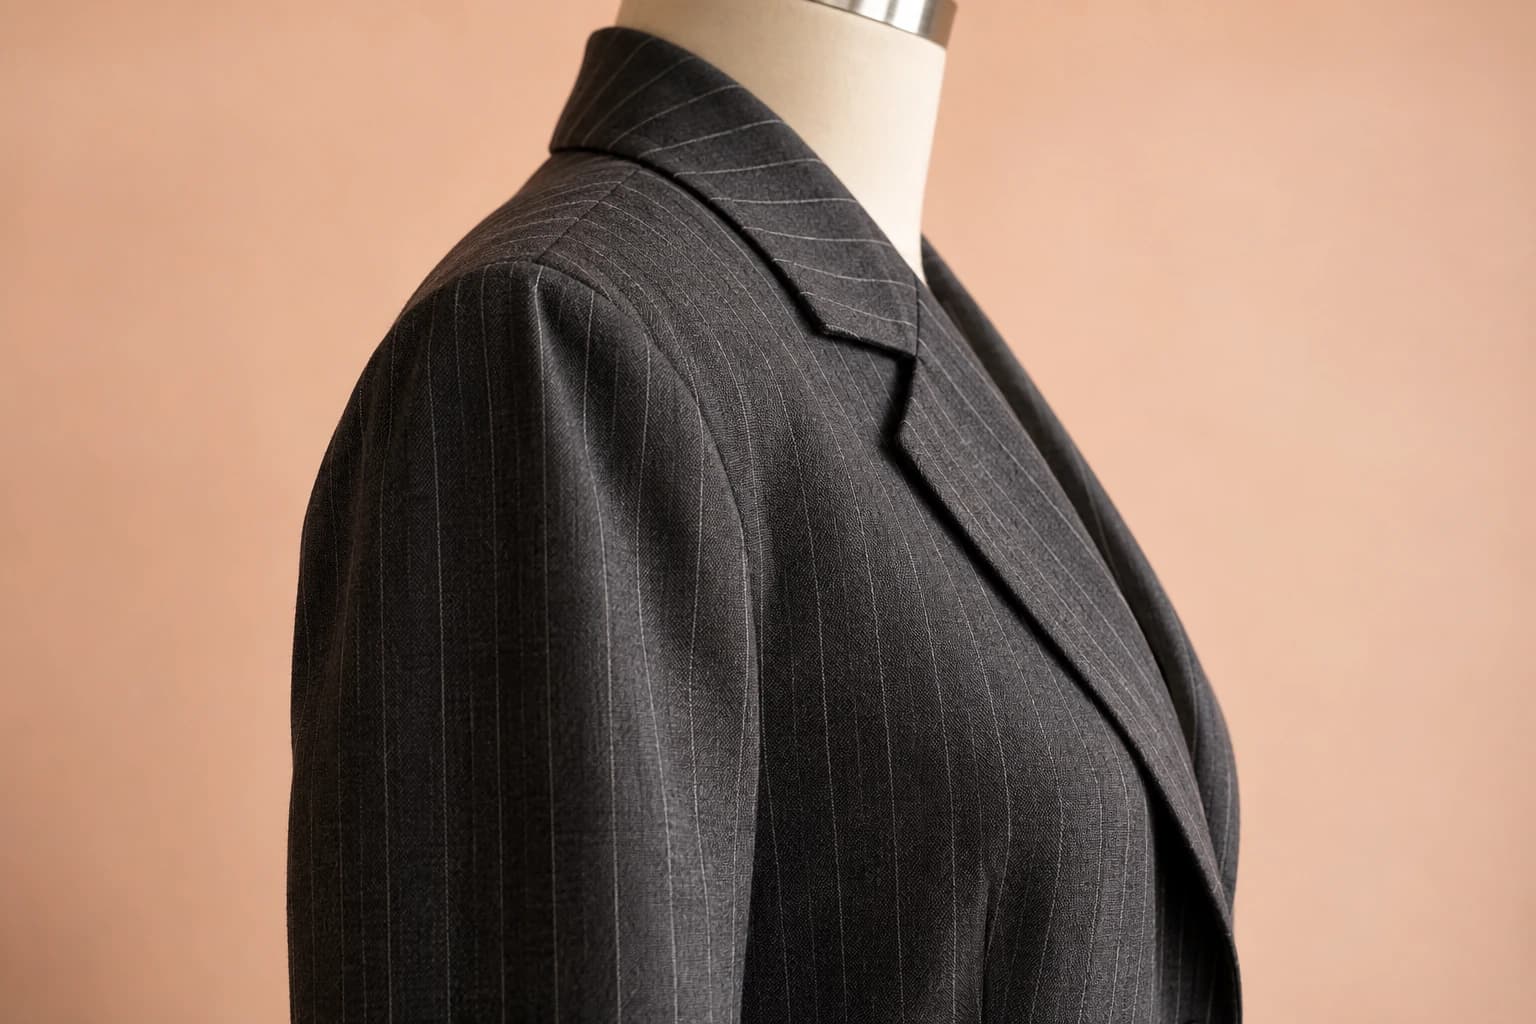
Keep hidden structure out of the guessing game
A single mannequin image cannot show every part of a garment. Provide supplementary references where needed. If the inside neckline, back panel, or lining matters, photograph it directly. Do not expect a transformation tool to know which unseen construction belongs to your particular product.
This is especially important for ghost-mannequin imagery, where editing can combine views to create a hollow appearance. Preserve the component references and the final approved composite. A future reviewer should be able to distinguish a deliberate edit from an accidental removal of a real garment feature.
Brief the change precisely
State which part of the presentation should change and which part should remain fixed. Perhaps the form is being replaced by a synthetic model while the garment's front construction stays visible. Perhaps the background is changing while the original product view remains the anchor. A narrow brief makes review more concrete.
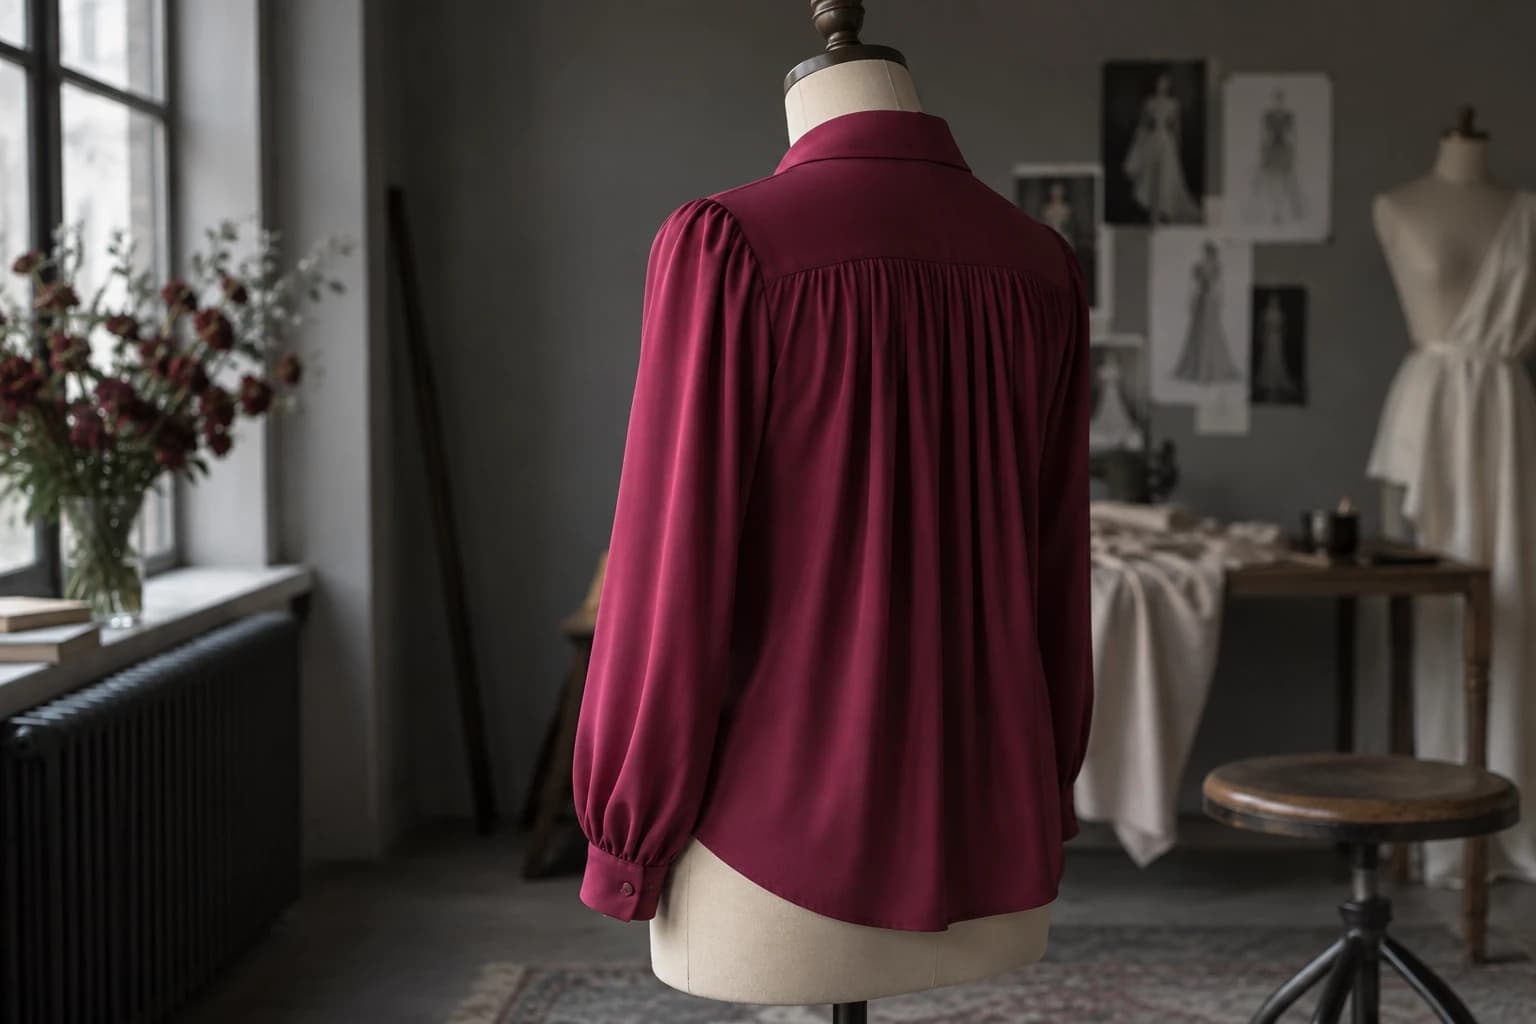
Start with a pose that respects the information in the source. If the reference is a straightforward front view, a complex seated pose may require more interpretation than the task can tolerate. Add expressive poses only after the basic representation has passed review, and keep a plain product view available.
Compare the reference and result at several scales
At a small size, inspect silhouette and colour balance. At a larger size, inspect buttons, pocket shapes, seams, and the boundaries around cuffs and collars. The two views answer different questions. A convincing thumbnail can contain product errors that become obvious in a gallery zoom.
Check the relationship between the new body and the garment without treating the synthetic result as a fit measurement. A model image can help communicate styling, while garment dimensions and physical sample checks remain the foundation for sizing information.
Save the approved result with its source and transformation notes. If a later colourway or revised sample arrives, create a new reference packet rather than assuming the old approval applies. Mannequin photography becomes more valuable when it is part of a traceable image process: a carefully prepared starting point, a clear transformation, and a product-focused final check.