Diagnose a weak on-model image before deciding whether to reshoot, retouch, or test a generated variation.
The starting point
When an on-model photograph feels weak, the instinct is often to replace everything: the subject, pose, light, background, and styling. That can produce a different image without explaining what was wrong. Diagnose the picture first. A precise problem gives the team a smaller, more useful correction and helps preserve the parts of the original photograph that already work.
Separate the garment from its presentation
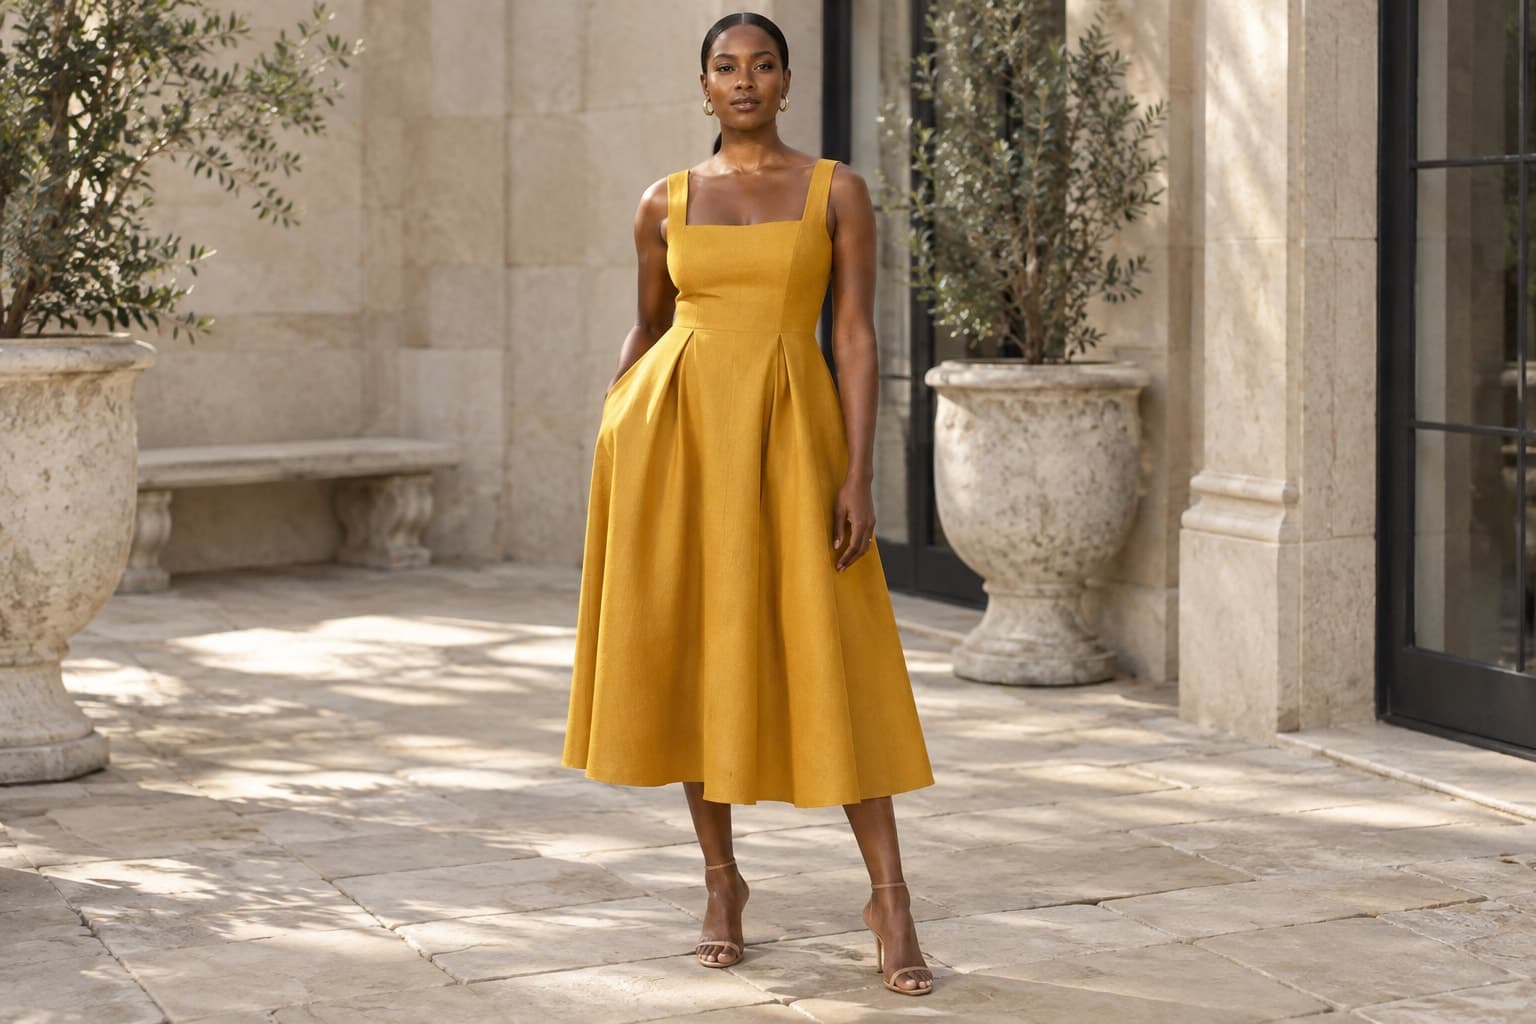
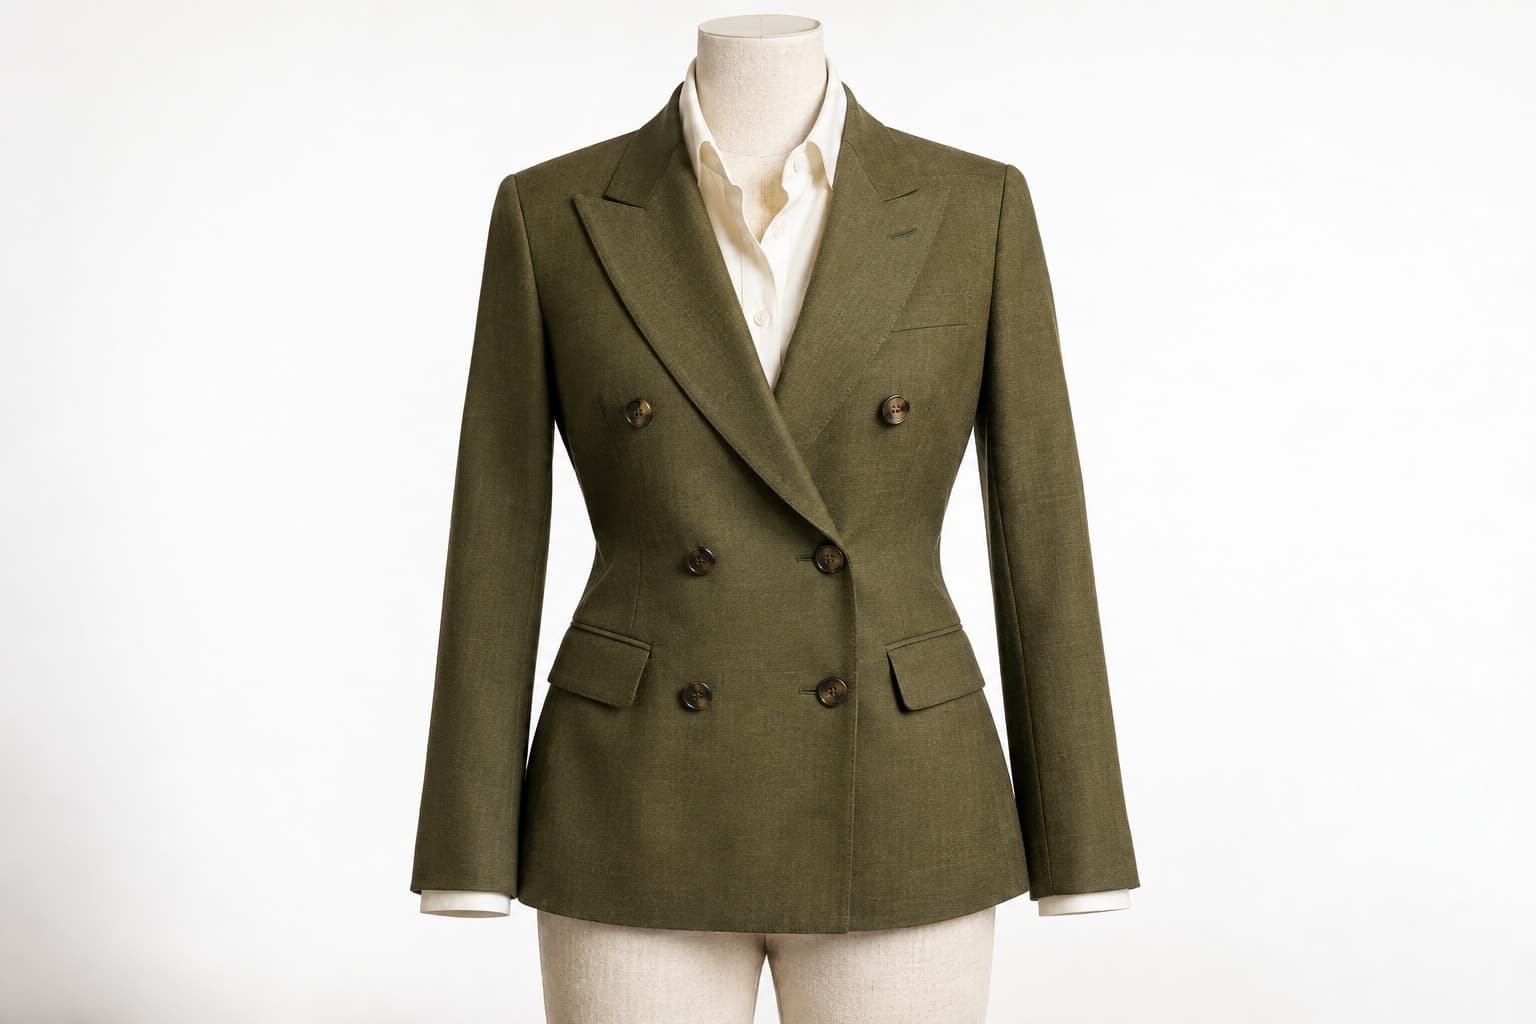
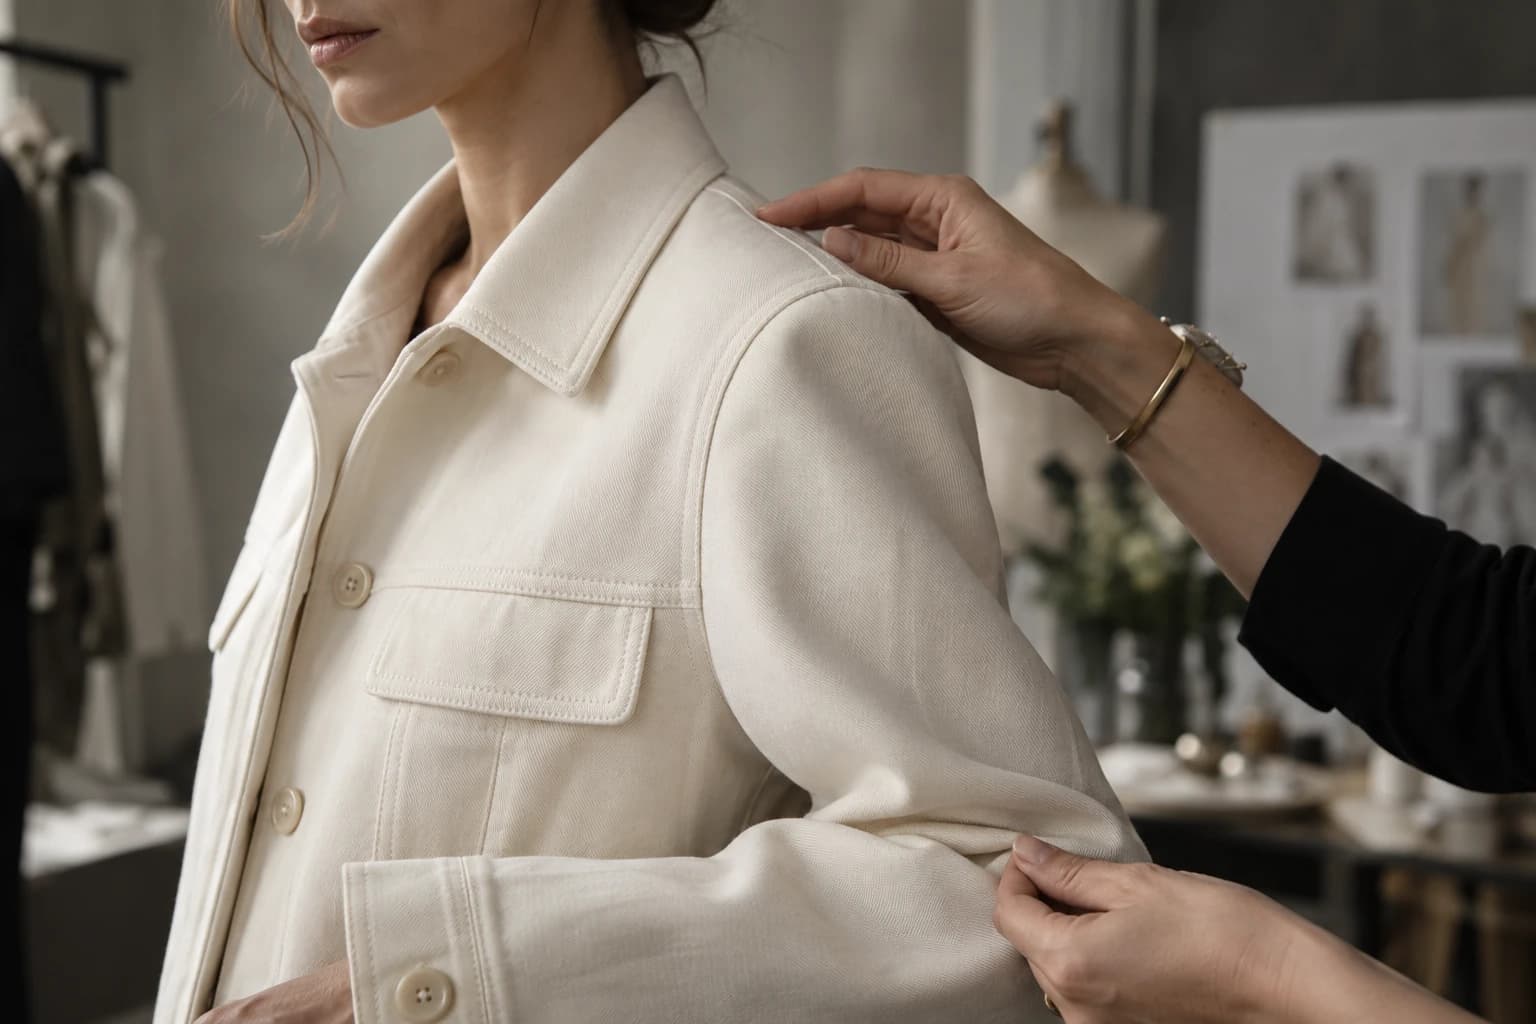
Inspect the product information before judging the atmosphere. Can you see the silhouette, hem, closures, and important construction details? Does the styling alter the apparent shape? Compare the image with the actual garment or approved reference. These checks establish whether the issue concerns accuracy, visibility, or simply the creative direction.
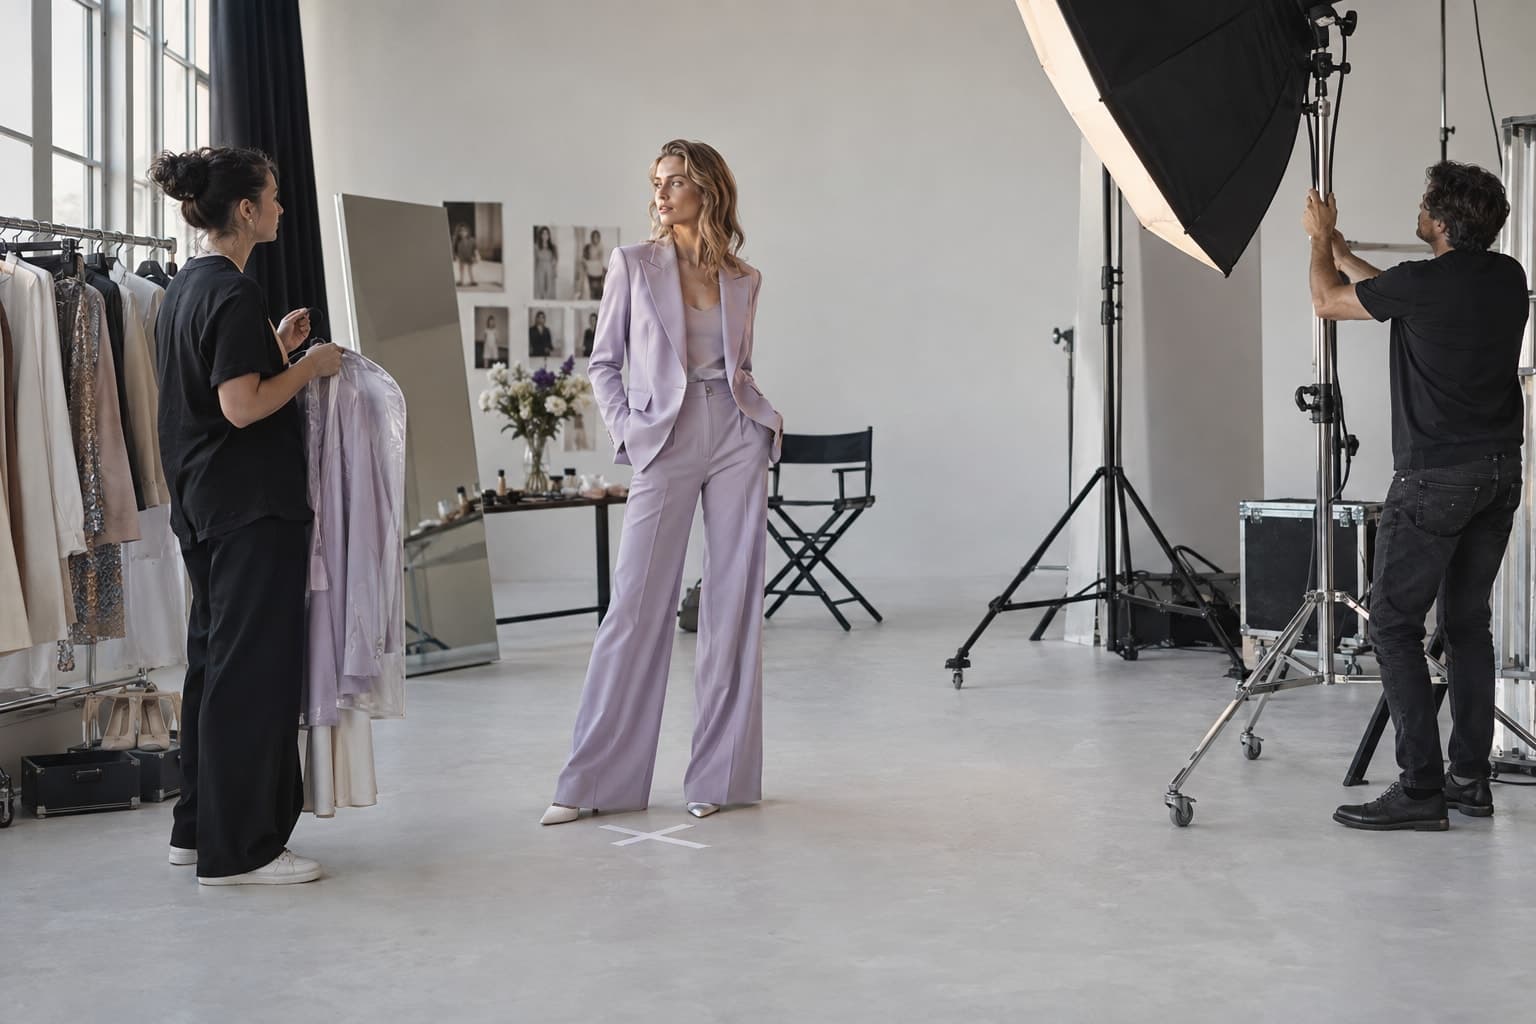
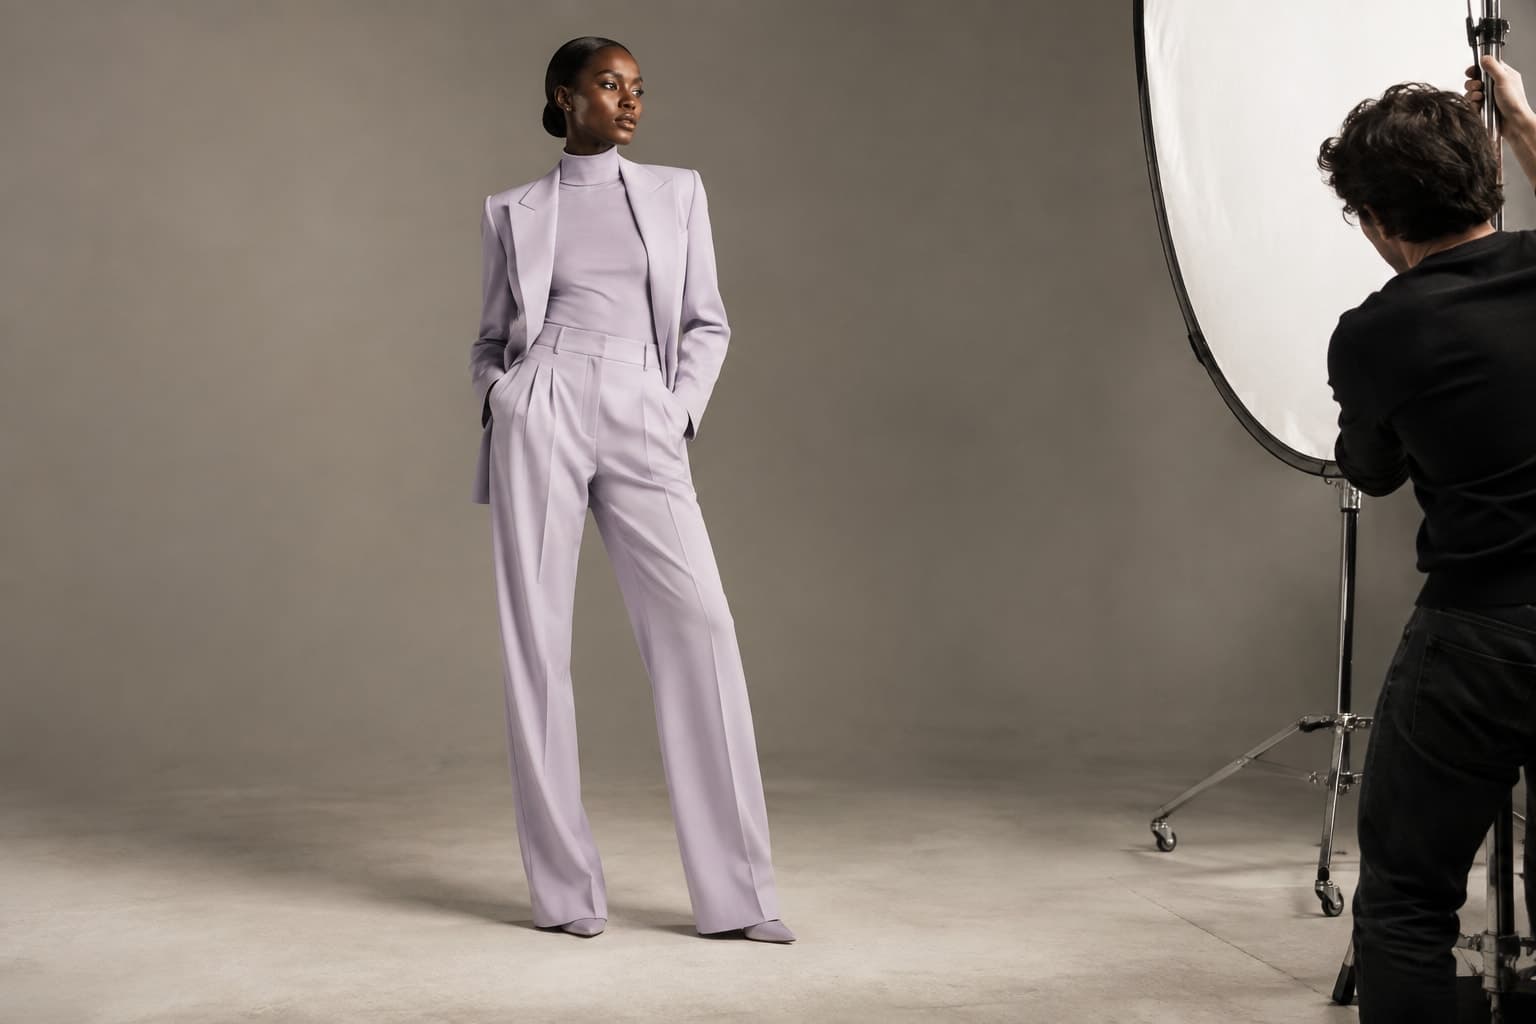
Then review presentation: crop, subject placement, expression, background, and lighting. A busy set may compete with the garment even when the product is accurate. A pose may hide a useful detail. Name the issue in a sentence, such as 'the arm obscures the side fastening,' rather than asking for a broadly more professional image.
Choose the smallest useful intervention
Some problems need a reshoot. Others can be resolved with a different existing frame, a more suitable crop, or restrained retouching. If a generated variation is considered, define what may change and what must remain. A background task should not become permission to redesign the garment or quietly alter the subject's body.
For a hypothetical knitwear listing, the original image might have accurate texture but a distracting setting. Testing a simpler background could be reasonable if the sweater, hands, edges, and shadows remain believable and correct. If the texture itself is missing, a better source photograph may be the more reliable next step.
Compare controlled alternatives
Make a small contact sheet that changes one major element at a time. Keep the product and intended use constant. Ask reviewers to evaluate the specific problem you identified rather than choose their favorite picture in general. This makes feedback more consistent and reduces the temptation to restart the whole visual concept.
Include the original in the comparison. An edited version can feel better simply because it is new, while losing useful information that the team no longer notices. Check the same garment features in every candidate and inspect the result at the final display size as well as at full resolution.
Review the whole gallery
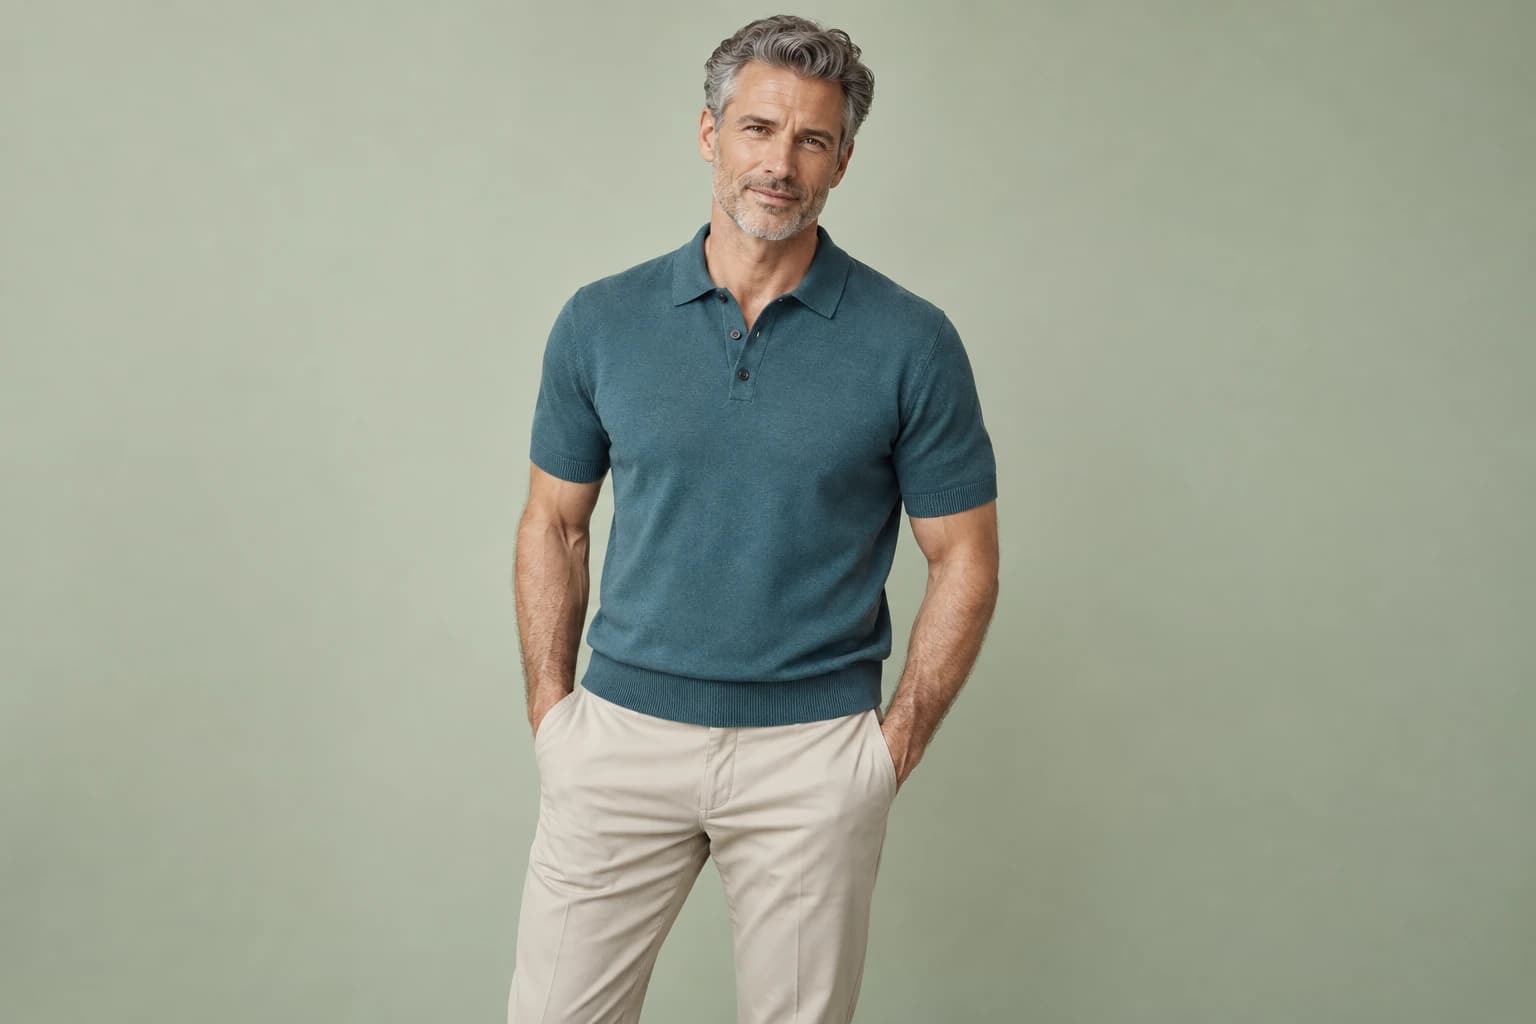
A revised image should work with the rest of the product presentation. Match the intended scale, color treatment, and crop rhythm where consistency helps the shopper compare views. Do not force every frame into the same pose if the back, lining, or detail needs a different composition to be understood.
If the revision introduces generated presentation, keep the production record and the appropriate explanation with the asset. Retain direct product evidence in the gallery. A polished image should not become the only source of information about a garment when the process cannot establish every visible detail.
Document the final decision and the reason it worked. That note can improve the next shoot brief: leave space beside the arm, keep the closure visible, or test the fabric against the chosen background. Over time, these small corrections create a stronger photography system because the team learns what to capture correctly from the start.