Build a tailoring shot list that reveals proportion, texture, and construction through deliberate lighting and styling.
The starting point
Tailoring gives a photographer many small decisions to make. A lapel can disappear into a dark shirt, a trouser crease can flatten under frontal light, and a hand can hide the pocket a shopper wants to understand. Treat the garment's construction as the starting point. The picture should help someone read the clothes before it asks them to admire the styling.
Prepare a construction-led shot list
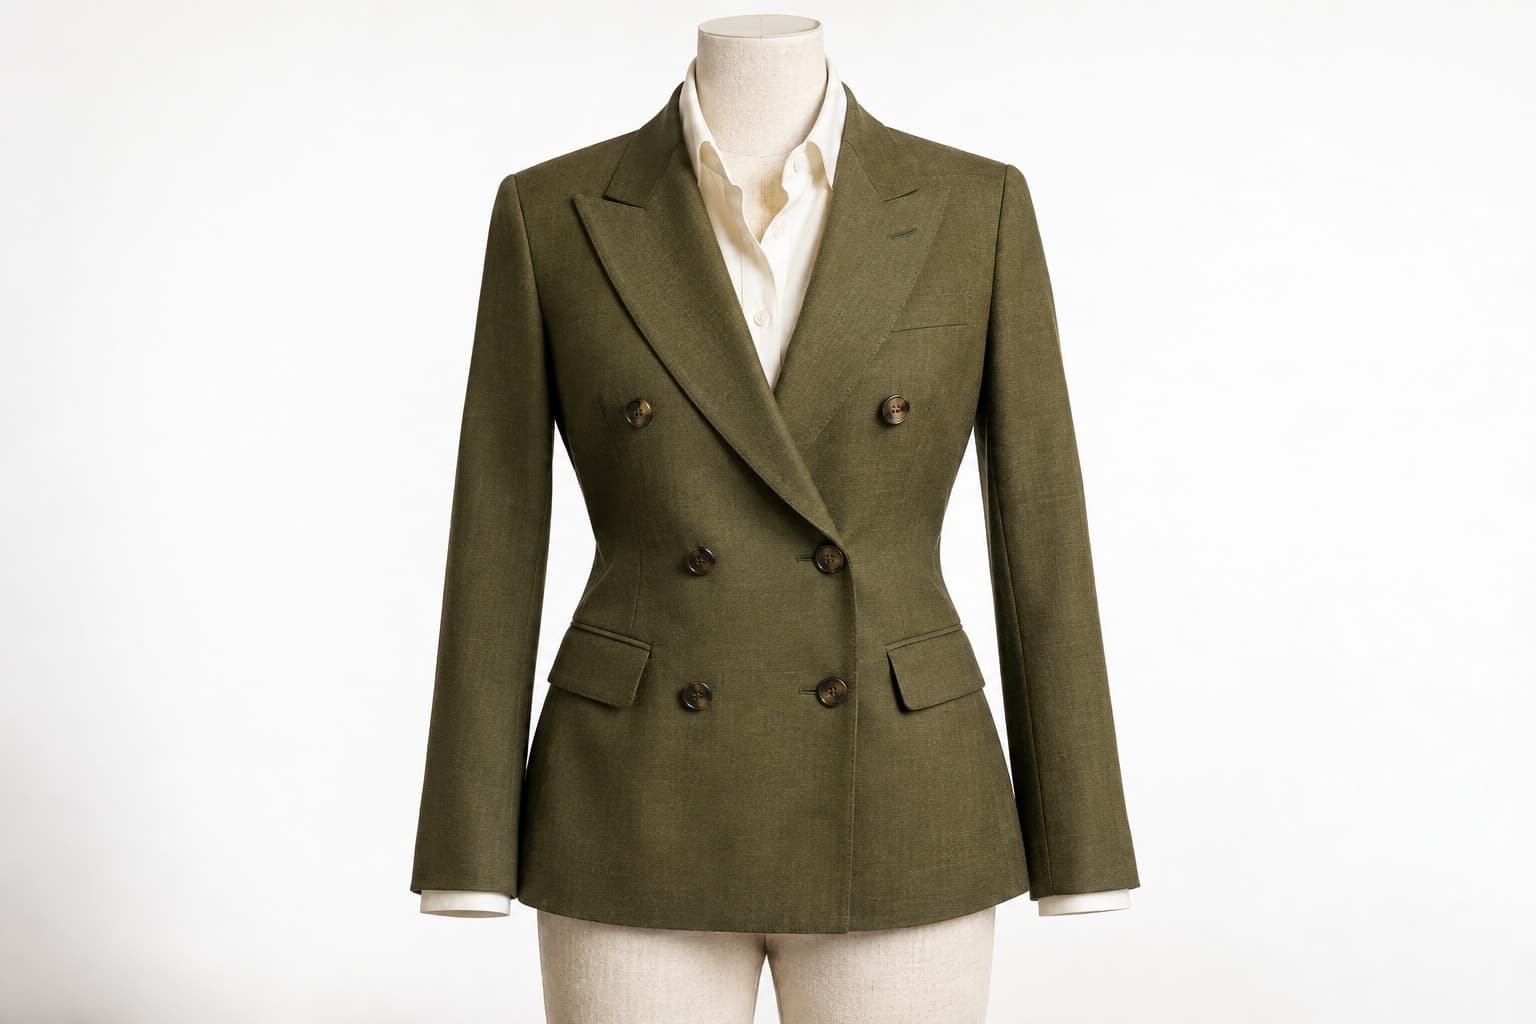
Inspect the garment with someone who knows it. List the features that distinguish it: shoulder structure, lapel shape, button stance, pocket treatment, trouser rise, or hem width. Choose a view for each important feature. Some belong in the main image; others need a close detail. Avoid assuming that one dramatic full-length frame can communicate everything.
For a hypothetical unstructured jacket, the priority might be the soft shoulder and light interior rather than a sharply posed silhouette. A more formal coat may need the front fastening and rear vent clearly shown. These choices should follow the actual product, not a general rule that all menswear must appear severe or rigid.
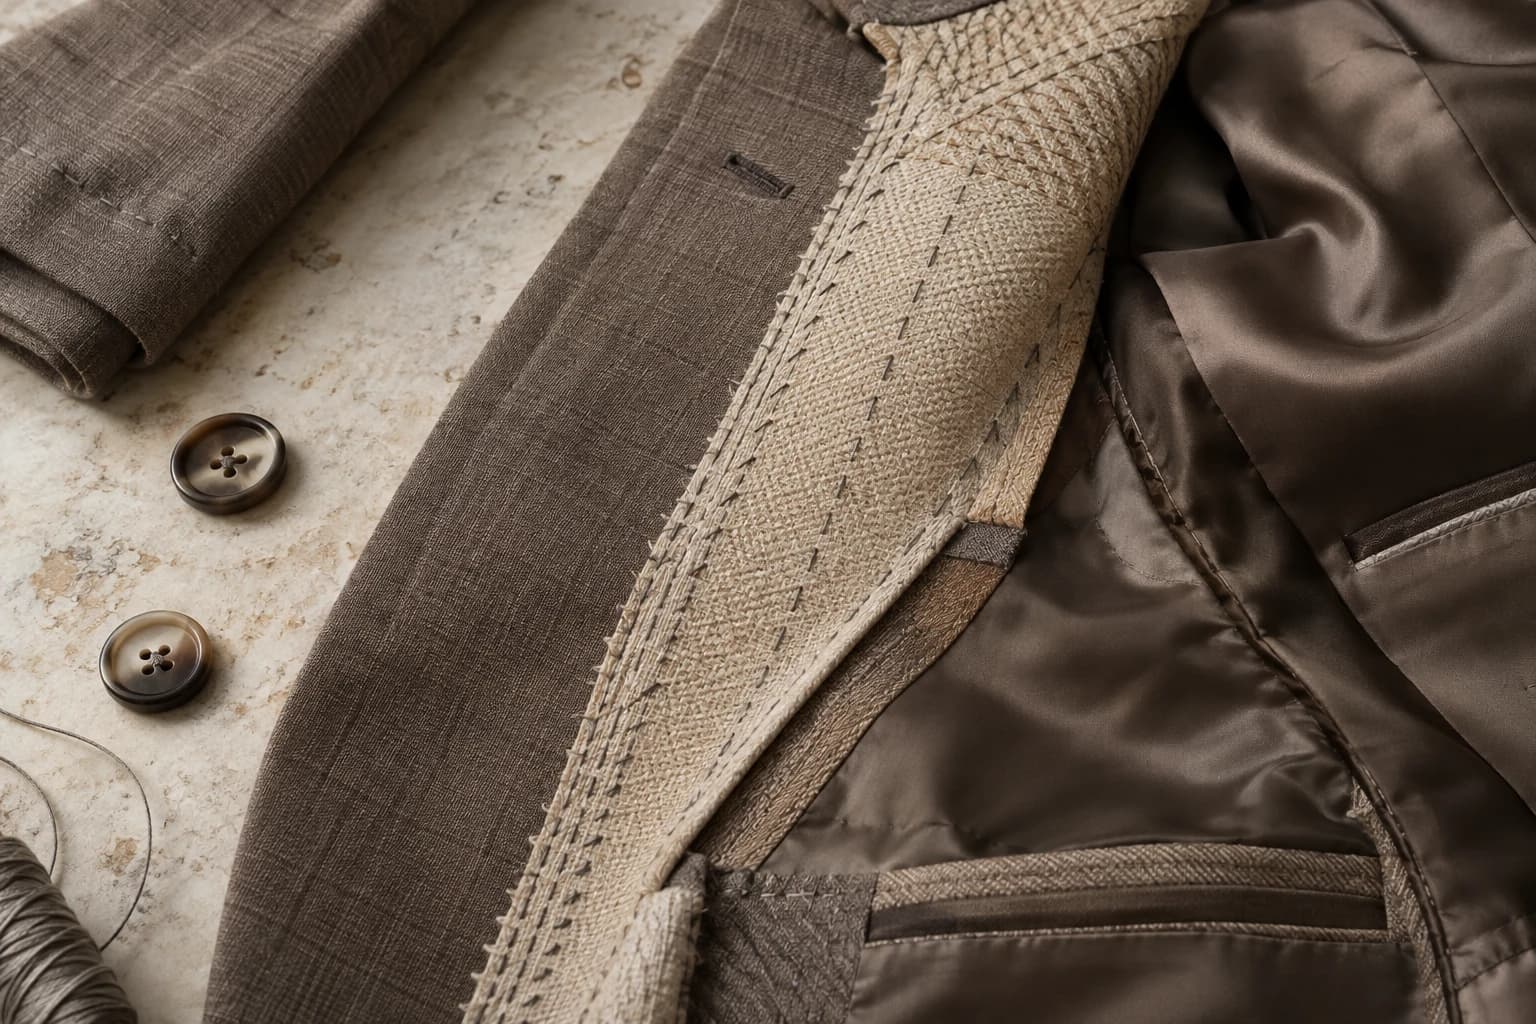
Use styling to clarify proportions
Check the sample size, shirt collar, sleeve relationship, and trouser break before taking the first frame. A styling adjustment can change how the garment appears to fit. If clips or pins are used for a creative shoot, keep accurate product and fit references separate. Do not present a heavily altered styling arrangement as straightforward evidence of the retail fit.
Show enough of the outfit to explain proportion, then make the product distinction clear in captions and the listing. If a jacket is sold separately, avoid leaving shoppers uncertain about whether the trousers or accessories are included. The photograph and the merchandising copy should tell the same story.
Test the light on the cloth
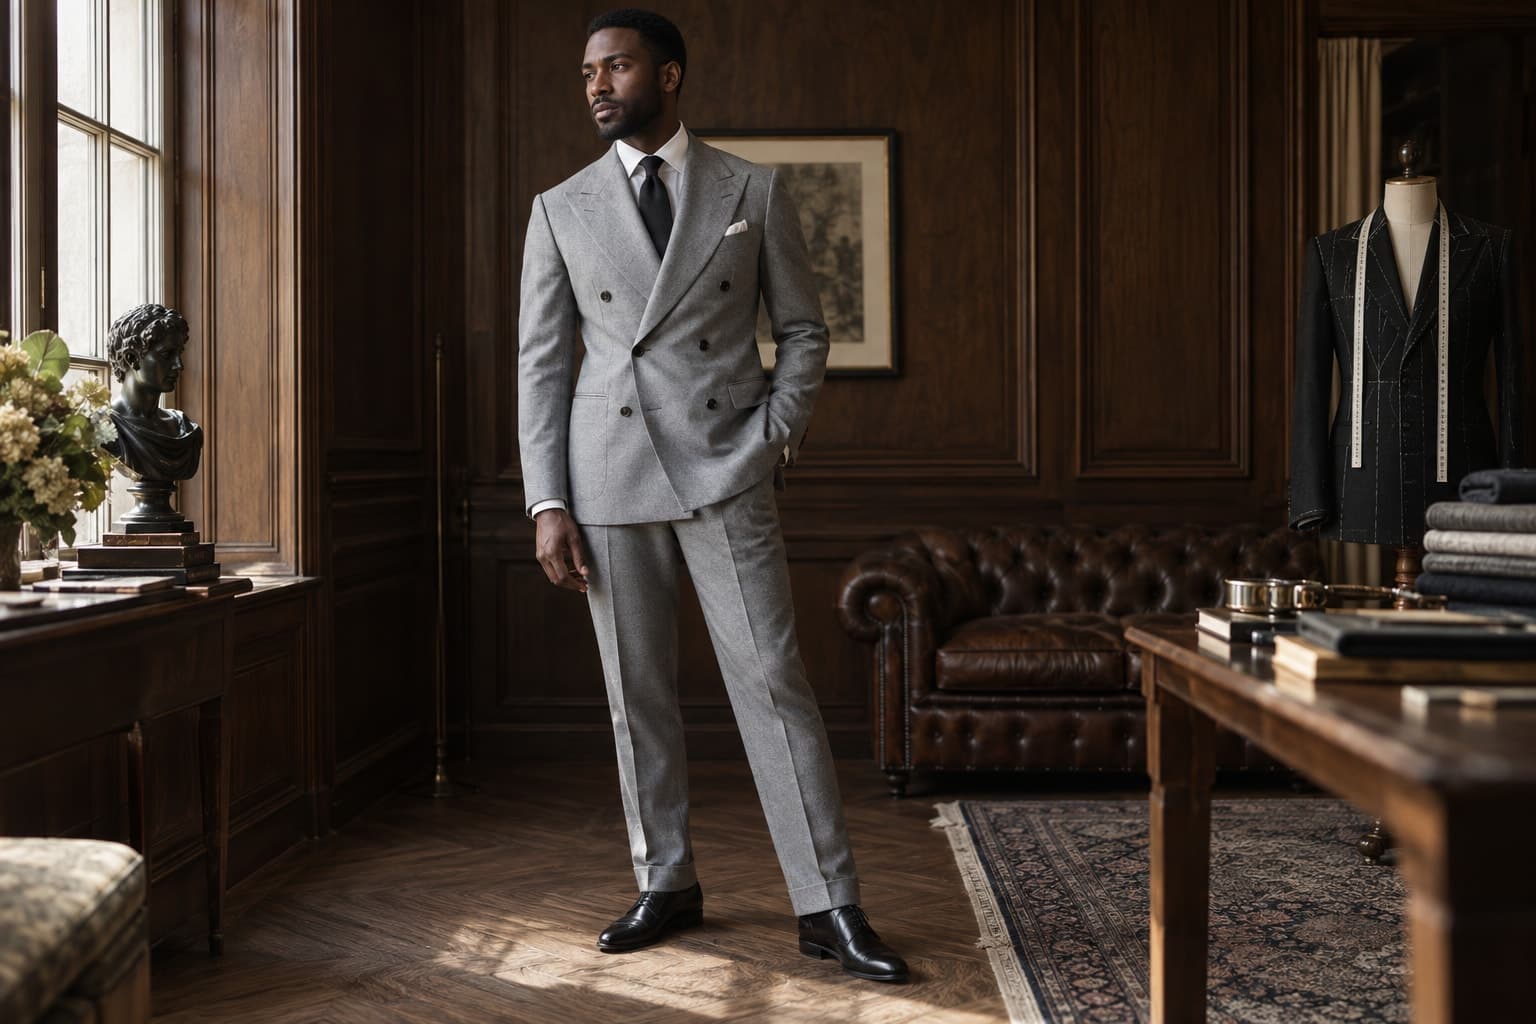
Photograph a small test before settling the setup. Review whether the weave is visible, whether dark areas retain detail, and whether highlights alter the apparent color. Change the angle or softness of the light with the garment in place. A setup that works for matte wool may need adjustment for a smoother or more reflective fabric.
Keep a reference frame for each meaningful lighting change. If several garments will share a collection page, compare them as a group during production. An individually attractive frame can still feel inconsistent beside the others if exposure, scale, or color treatment changes without a reason.
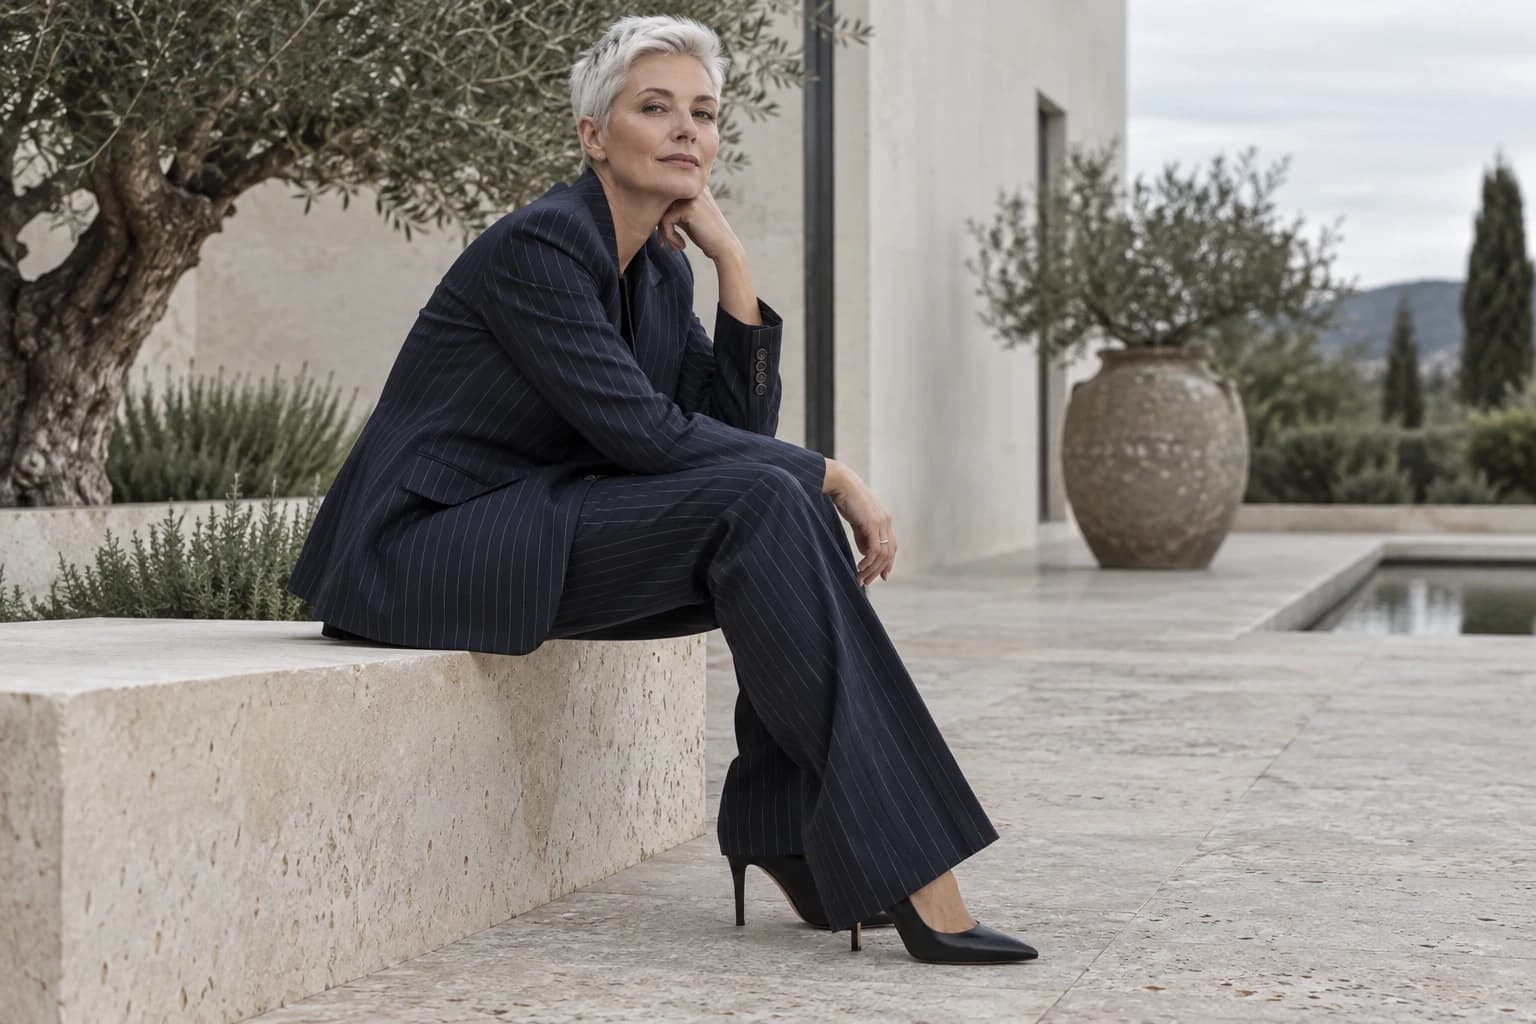
Direct movement with a purpose
Use simple changes in stance to reveal the garment: a slight turn, an arm moved away from the side seam, or a step that shows the trouser line. Explain why you are asking for the movement. The subject can often help find a comfortable position that communicates the construction more naturally than a rigidly prescribed pose.
If generated on-model imagery is part of the process, inspect the same details against the source garment. Check repeated buttons, pocket angles, lapel edges, pattern alignment, and the rear view. A convincingly tailored silhouette can still describe a different jacket. Keep actual product photographs available wherever accuracy cannot be established.
Review the final gallery in its intended order. The first image introduces the shape; subsequent views should resolve questions about the back, interior, and details. A strong tailoring series feels coherent because every frame contributes information. The discipline is visible in what the viewer can understand, not just in the polish of the set.