Use a repeatable mannequin setup that shows shape and construction without disguising the product.
The starting point
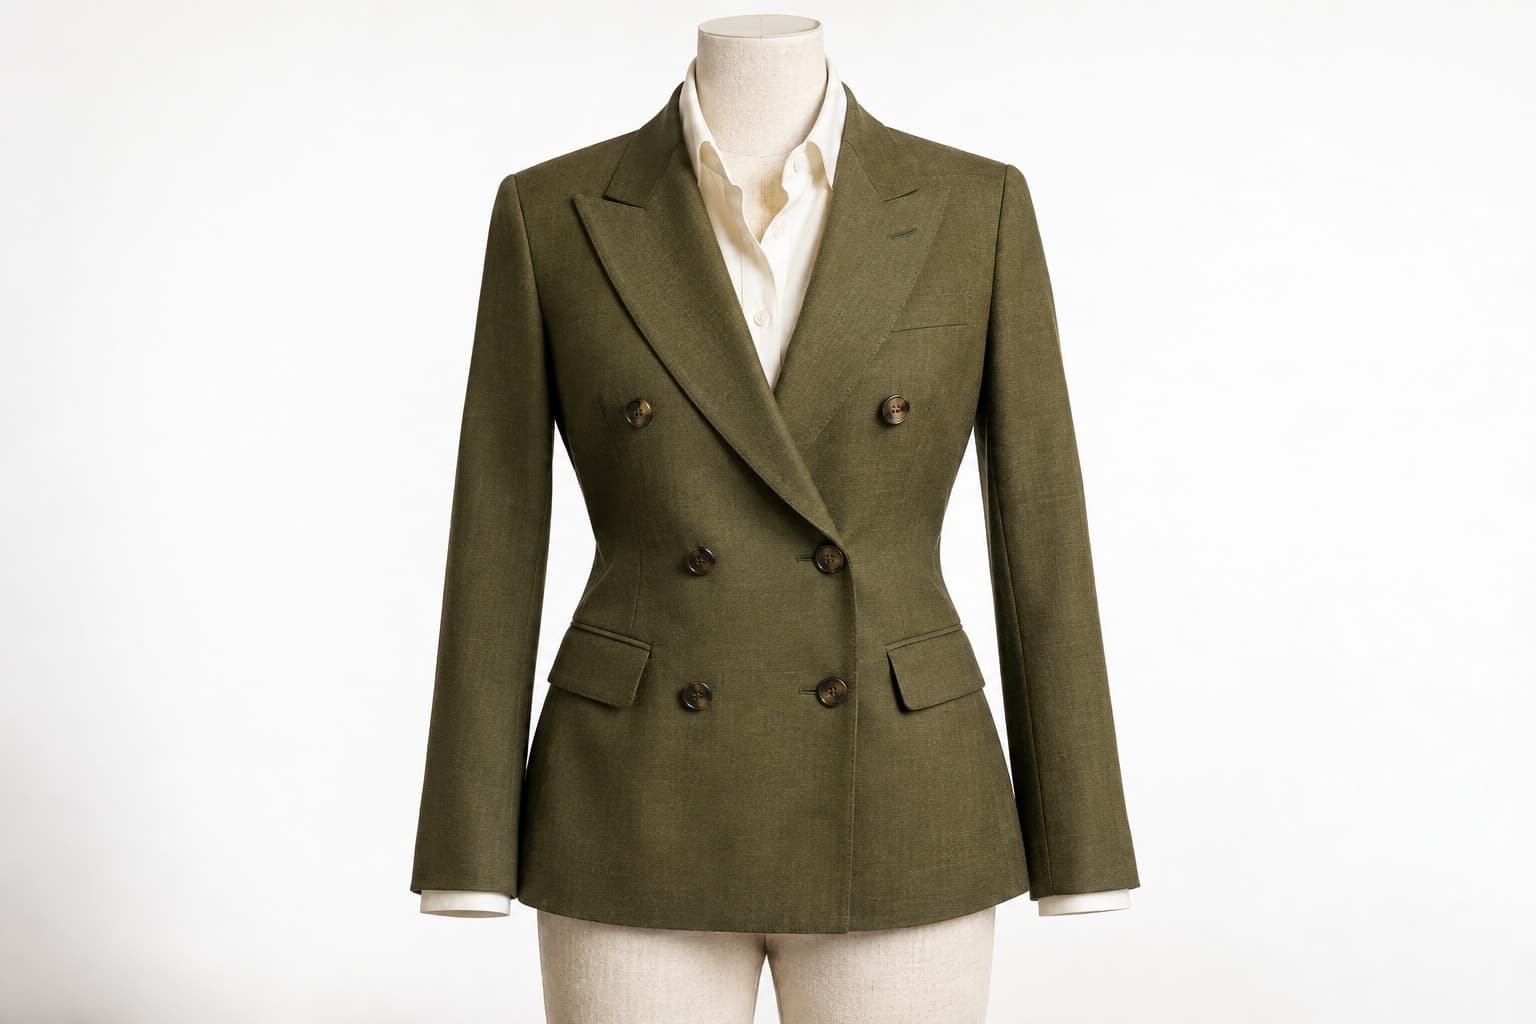
A mannequin gives a garment support and a stable position, which can be useful for a repeatable product photography setup. It also introduces a shape that may not suit every item. Begin with the garment's needs rather than forcing the whole collection onto one form and repairing the differences afterward.
Inspect the sample before dressing the mannequin. Confirm the size, color, condition, and product identifier. Note any features the image set needs to explain. This preparation prevents a technically successful session from producing files that are difficult to map or insufficient for the product page.
Fit the form without changing the product
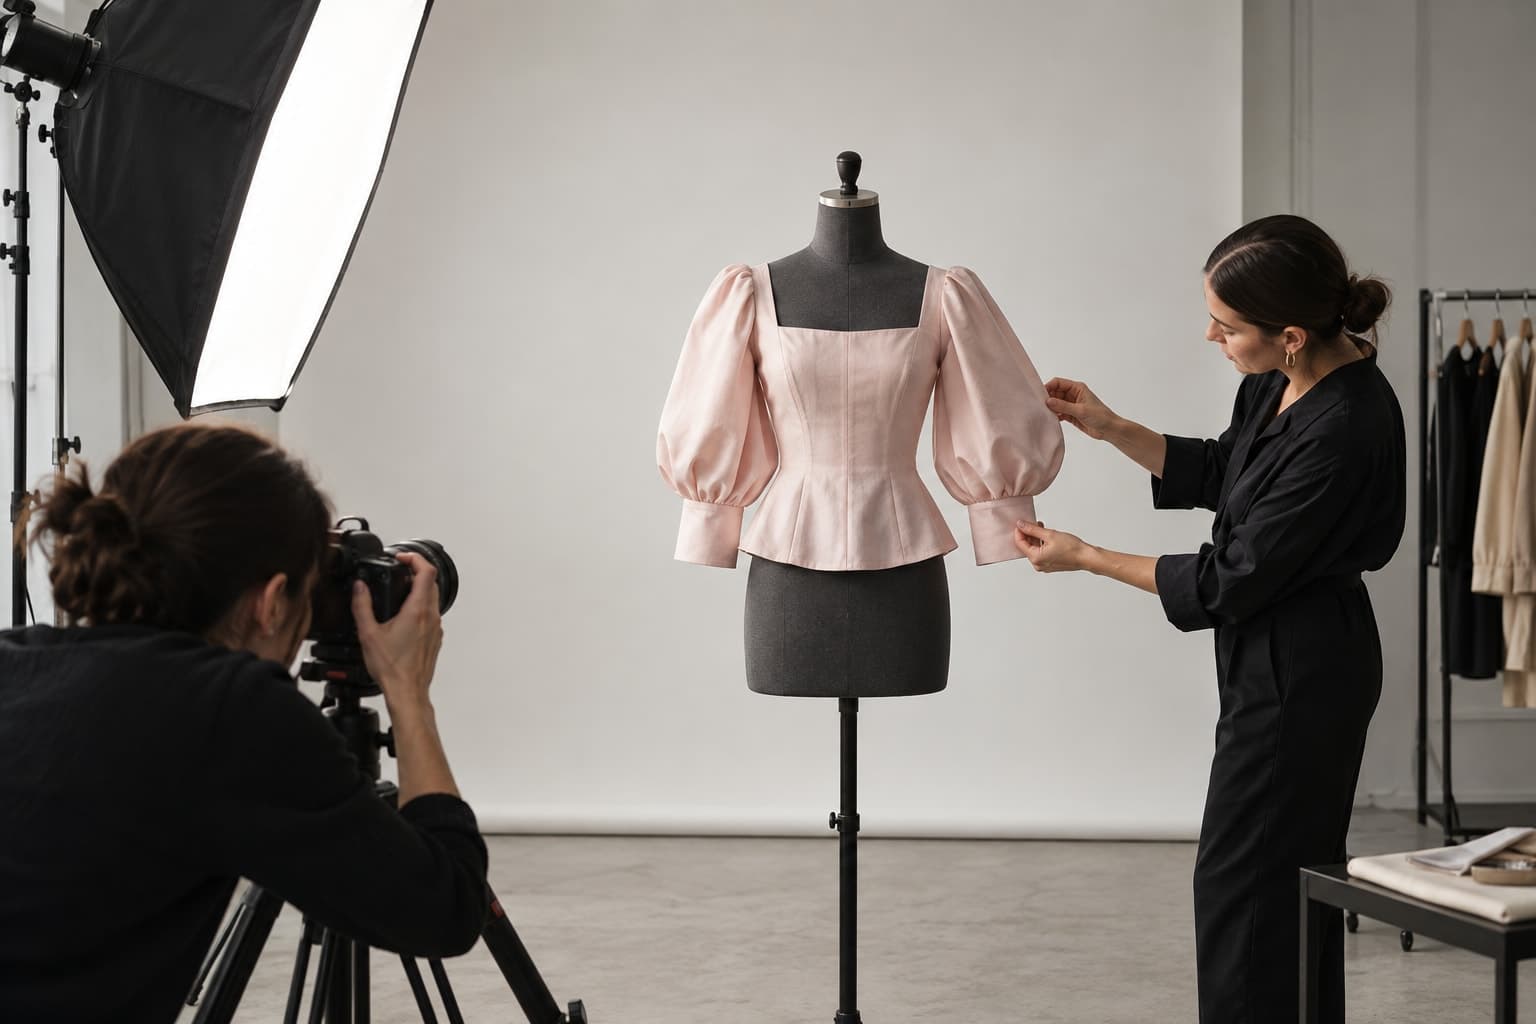
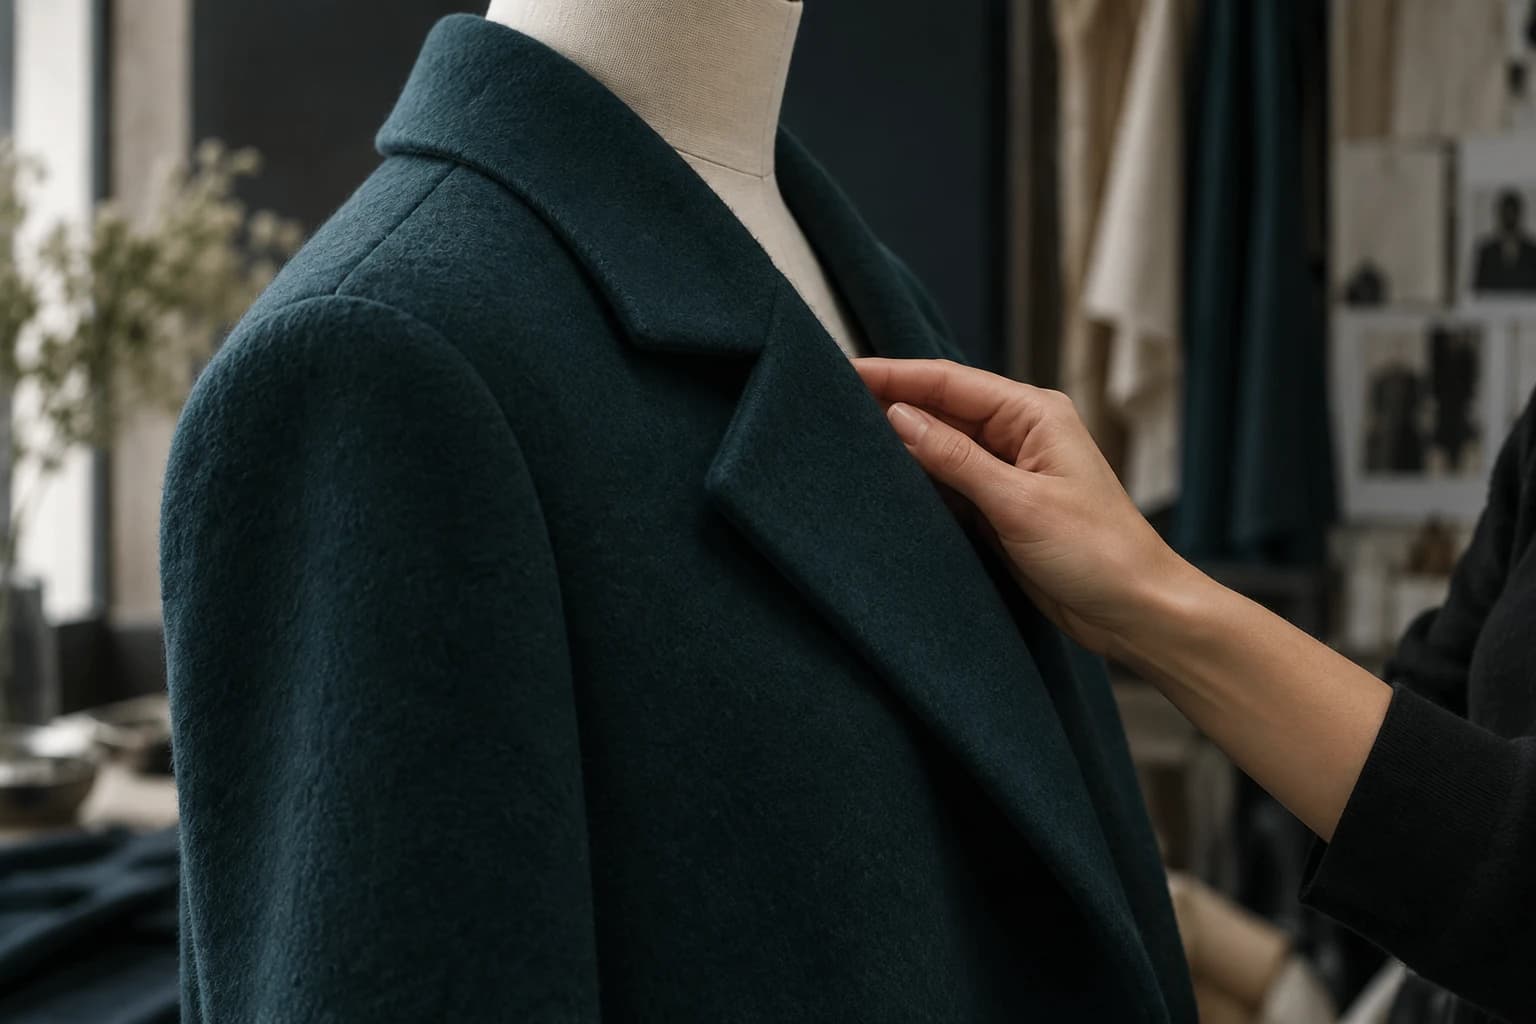
Check how the shoulders, neckline, waist, and hem sit. The mannequin should support the garment without stretching seams or creating an implausible silhouette. Prepare the fabric according to its care requirements and remove temporary distractions that are not part of the product.
If you use clips or pins, keep the adjustments modest and document them. Styling should not turn a relaxed cut into a fitted one or conceal a construction feature. When the form is clearly wrong for the item, change the setup or choose another photography method. Editing cannot make an unsuitable reference into reliable product evidence.
Establish a repeatable camera position
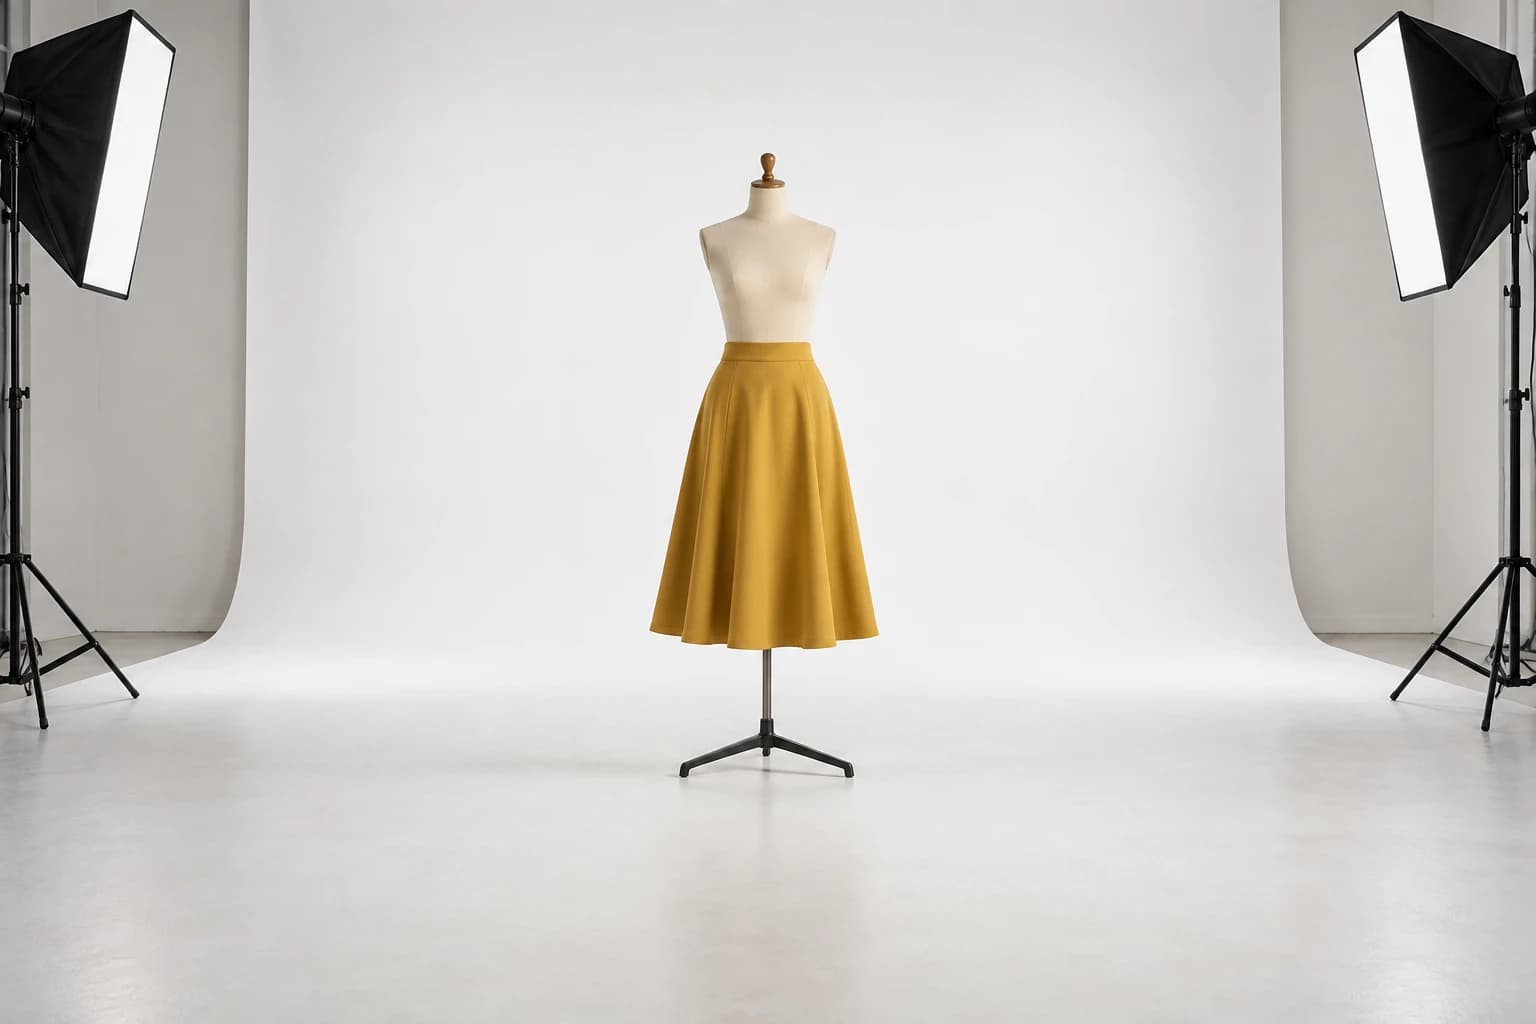
Place the camera so the garment's proportions are readable without exaggerated perspective. Mark the position and height once the test frame works. Keep enough distance to frame the full item comfortably, and review the result before photographing the rest of the batch.
Use controlled, manageable light that reveals shape without hiding important details in deep shadow. Check difficult fabrics separately. A setup that works for matte cotton may need adjustment for satin or reflective trims. Judge the actual test frame and the physical garment together rather than relying only on a remembered lighting recipe.
Capture the views the page needs
Plan front, back, and any side or detail views that answer a real question. Keep the framing consistent enough to compare related products. Photograph closures, pockets, lining, or texture when they are distinctive. A complete shot list is more useful than a large number of nearly identical front frames.
In a hypothetical raincoat session, the team captures the full front and back, then the hood adjustment, cuff, and pocket opening. The images show those features without making unverified claims about weather performance. Any performance statements on the page must come from appropriate product evidence, not from the visual appearance alone.
Review before dismantling the setup
- Confirm that all required views are present and sharp enough.
- Compare the captured color with the sample under suitable viewing conditions.
- Check that clips, tags, or mannequin parts do not distract unintentionally.
- Verify the item identifier and color mapping in the files.
- Record anything that requires reshooting while the sample is still available.
Retain the original captures and separate approved exports from working edits. If the plan includes removing the mannequin later, capture the supporting interior views the editor will need. Make that decision before the form is undressed, when correction is still straightforward.
A strong mannequin image is clear about what it shows: a supported view of a particular garment. Pair it with accurate measurements and other appropriate product information. The setup earns its value through repeatability and clarity, not through disguising the limits of the image.