Build a useful clothing listing with a focused shot list that answers product questions before adding decorative imagery.
The starting point
A useful garment listing answers questions in a sequence. What is the item? What shape does it have? What is the fabric like? What happens around the closures, hem, and back? A simple six-picture plan can help a small team cover those questions before spending time on decorative scenes. The exact number is a starting point, not a platform rule.
Start with identity and shape
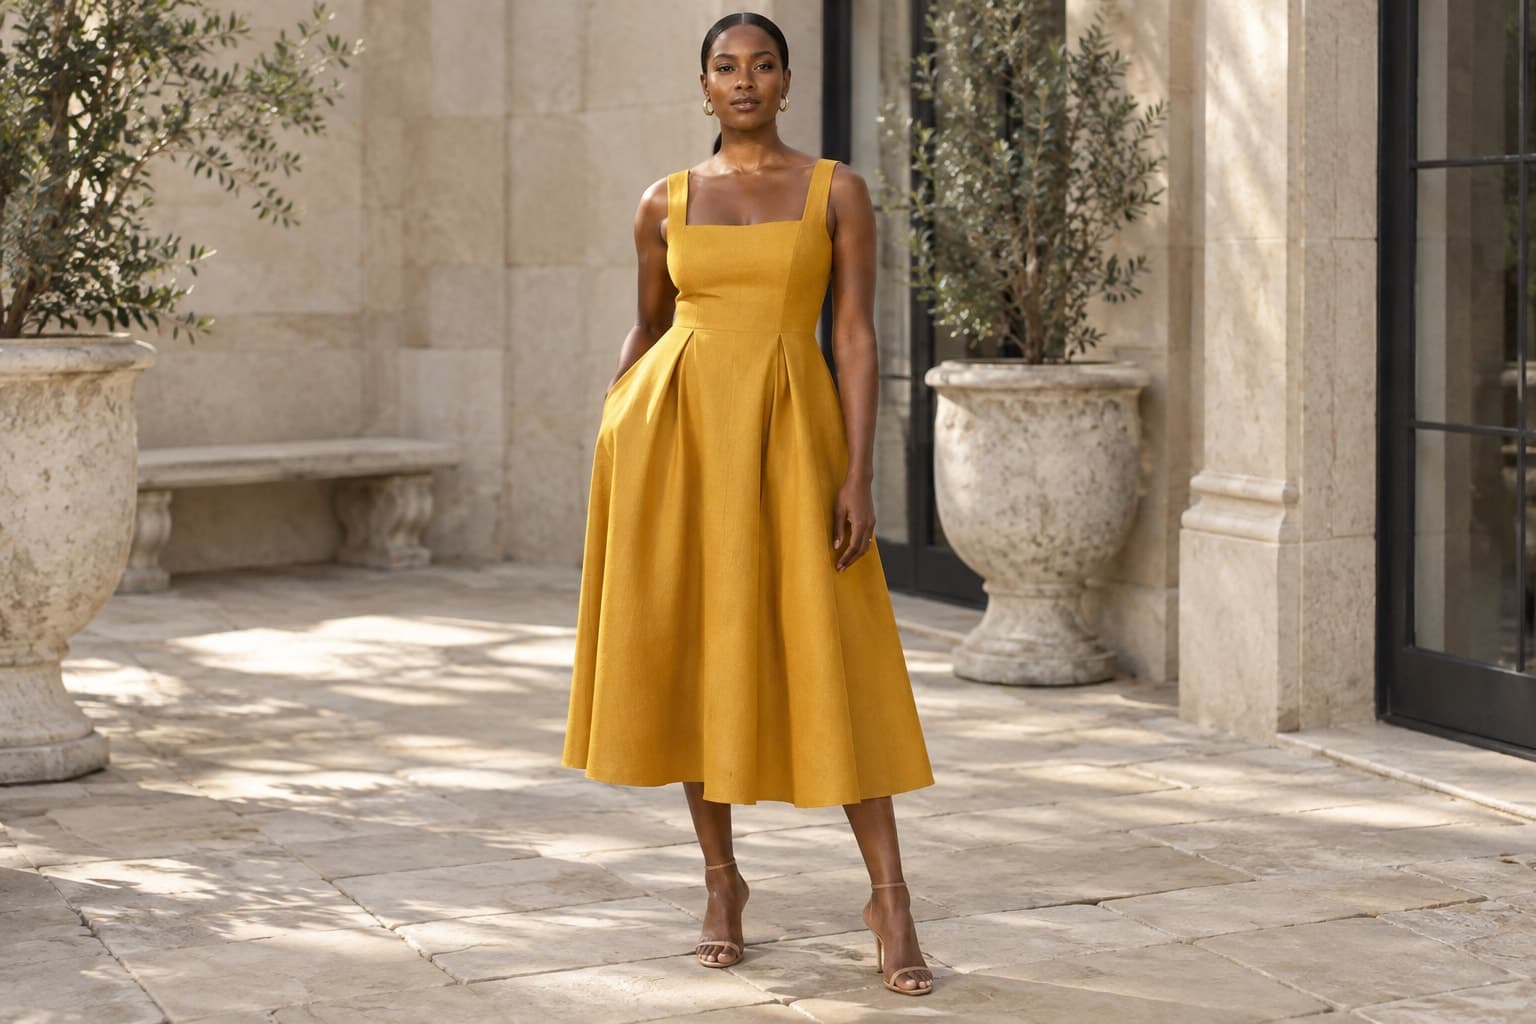
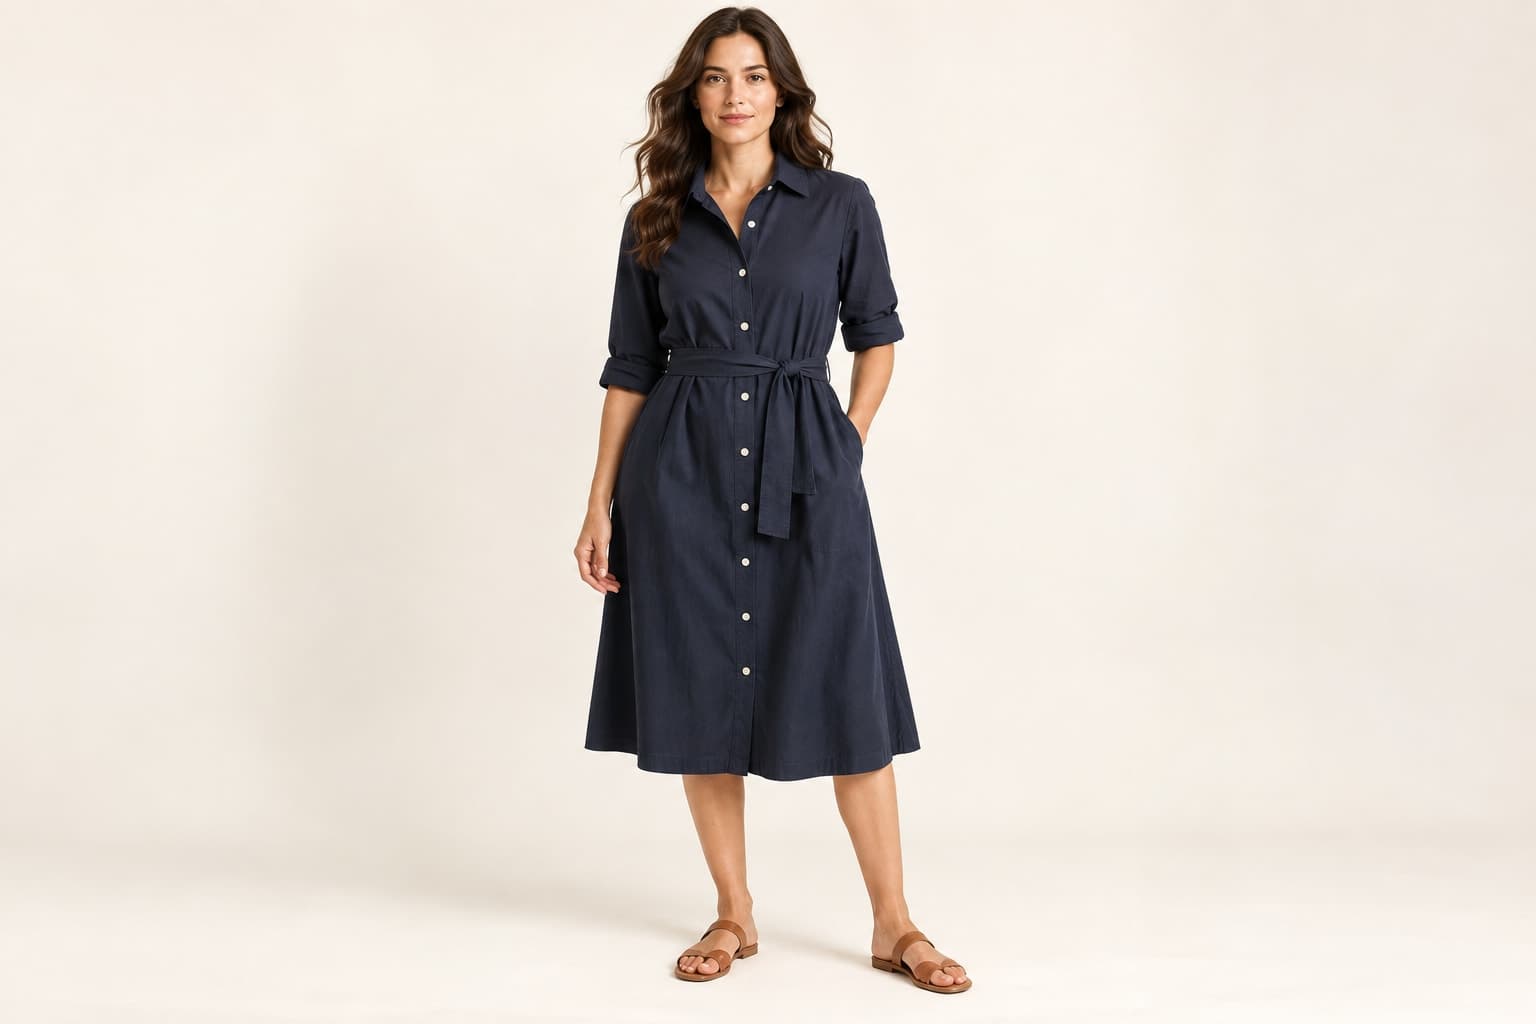
The first photograph should make the product easy to recognize. Use an uncluttered setting, a clear view, and a crop that does not cut off a meaningful part of the garment. Keep styling deliberate. A belt, tucked hem, or rolled sleeve can change the apparent shape, so show the unmodified garment somewhere in the gallery as well.
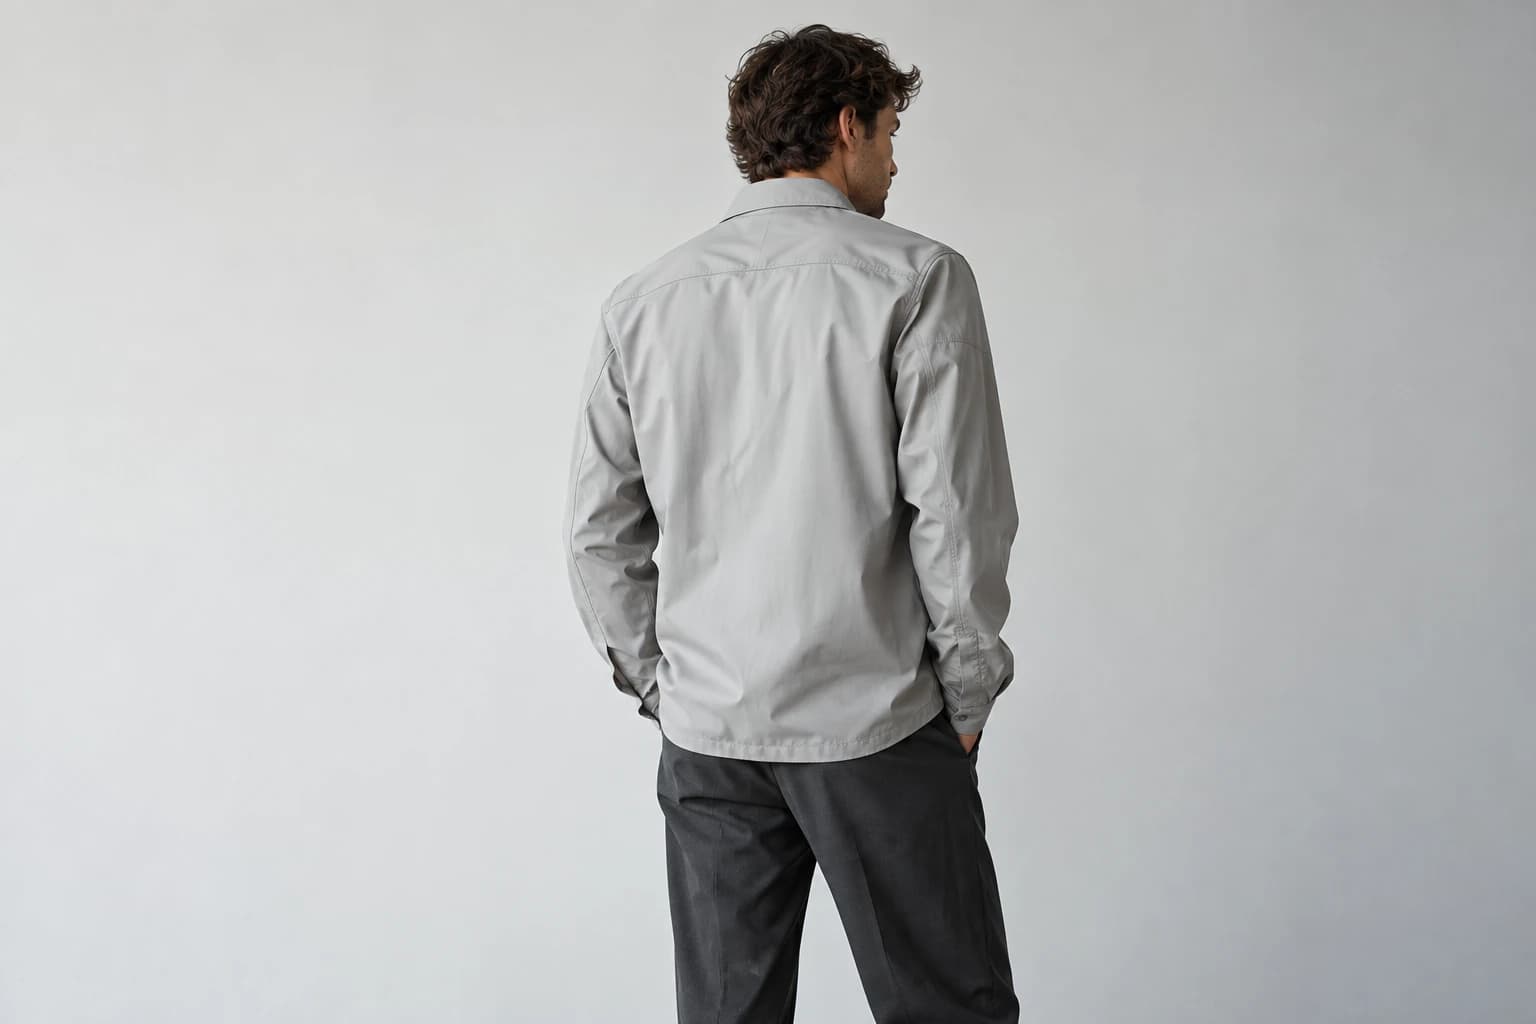
The second photograph should add a genuinely different view, often the back. Do not fill the gallery with near-duplicate front angles while leaving the rear construction unseen. If the garment has a distinctive side opening or asymmetric shape, prioritize the angle that explains it. Let the product determine the shot list.
Use detail pictures to answer concrete questions
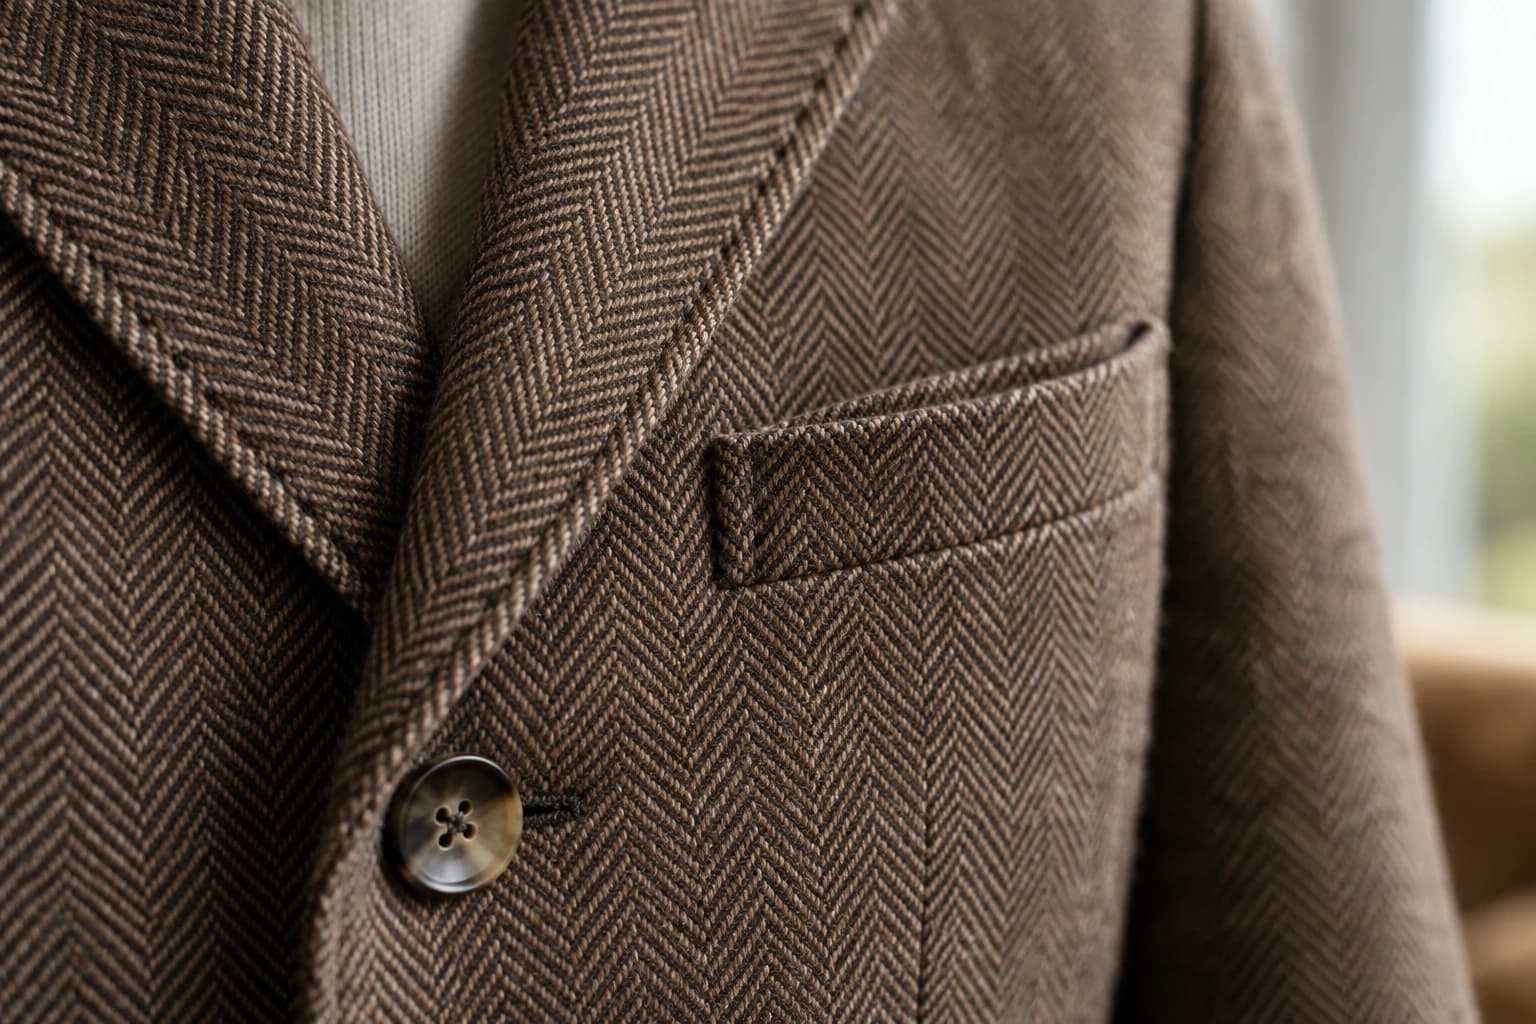
Reserve the third image for material and surface. Move close enough to show the texture while keeping the photograph focused. Compare the result with the physical garment under consistent light. A dramatic highlight can make an ordinary weave look glossy, and heavy sharpening can create texture that is not there.
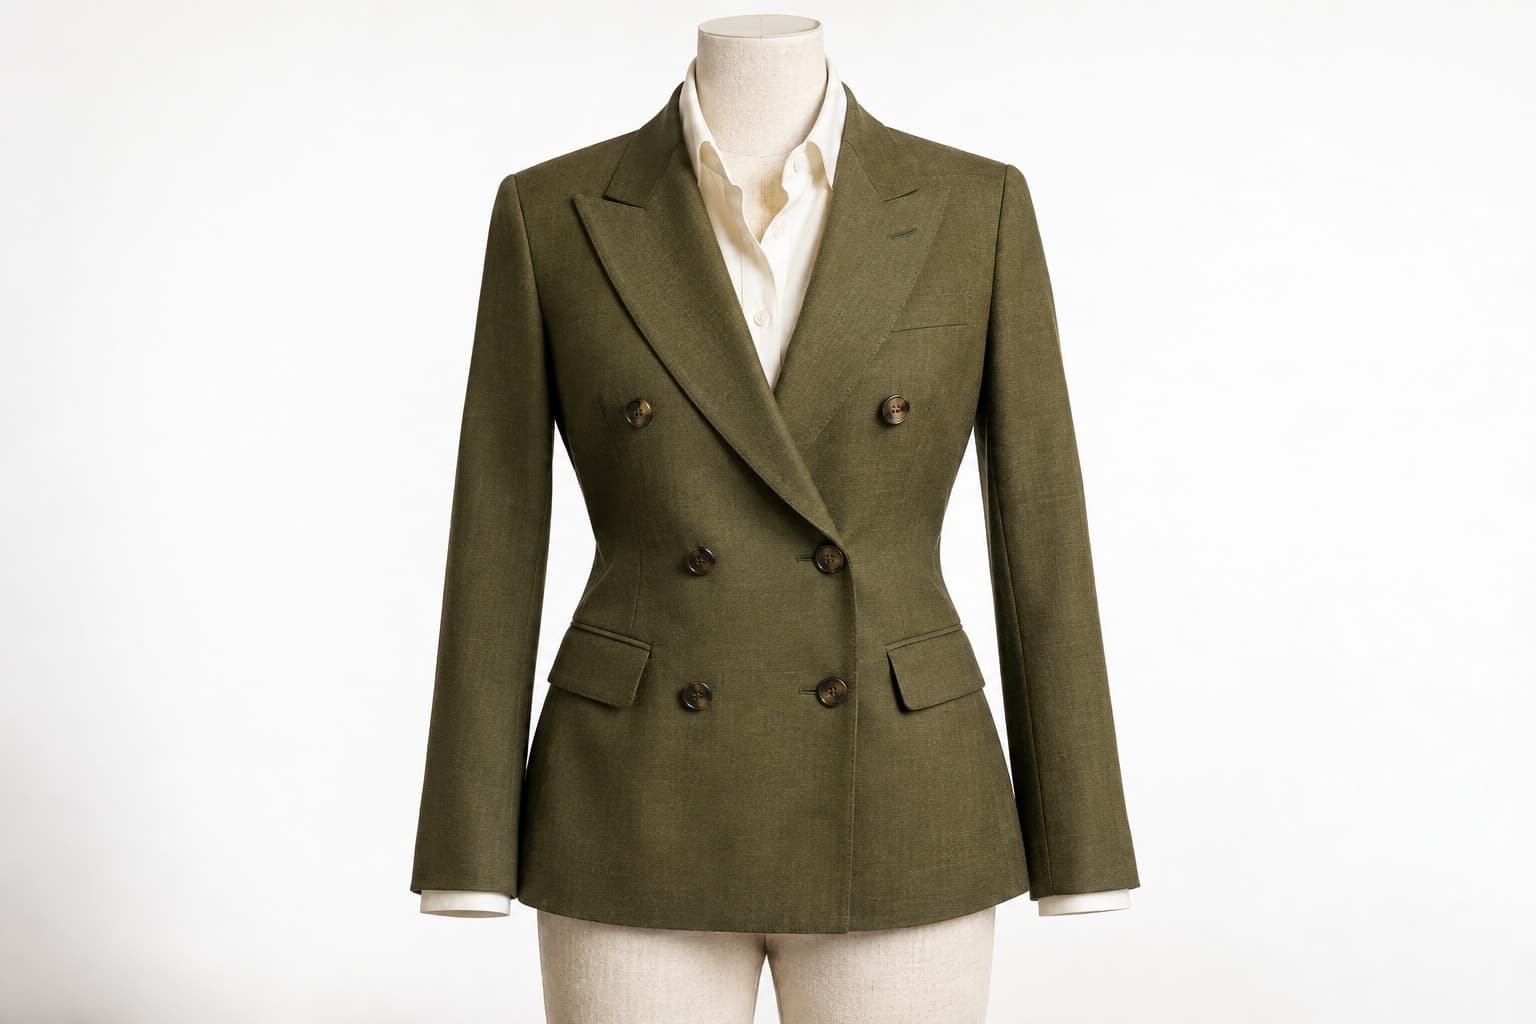
The fourth image should show a functional or distinguishing detail: a zip, button, pocket, lining, or adjustable strap. Photograph it in a state that helps the shopper understand its use. An open pocket can be informative; a carefully lit closed pocket may communicate less. Do not use the same decorative close-up for every product simply because it suits the page layout.
Give scale and condition their own space
The fifth image should help with proportions. This might be a carefully styled on-body view, a mannequin view, or a composition paired with clear measurements. A picture can give visual context, but it does not replace a size chart or establish how the garment will fit every customer. Keep those different forms of information available together.
The sixth image should cover what the first five leave uncertain. For a resale item, that may be a visible sign of wear. For a lined coat, it may be the interior. For a dress, it may be a side view or fastening. Treat this slot as an answer to the product's most likely remaining question.
Capture consistently, then check honestly
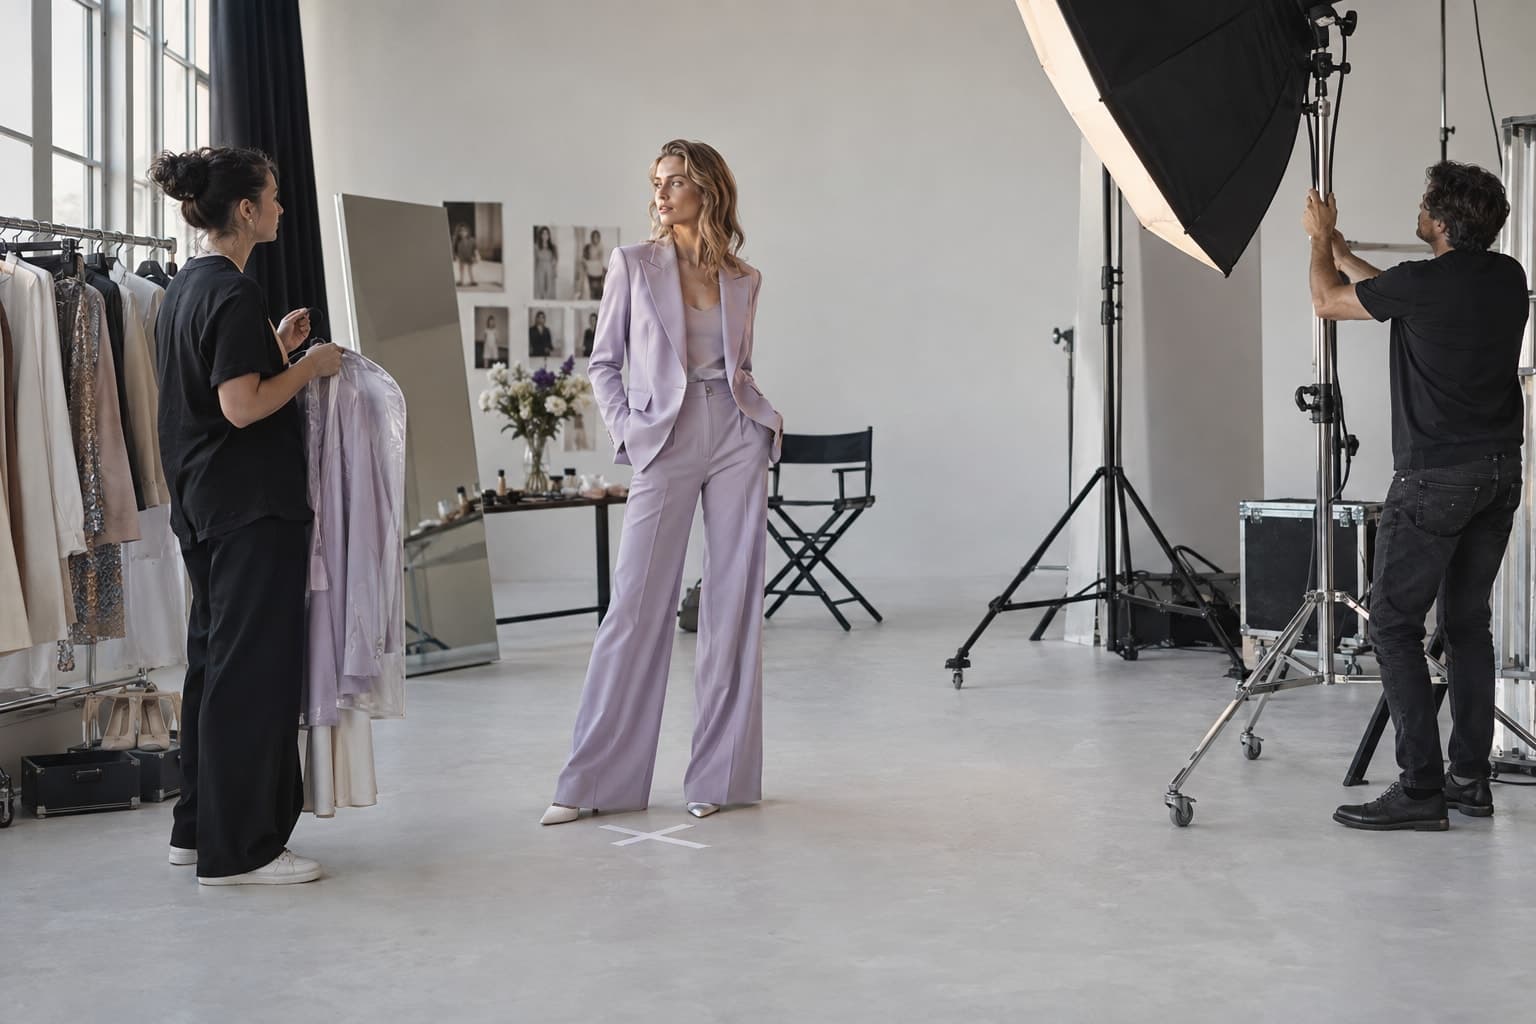
Prepare the garment, clean the lens, stabilize the camera, and use a repeatable light setup. Keep enough room around the item for the crops you need. Review a test image on a larger screen before photographing an entire batch. Catching a color cast or clipped hem early saves more work than correcting it one listing at a time.
After editing, compare the gallery against the physical item and source files. Remove distractions without changing product facts. If you add a generated lifestyle illustration, retain accurate product photographs and review every visible garment feature. A beautiful context image should expand the presentation rather than become the only evidence of what is for sale.
Finally, look at the listing on a phone. Follow the gallery in order and note which question each picture answers. If two images serve the same purpose while another important question remains unanswered, replace one. A concise, informative gallery respects the shopper's time and gives the brand a repeatable production standard.